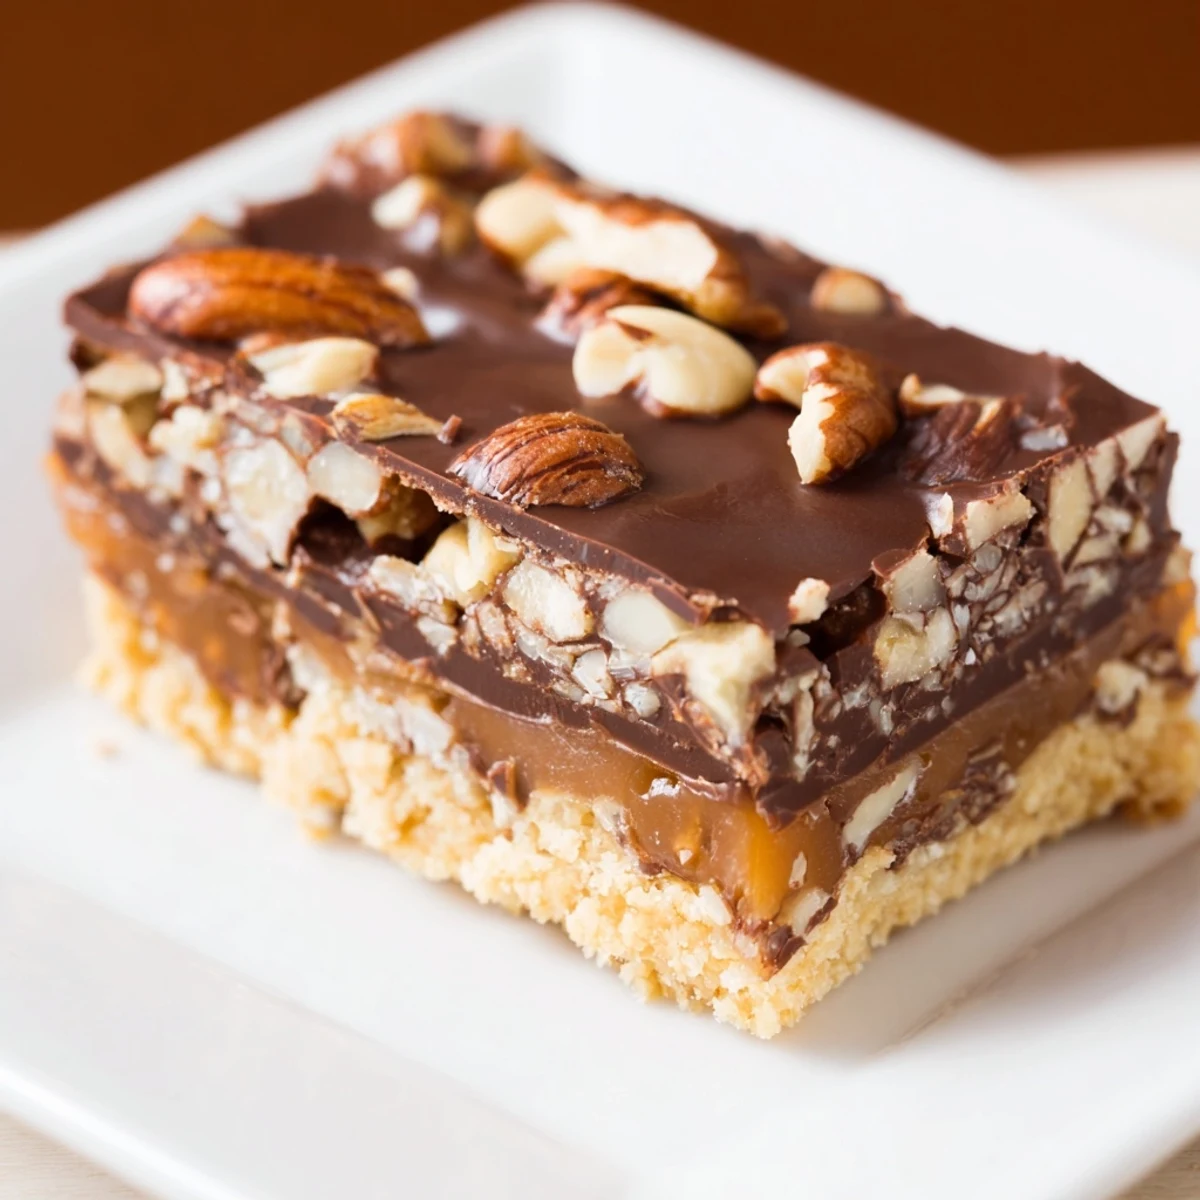
 Save to Pinterest
 Create these decadent chocolate bars by layering a buttery shortbread base with homemade caramel and mixed nuts, then topping with melted dark chocolate. With a 25-minute prep and 1 hour 45 minutes total time, this medium-difficulty dessert yields 16 bars that stay fresh refrigerated for up to a week.
Toast nuts beforehand for enhanced flavor, and add flaky sea salt on top for an elegant touch. Customize with your favorite nut varieties and chocolate types to suit your taste preferences.
The kitchen smelled heavenly as I peeled back the foil from those chocolate caramel nut bars, revealing their gorgeous glossy tops at my sister's holiday party. Everyone kept asking for the recipe, but it took me three attempts at home to perfect that caramel layer that flows just right without being too runny. These bars have become my signature bring-along whenever someone invites me over, earning me the nickname 'Caramel Queen' among my friends.
Last Christmas, I packaged these bars in little gift boxes for my colleagues, not expecting much reaction. When I arrived at work the next morning, three people were waiting by my desk with empty boxes and pleading expressions. My boss actually scheduled a team meeting just so I could explain how I made them, which turned into an impromptu baking lesson right in the conference room.
Ingredients
- Unsalted butter: The foundation of both the shortbread base and the caramel, room temperature butter creates that melt-in-your-mouth quality that makes these bars irresistible.
- Granulated sugar: When it transforms into that amber caramel color, youll feel like an alchemist watching ordinary sugar become liquid gold.
- Mixed nuts: I prefer a combination of almonds, pecans and walnuts for contrasting textures, but Ive discovered hazelnuts add an unexpected richness if you have them on hand.
- Semi-sweet chocolate: The slightly bitter edge balances the sweetness of the caramel perfectly, though Ive used dark chocolate with 70% cocoa when making these for more sophisticated palates.
Instructions
- Prepare the buttery base:
- Mix the flour, sugar, salt and softened butter until it resembles coarse crumbs, then press it firmly and evenly into your parchment-lined pan. The wonderful vanilla-butter aroma that fills your kitchen as it bakes golden is your first reward.
- Create liquid gold:
- Watch the sugar transform in the pan like a hawk, stirring constantly as it melts into a gorgeous amber liquid. When you add the butter and cream, stand back slightly as it bubbles up dramatically like a delicious science experiment.
- Layer the elements:
- Scatter the chopped nuts over your cooled shortbread base, listening for that satisfying patter as they fall. Pour the still-warm caramel slowly over the nuts, tilting the pan gently to help it spread into all the corners.
- Add the crowning glory:
- Pour the glossy melted chocolate mixture over the chilled caramel layer, using the back of a spoon to spread it into a perfectly smooth sheet. Run the tip of a knife through it in a swirl pattern if youre feeling artistic.
- The patience test:
- Resist the temptation to cut into these bars before they fully set. The satisfying snap of the chocolate breaking over the yielding caramel is worth every minute of waiting.
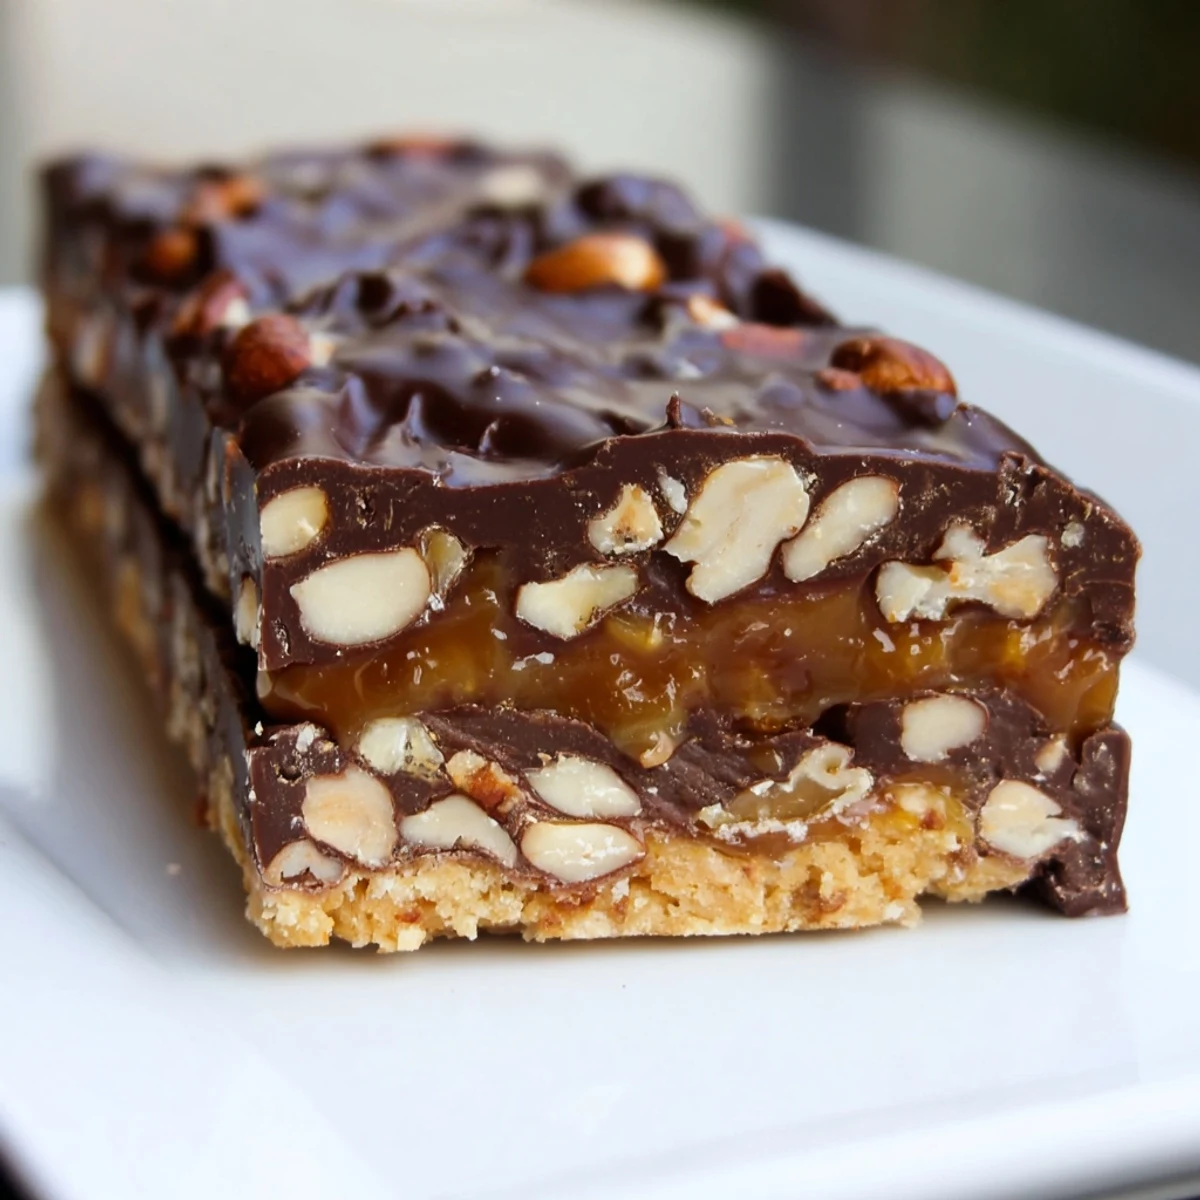 Save to Pinterest
 My neighbor Jane knocked on my door during a particularly stressful work week, holding a container of these bars Id given her weeks earlier. She confessed shed been saving the last one for a terrible day, and wondered if I could possibly make another batch. We ended up making them together that evening, sipping wine and talking about life while waiting for layers to set, and somehow the process itself became as therapeutic as the chocolate treat.
The Art of Caramel Making
Making caramel inspires both fear and fascination among home bakers, but its actually quite forgiving if you pay attention to color rather than time. I once salvaged what I thought was a ruined batch by quickly transferring it to a new pan and adding a splash more cream. The resulting slightly deeper flavor actually became my preferred version, proving that sometimes kitchen mistakes lead to delicious discoveries.
Customizing Your Bars
These bars welcome creative adaptations based on whatever your pantry holds. My brother-in-law cant have nuts, so I substitute a layer of crushed pretzels for the same satisfying crunch with a delightful salty twist. During summer months, I sometimes add dried cherries or cranberries to the nut mixture for little bursts of tartness that cut through the richness.
Storage and Serving
Though these bars keep beautifully in the refrigerator for a week, I prefer serving them at room temperature when the caramel softens to that perfect chewy consistency. During a dinner party, I discovered that warming the bars slightly for 10 seconds in the microwave and pairing them with vanilla ice cream creates a dessert impressive enough for company yet requiring minimal last-minute effort.
- Store bars in an airtight container with parchment between layers to prevent sticking.
- Let refrigerated bars sit at room temperature for 15-20 minutes before serving for the best texture experience.
- For a formal presentation, cut into smaller pieces and place each on a paper candy cup for an elegant dessert platter.
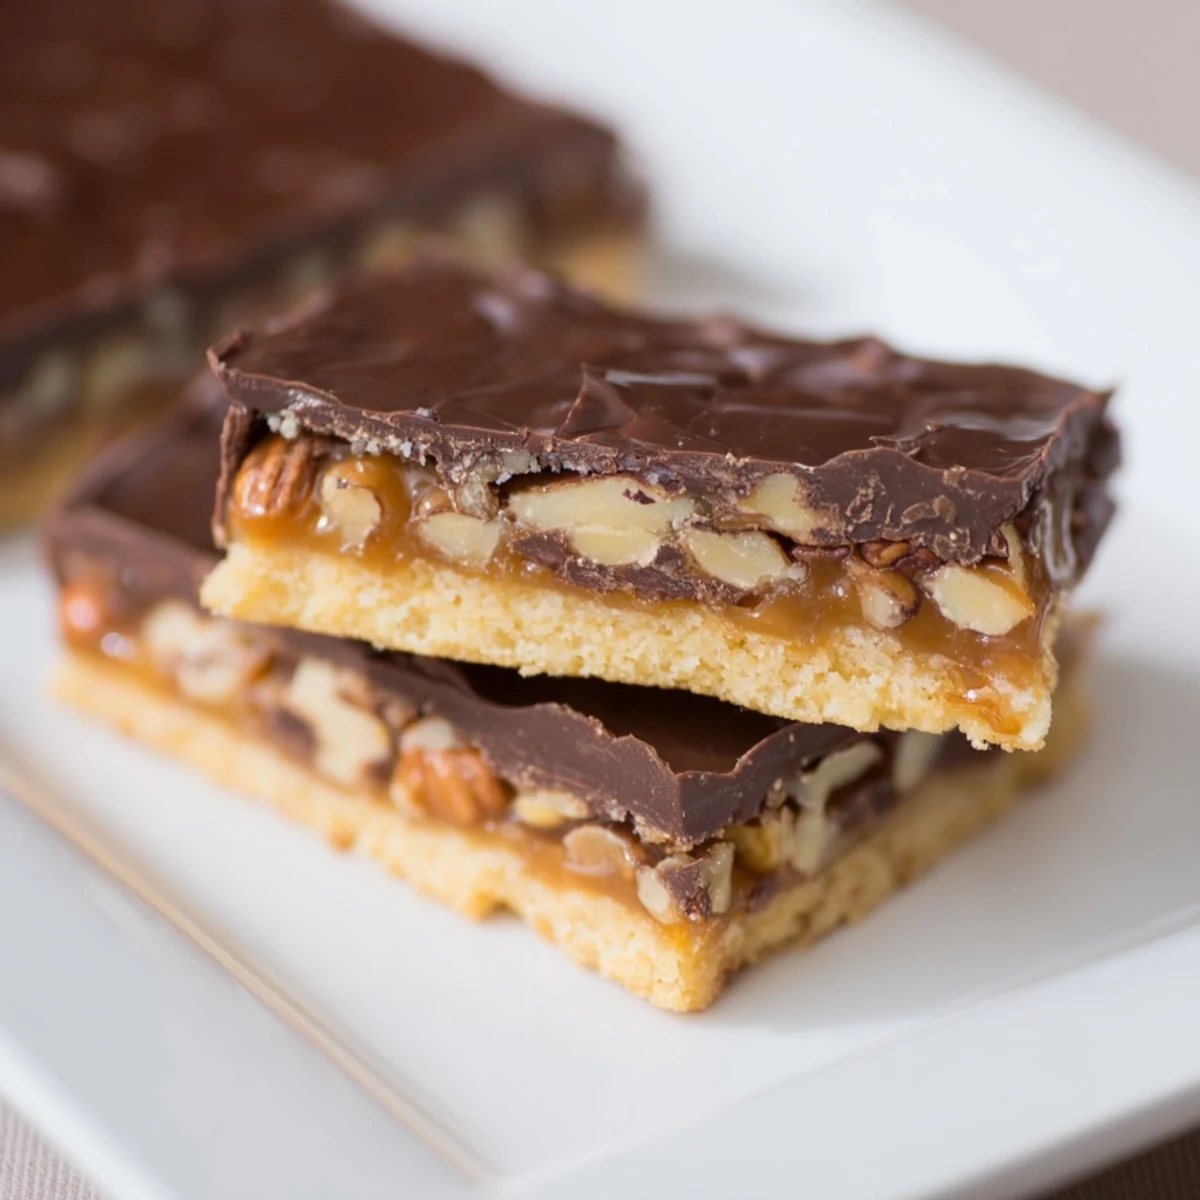 Save to Pinterest
 These layered bars have taught me that sometimes the most impressive treats are simply about patience and process rather than complicated techniques. Each time I make them, I find myself slowing down and enjoying the methodical steps, appreciating how basic ingredients transform into something truly special.
Recipe Questions & Answers
- → Can I use a different pan size?
-
Yes, you can adjust the recipe, but keep the thickness in mind. A 9x13-inch pan will create thinner bars and yield more pieces. Bake times may vary slightly depending on thickness.
- → How do I prevent the caramel from crystallizing?
-
Stir the sugar constantly while melting and avoid splashing water into the pan. Use a wet pastry brush on pan sides to wash down sugar crystals. Once amber, work quickly and add butter carefully.
- → What's the best way to cut clean bars?
-
Use a sharp, thin-bladed knife dipped in hot water and wiped dry between cuts. Work slowly and let the knife do the work rather than pressing hard. Cut while chocolate is firm but not rock-hard.
- → Can I make these ahead for an event?
-
Absolutely. These bars can be made up to a week in advance and stored in an airtight container in the refrigerator. They also freeze well for up to 2 months when wrapped individually.
- → Is there a dairy-free version possible?
-
You can substitute butter with coconut oil and heavy cream with coconut milk for the caramel layer. Use dairy-free chocolate as well. The texture may vary slightly but results are quite good.
- → Why is my caramel grainy after adding cream?
-
This typically happens if cream is too cold or added too quickly. Always use room-temperature cream and pour slowly while stirring. If graininess occurs, reheat gently and whisk until smooth.
