 Save to Pinterest
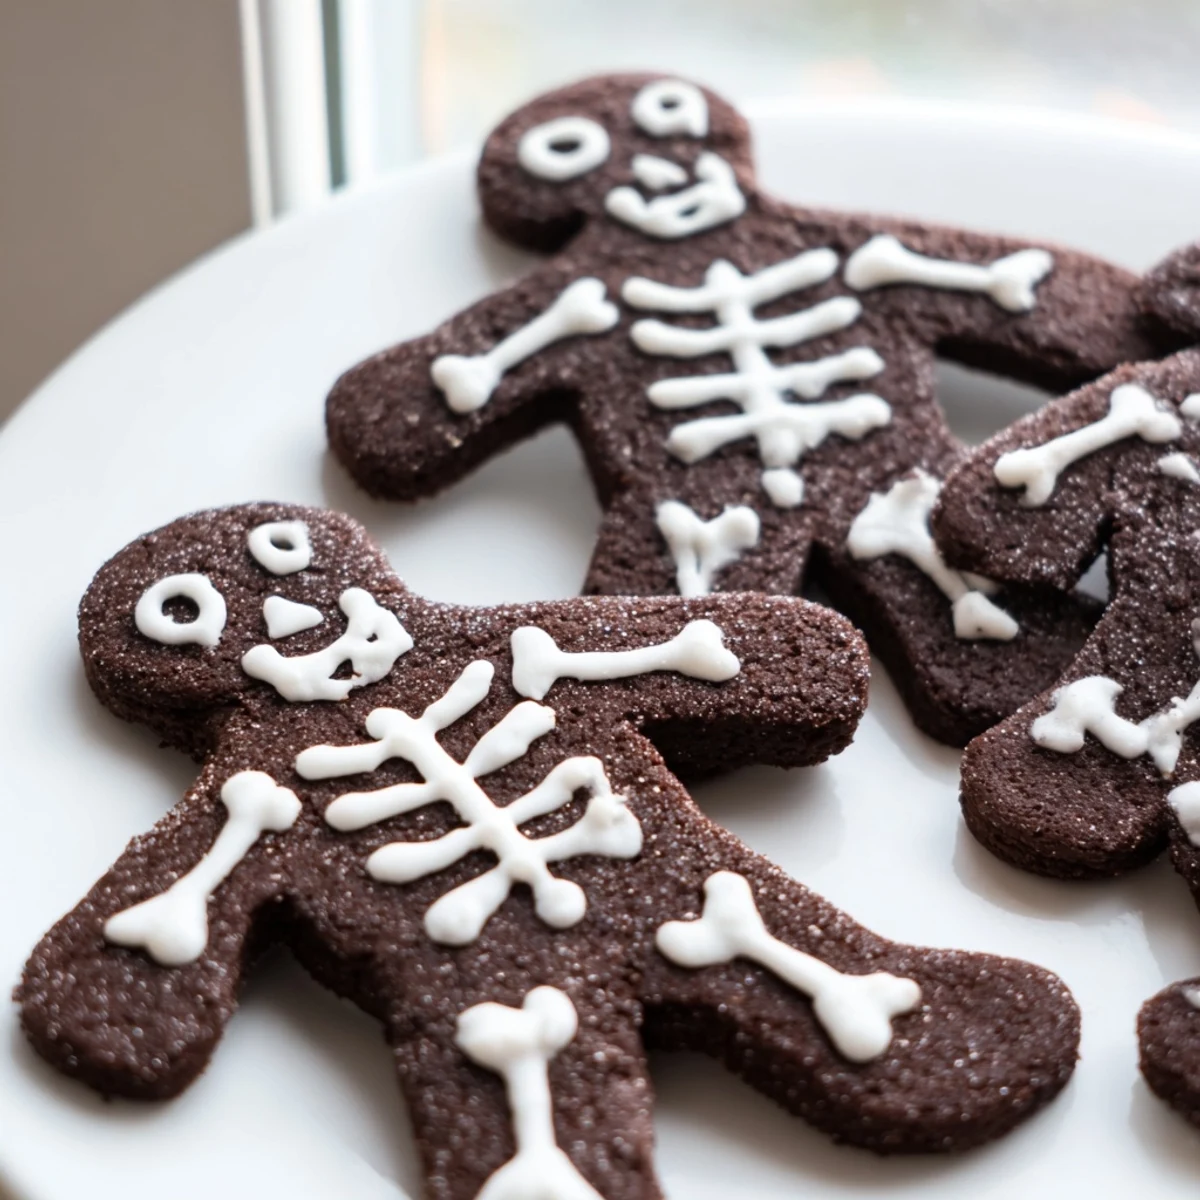
 Create these delightful chocolate cinnamon skeleton cookies for your next Halloween gathering. The rich cocoa dough is spiced with warm cinnamon and perfectly balanced with sweetness. After chilling, roll out the dough and cut skeleton shapes before baking until firm. The final touch comes from smooth royal icing piped into skeletal designs that transform each treat into an edible work of art. These cookies hold their shape beautifully and stay fresh for days when stored properly.
Last October, my daughter begged me to make something spookier than our usual pumpkin cookies. We found an old gingerbread man cutter in the back of the drawer and decided to turn it into a skeleton. The house smelled incredible warm chocolate and cinnamon swirling together while we worked.
My kitchen counter looked like a cookie graveyard that first year with skeleton designs everywhere from simple skull faces to elaborate ribcages. We may have eaten more broken skeleton parts than made it to the cooling rack but nobody was complaining about the quality control testing.
Ingredients
- All-purpose flour (2 1/4 cups): Provides the structure for rollable cookies that wont spread into blobs
- Unsweetened cocoa powder (1/2 cup): Use Dutch processed for a smoother chocolate flavor that isnt too bitter
- Ground cinnamon (2 tsp): The secret warming spice that makes these taste like autumn in cookie form
- Baking powder (1/2 tsp): Gives just enough lift without making the cookies puff up and lose their skeleton shape
- Salt (1/2 tsp): Balances the sweetness and makes the chocolate flavor pop
- Unsalted butter (3/4 cup): Room temperature is non negotiable here or your dough will be impossible to work with
- Granulated sugar (1 cup): Creates the crisp cookie texture we want for decorating
- Large egg (1): Binds everything together and adds richness
- Vanilla extract (1 1/2 tsp): Pure vanilla extract makes a noticeable difference in the final flavor
- Powdered sugar (2 cups): Sifting first prevents lumpy icing that clogs your decorating tips
- Egg white (1 large): Makes royal icing that hardens perfectly so decorated cookies dont smudge
- Water (2-3 tbsp): Adjust this to get the right piping consistency thick enough to hold lines but thin enough to flow
Instructions
- Whisk the dry ingredients:
- In a medium bowl combine flour cocoa powder cinnamon baking powder and salt until everything is evenly distributed. The cocoa flour mixture should look like rich dark soil when youre done.
- Cream the butter and sugar:
- Beat butter and sugar in a large bowl for about 2 minutes until the mixture turns pale and fluffy. Scrap down the sides of the bowl to make sure no butter is hiding.
- Add the wet ingredients:
- Mix in the egg and vanilla extract until fully incorporated. The batter should look smooth and glossy like chocolate pudding.
- Combine everything:
- Gradually add the dry mixture to the wet ingredients mixing just until a dough forms. Do not overmix or your cookies will be tough.
- Chill the dough:
- Divide dough in half flatten into disks and wrap tightly in plastic. Refrigerate for at least 30 minutes though overnight is even better for flavor development.
- Prep for baking:
- Preheat your oven to 350°F and line baking sheets with parchment paper. The parchment is crucial for easy removal later.
- Roll and cut:
- Roll chilled dough to 1/4 inch thickness on a floured surface. Cut out skeleton shapes and transfer to prepared baking sheets leaving an inch between cookies.
- Bake to perfection:
- Bake for 10 to 12 minutes until edges are set. The cookies should still feel slightly soft in the center but firm around the edges.
- Make the royal icing:
- Beat egg white with sifted powdered sugar adding water one tablespoon at a time until smooth and pipeable. The icing should flow slowly off a spoon but hold its shape.
- Decorate your skeletons:
- Transfer icing to a piping bag with a fine tip and create skeleton designs. Let the decorated cookies dry completely before stacking or storing.
 Save to Pinterest
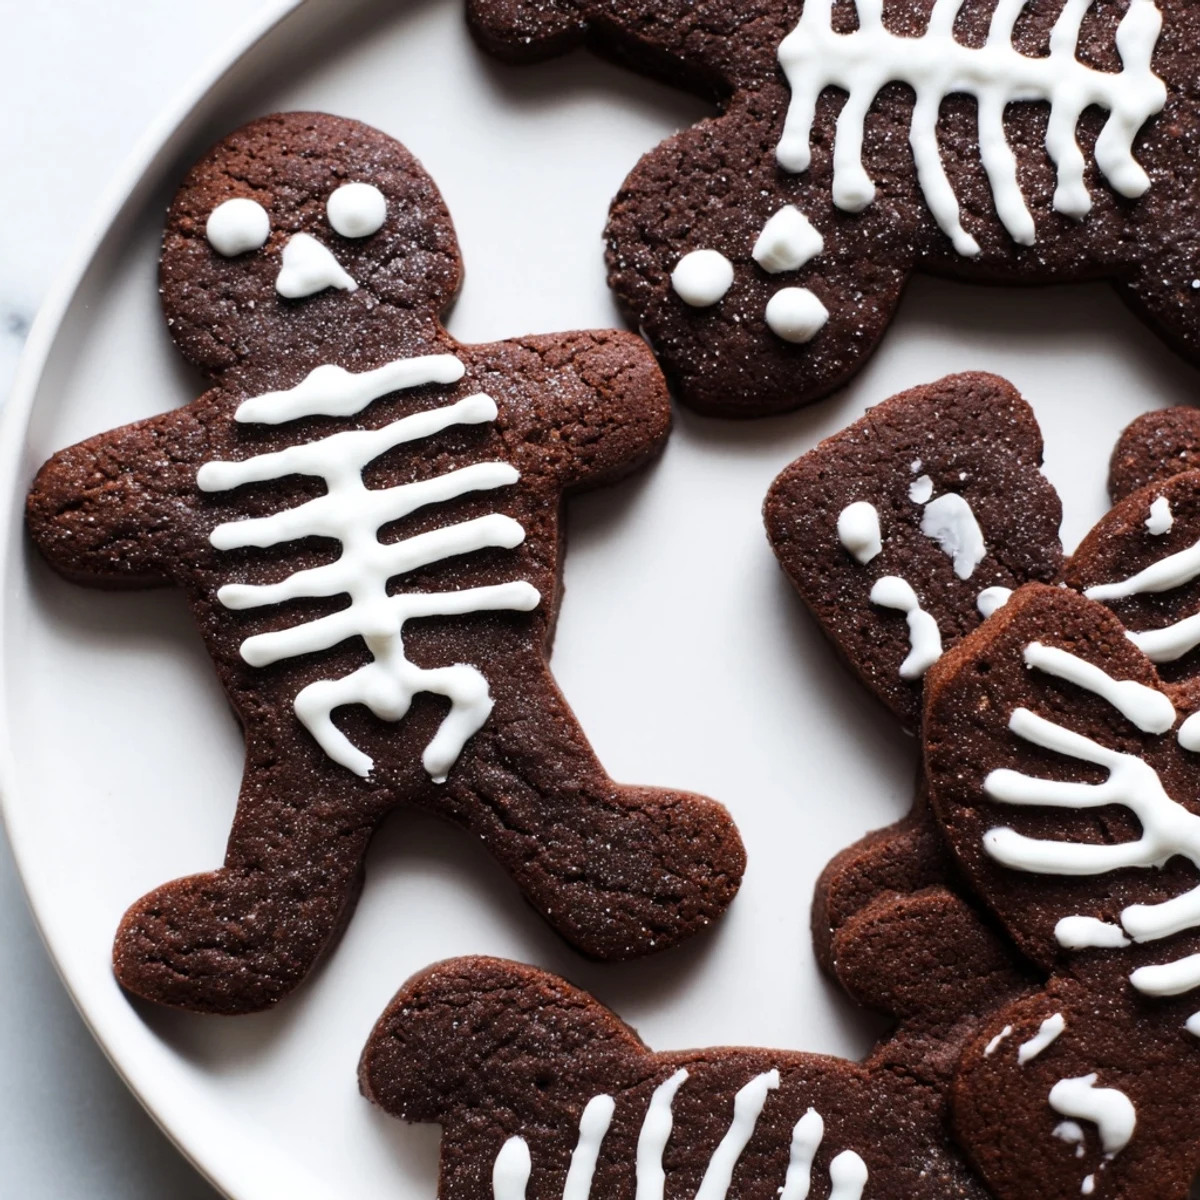
 These cookies became such a hit that now every October my neighbors start asking when the skeletons are coming out. Last year we hosted a decorating party and ended up with skeleton cookies wearing tiny edible bowties and hats.
Getting The Right Dough Consistency
The dough should feel like playdough when you take it out of the fridge pliable but not sticky. If its too soft it will stick to your rolling pin and the cutter will leave jagged edges. A light dusting of flour on both the counter and rolling pin usually solves this but work quickly because warm dough becomes difficult to handle fast.
Icing Secrets From My Kitchen Disasters
My first batch of royal icing turned into rock hard cement that was impossible to pipe. The trick is adding water literally one teaspoon at a time once you reach 2 tablespoons. Test the consistency by dragging a knife through the icing the line should smooth back together in about 10 seconds. Also powdered sugar must be sifted or you will spend twenty minutes trying to unclog your decorating tip.
Decoration Ideas That Wow
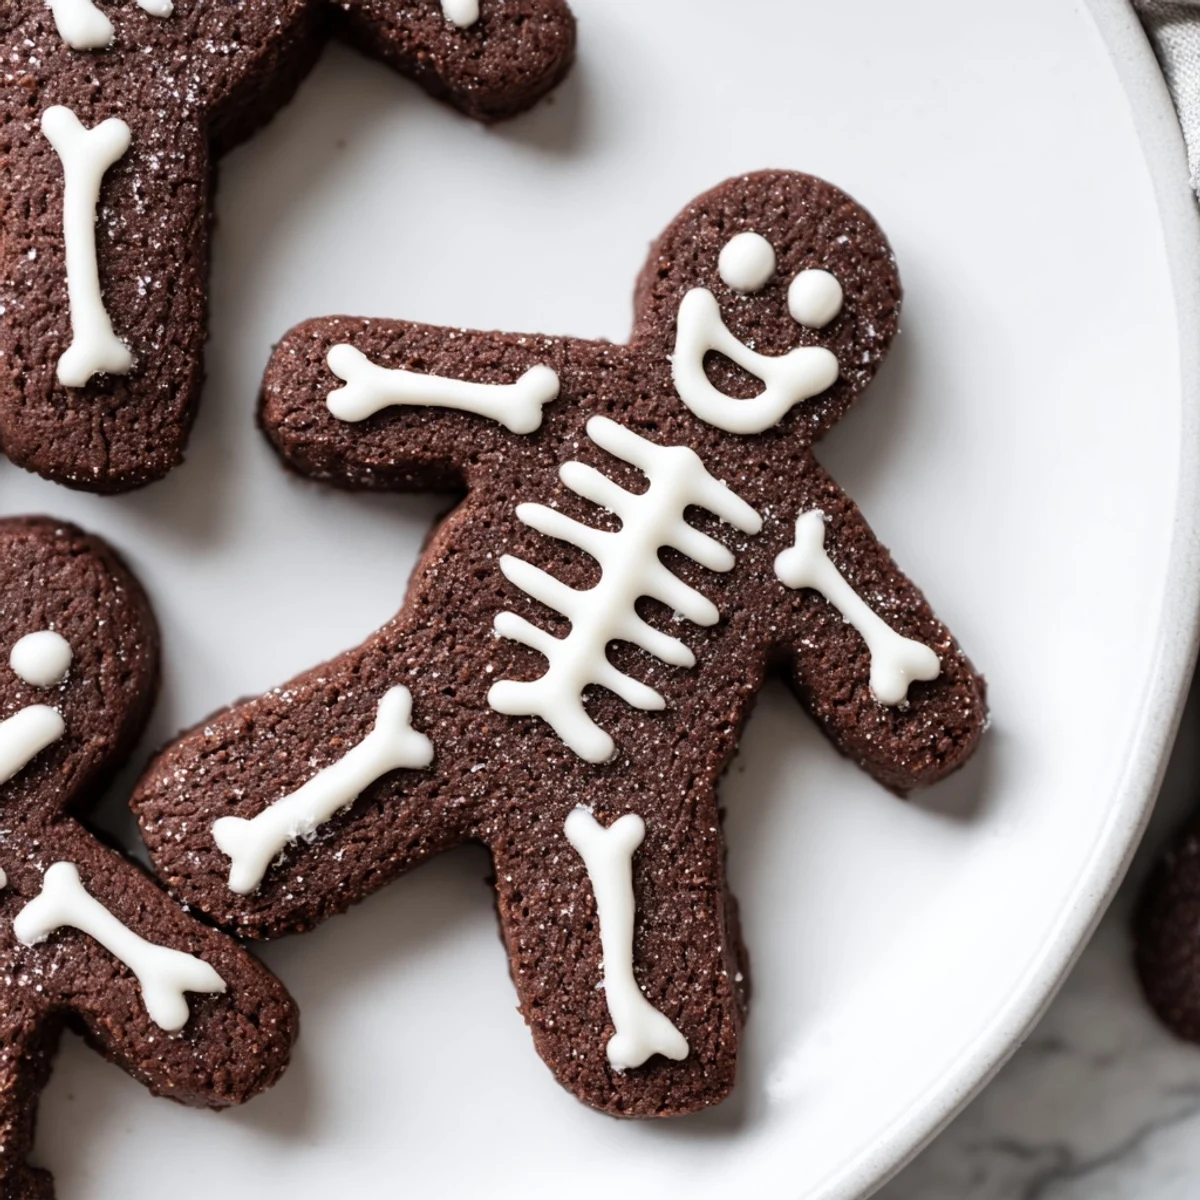
Beyond basic skeleton faces try drawing ribcages with lines of dots or adding little hearts where the skeleton heart would be. Some of my favorite creations have included skeleton pirates tiny hats and even skeleton pets. The royal icing works as edible glue if you want to add sprinkles or edible pearls for extra personality.
- Make a test skeleton first to get the hang of piping before decorating all your cookies
- If you mess up a design just scrape it off gently while the icing is still wet and try again
- Let decorated cookies dry for at least 4 hours or overnight before stacking them
 Save to Pinterest
 There is something ridiculously satisfying about biting into a chocolatey skeleton while watching scary movies with family. Hope these become as much of a tradition in your house as they have in mine.
Recipe Questions & Answers
- → Can I make the dough ahead of time?
-
Yes, the dough can be prepared and refrigerated for up to 3 days before baking. You can also freeze the dough disks for up to 3 months. Thaw overnight in the refrigerator before rolling and cutting.
- → What if I don't have a skeleton cookie cutter?
-
Gingerbread man cutters work perfectly for creating skeleton shapes. You can also use a small knife to freehand cut simple skeleton shapes from rolled dough. The key is keeping the dough chilled for clean edges.
- → How long does the royal icing take to dry?
-
Royal icing typically sets within 30-60 minutes at room temperature, but for completely dry decorations that won't smudge, allow 4-6 hours or overnight. The humidity in your kitchen affects drying time significantly.
- → Can I use meringue powder instead of egg white?
-
Absolutely. Meringue powder is actually preferred for food safety concerns, especially if serving children or immunocompromised individuals. Use 2 tablespoons of meringue powder dissolved in the water before mixing with powdered sugar.
- → Why is my cookie dough too sticky to roll?
-
The dough likely needs more chilling time. Return it to the refrigerator for at least 30 minutes. You can also lightly flour your work surface and rolling pin, but avoid adding too much flour which can make the cookies tough.
- → How should I store the decorated cookies?
-
Once the royal icing is completely dry, store cookies in an airtight container between layers of parchment paper. They'll stay fresh for up to a week at room temperature. Avoid stacking until icing is fully hardened.
