 Save to Pinterest
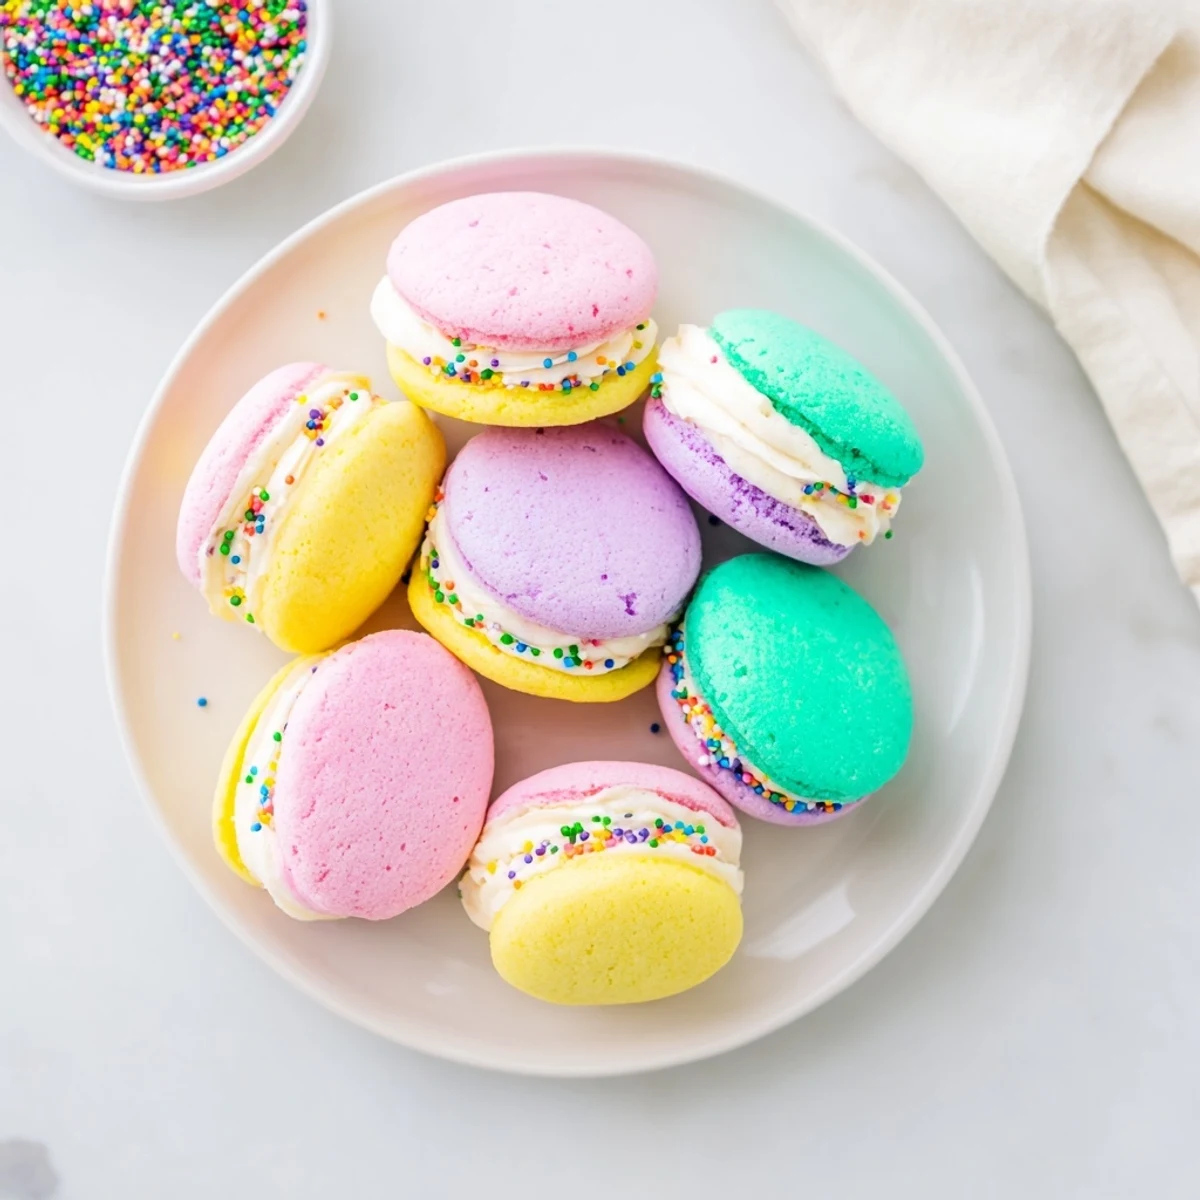
 Create delightful pastel-hued cookie sandwiches featuring soft sugar cookies in pink, yellow, blue, green, and purple. Each cookie is filled with a luscious vanilla buttercream that complements the buttery dough perfectly. These treats come together in just over an hour and yield 14 sandwich cookies, making them ideal for spring parties, Easter dessert tables, or whenever you want to add a pop of color to your baking. The dough is easily divided and tinted with gel food coloring, while the classic buttercream filling pipes beautifully for assembly.
The first time I made these pastel sandwich cookies was for my daughter's spring birthday party. I'd stayed up late the night before dyeing little bowls of dough in soft pinks, yellows, and mint greens, something about the process feeling wonderfully therapeutic. When her friends saw the platter of colorful cookies, their eyes lit up like I'd presented something magical. Now they're my go to whenever I need a dessert that looks impressive but actually comes together easily.
Last Easter my grandmother watched me roll the colored dough balls and told me about how she used to make simple sugar cookies with her siblings, never fancy colors but always made with love. We sat at the kitchen table eating the finished sandwiches with tea, and she said these reminded her why simple cookies with good ingredients never go out of style. That moment made me realize the best recipes are the ones that bring generations together.
Ingredients
- All purpose flour: The structure for your cookies, measure by spooning into your cup and leveling off for accuracy
- Baking powder: Just half a teaspoon gives these cookies the perfect gentle lift
- Salt: A quarter teaspoon balances all that sugar and makes the vanilla pop
- Unsalted butter: Softened to room temperature so it creams properly with the sugar, creating that tender texture
- Granulated sugar: Cream this thoroughly with the butter for that classic sugar cookie crunch on the edges
- Large egg: Bring to room temperature so it incorporates smoothly into the dough
- Pure vanilla extract: Two teaspoons gives these cookies their classic flavor
- Almond extract: Completely optional but adds a lovely subtle depth that people notice but cant quite identify
- Gel food coloring: Use pastel gel colors for soft Easter egg hues without adding excess liquid to the dough
- Unsalted butter for frosting: Again softened to room temperature for silky smooth buttercream
- Powdered sugar: Sift before adding to prevent lumps in your frosting
- Milk or cream: Just enough to make the frosting spreadable, start with one tablespoon
- Pure vanilla extract for frosting: One teaspoon infuses the filling with warm vanilla flavor
- Pinch of salt for frosting: Enhances the vanilla and prevents the buttercream from tasting overly sweet
- Sprinkles: Optional but they add such a festive touch to the edges of the sandwich cookies
Instructions
- Get your oven ready:
- Preheat to 350°F and line two baking sheets with parchment paper so nothing sticks and cleanup is effortless.
- Whisk the dry ingredients:
- In a medium bowl combine the flour, baking powder, and salt until well blended, then set aside.
- Cream the butter and sugar:
- Beat the butter and sugar together for 2 to 3 minutes until pale and fluffy, scraping the bowl once halfway through.
- Add the egg and extracts:
- Mix in the egg, vanilla extract, and almond extract if using until fully incorporated and smooth.
- Combine the dough:
- Gradually add the flour mixture, mixing just until no dry streaks remain and the dough comes together.
- Color the dough:
- Divide the dough evenly into 4 or 5 bowls and tint each with a different pastel gel food coloring until uniform.
- Portion the cookies:
- Use a tablespoon or cookie scoop to drop dough balls onto the prepared sheets, leaving 2 inches between each.
- Flatten slightly:
- Gently press each ball with your palm just enough to flatten the tops for even baking.
- Bake to perfection:
- Bake for 10 to 12 minutes until edges are set but centers still look soft, checking at the 10 minute mark.
- Cool completely:
- Let the cookies rest on the trays for 5 minutes then move to a wire rack until completely cool.
- Make the buttercream:
- Beat the butter until creamy then add powdered sugar, vanilla, salt, and milk until smooth and fluffy.
- Assemble the sandwiches:
- Spread or pipe buttercream onto the flat side of half the cookies and top each with another cookie.
- Add the finishing touch:
- Press sprinkles into the exposed buttercream edges if desired for that festive celebration look.
 Save to Pinterest
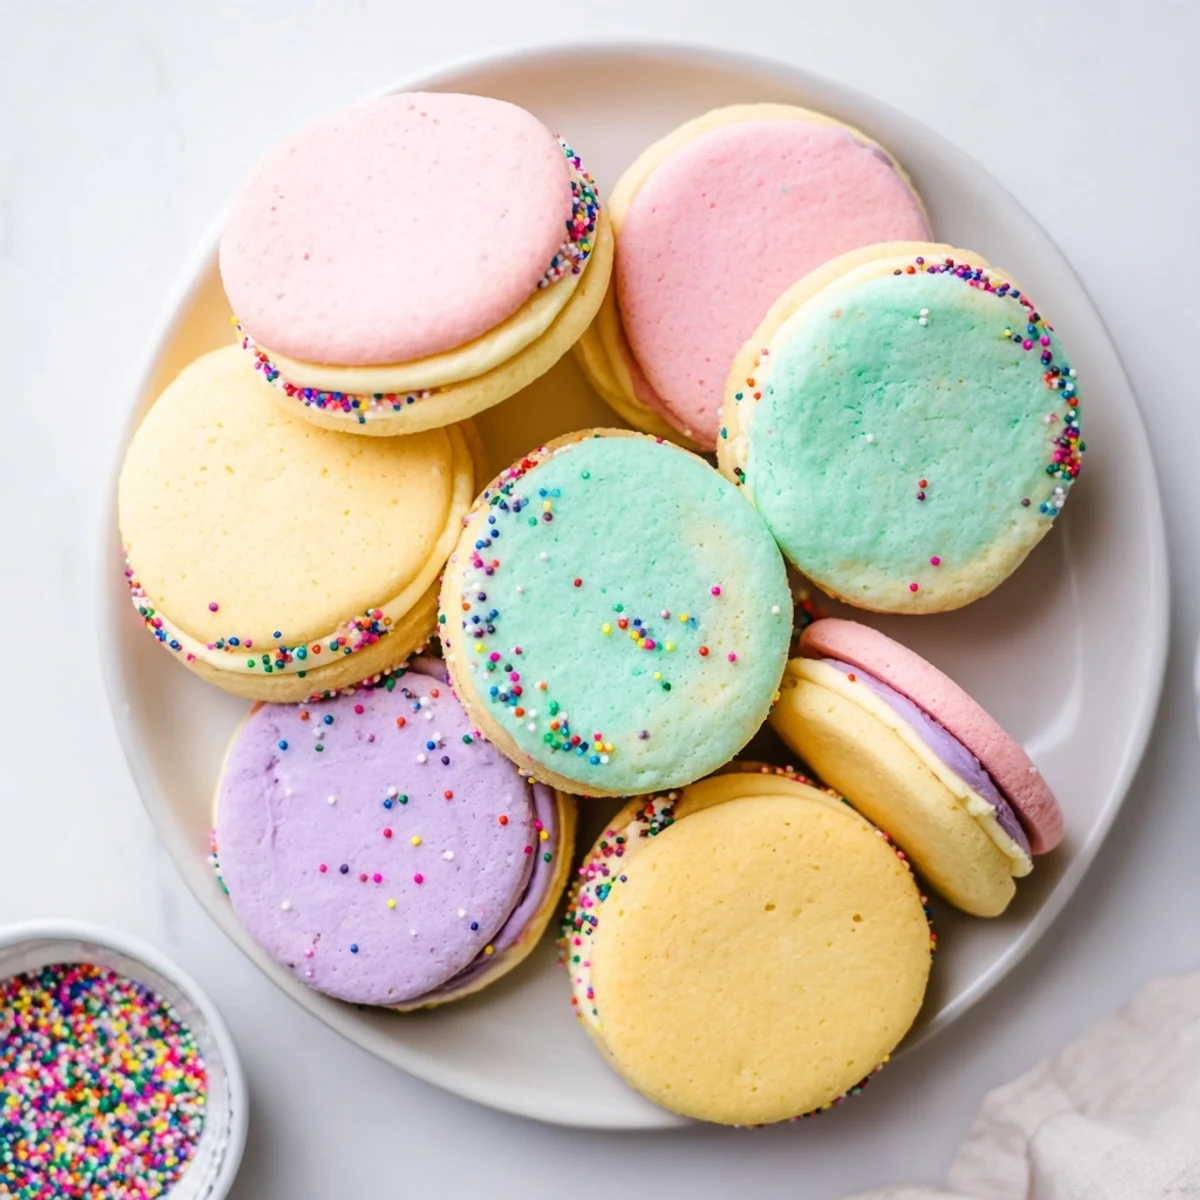
 These cookies have become my daughters most requested birthday treat. She loves helping me divide the dough and choose which colors go into which bowl, getting food coloring all over her fingers in the process. The way she carefully arranges them on the platter makes all the effort worth it.
Making The Colors Pop
Gel food coloring is absolutely worth the extra trip to the craft store or baking aisle. Liquid coloring will throw off your dough consistency but a tiny dot of gel delivers vibrant color without changing the texture at all. Start with less than you think you need because you can always add more but you cant take it back.
Freezing For Later
I've discovered these cookies freeze beautifully either as baked plain cookies or as fully assembled sandwiches. Wrap individual sandwiches in plastic then place them in a freezer container for up to a month. Thaw at room temperature for about an hour and they taste just as fresh as the day you made them.
Serving Ideas
These pastel beauties work for so many occasions beyond Easter. Baby showers, birthday parties, spring brunches, or even just because Tuesday needs something colorful and sweet. Arrange them on a vintage cake stand or simple white platter and let the colors do the decorating for you.
- Set up a cookie decorating station at parties with bowls of sprinkles and let guests customize their own
- Package individual sandwiches in clear bags tied with pastel ribbon for adorable party favors
- Stack three different colors on a small plate for the prettiest dessert presentation
 Save to Pinterest
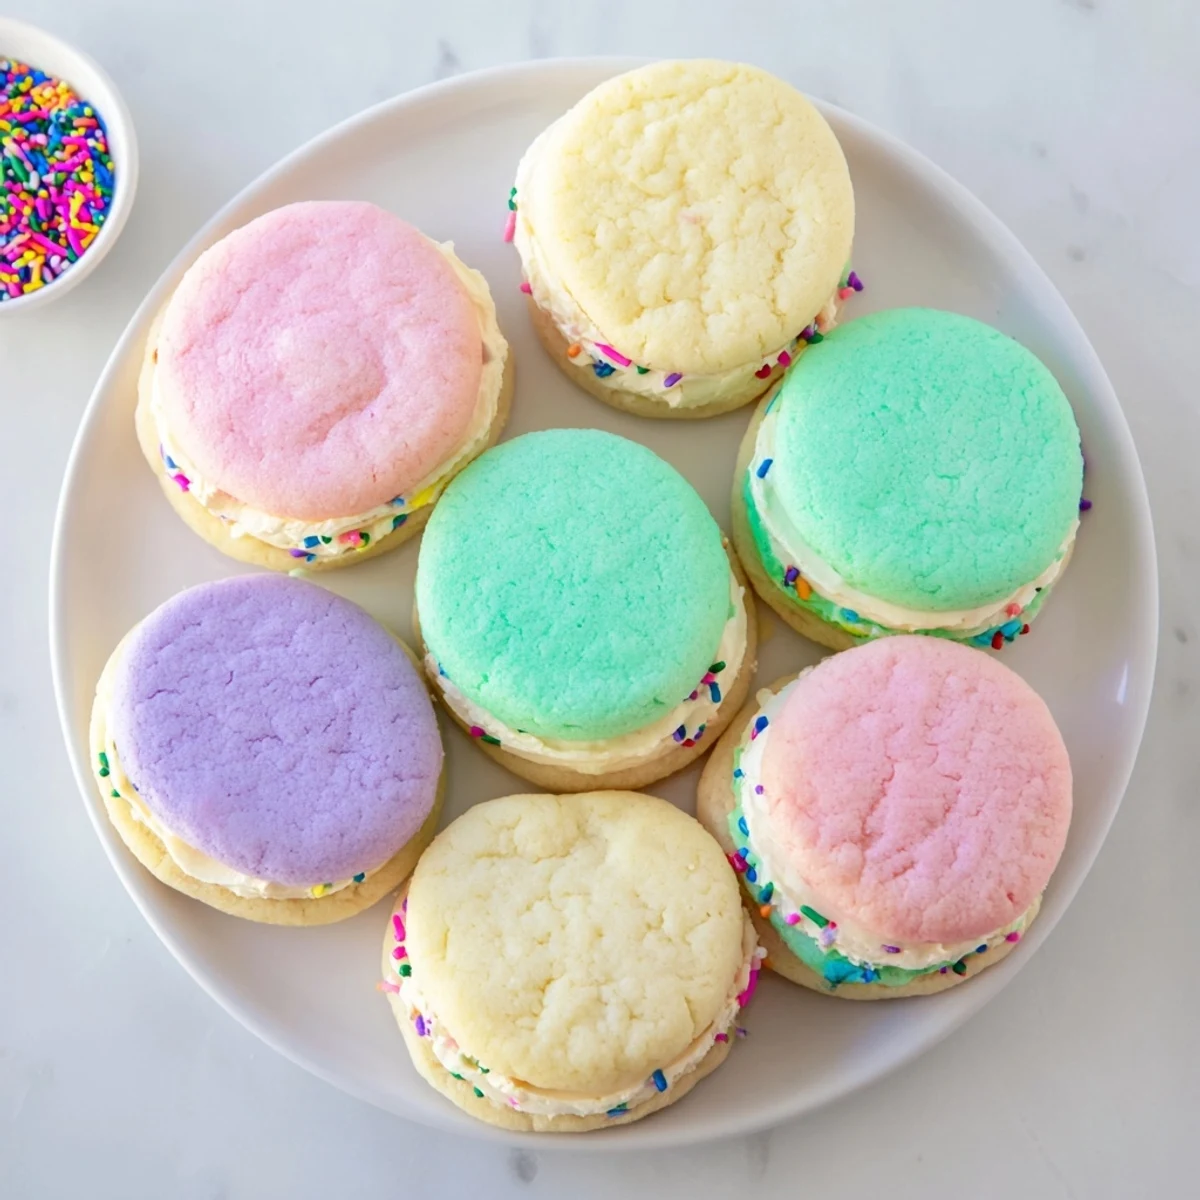
 Hope these colorful cookies bring as much joy to your kitchen as they have to mine. There's something about pastel sweets that makes everything feel a little lighter and happier.
Recipe Questions & Answers
- → Can I make the cookie dough ahead of time?
-
Yes, the dough can be prepared up to 2 days in advance and stored in the refrigerator. Bring to room temperature before portioning and baking. You can also freeze the dough for up to 3 months.
- → What's the best way to achieve vibrant pastel colors?
-
Use gel food coloring instead of liquid for the most intense hues without altering the dough consistency. Start with a small amount and gradually add more until you reach your desired pastel shade.
- → How should I store the assembled sandwiches?
-
Store completed cookie sandwiches in an airtight container at room temperature for up to 3 days. If your kitchen is warm, refrigerate them to prevent the buttercream from softening too much.
- → Can I use natural food coloring?
-
Natural food colorings work well, though they typically produce more muted tones. Beet juice, spinach powder, and turmeric can create pink, green, and yellow hues respectively.
- → Why did my cookies spread too much?
-
Excess spreading usually happens when the dough is too warm or the butter was overly softened. Chill the portioned dough balls for 15-20 minutes before baking to help them hold their shape.
- → Can I make these without almond extract?
-
Absolutely. The almond extract is optional and simply adds a subtle background note. You can substitute with additional vanilla extract or leave it out entirely for pure vanilla flavor.
