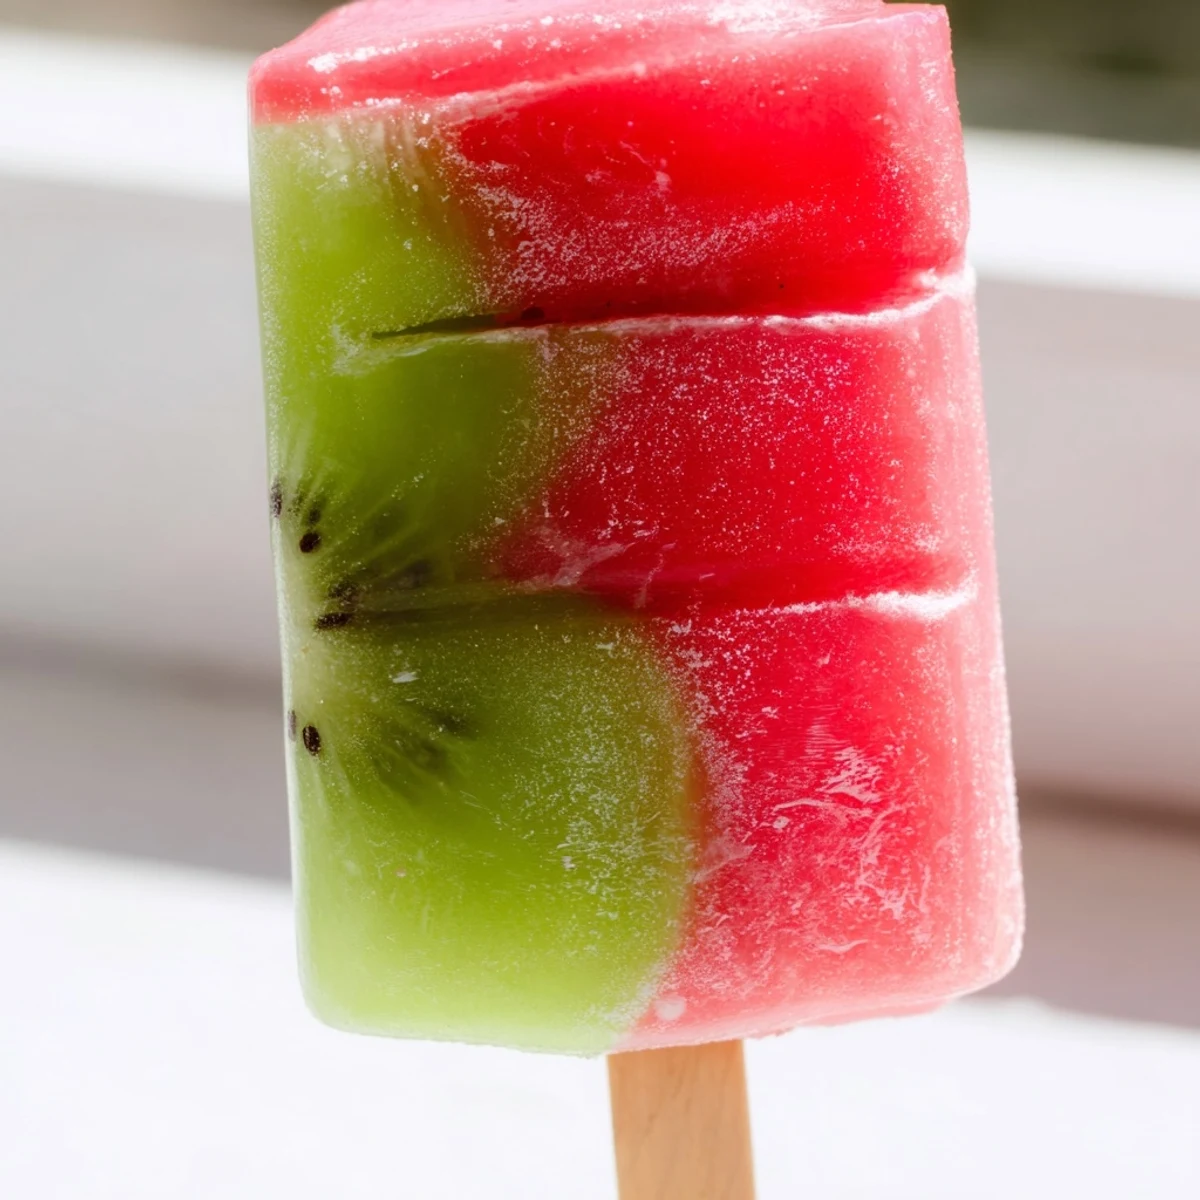
 Save to Pinterest
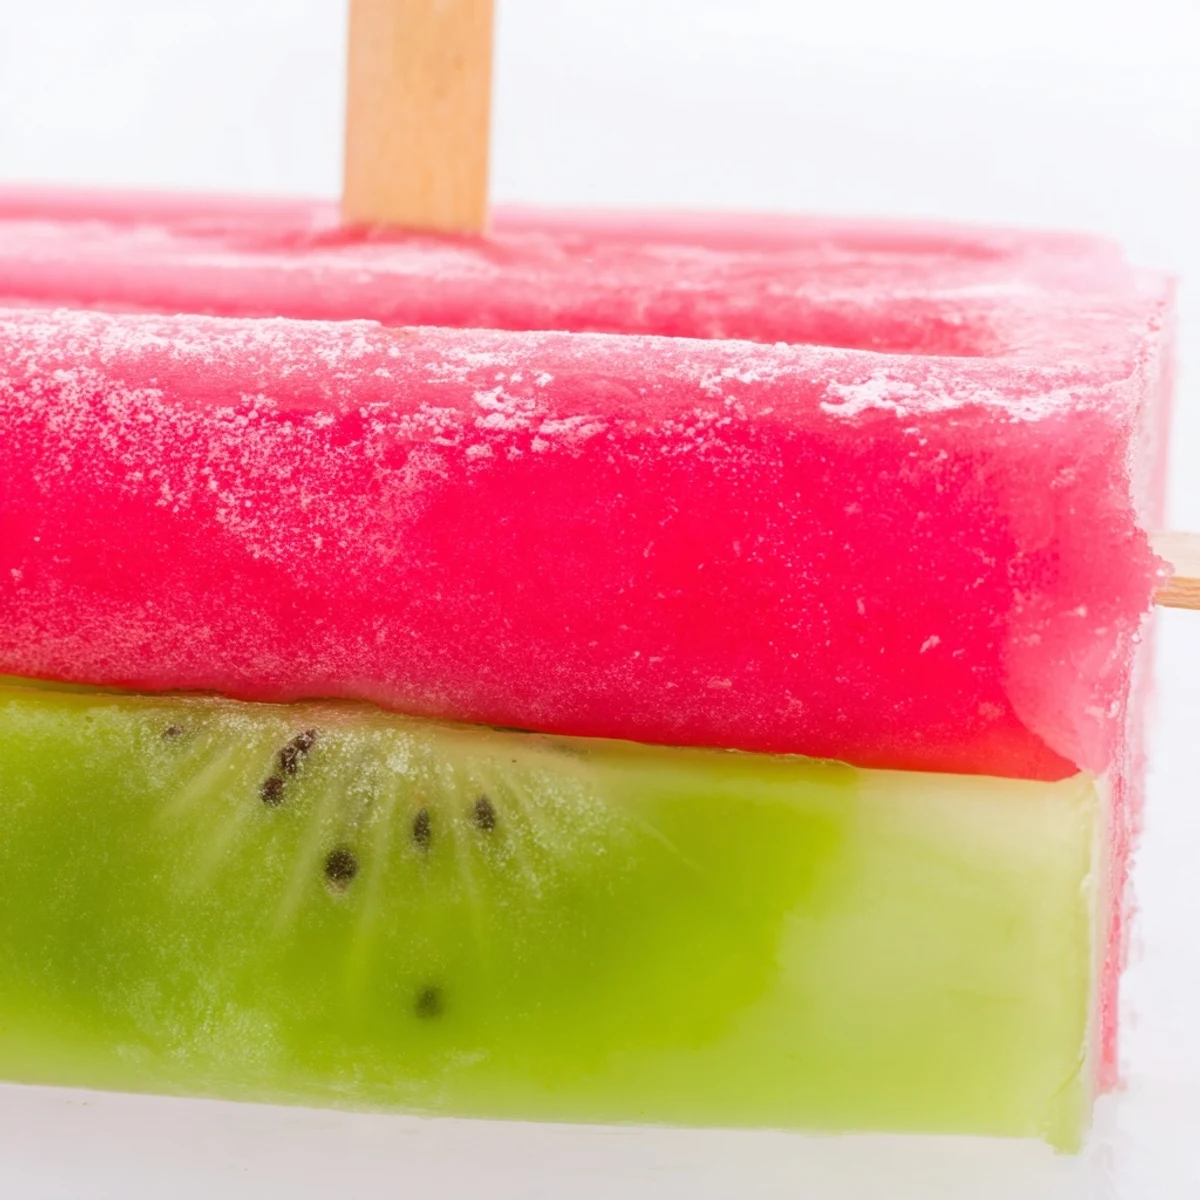
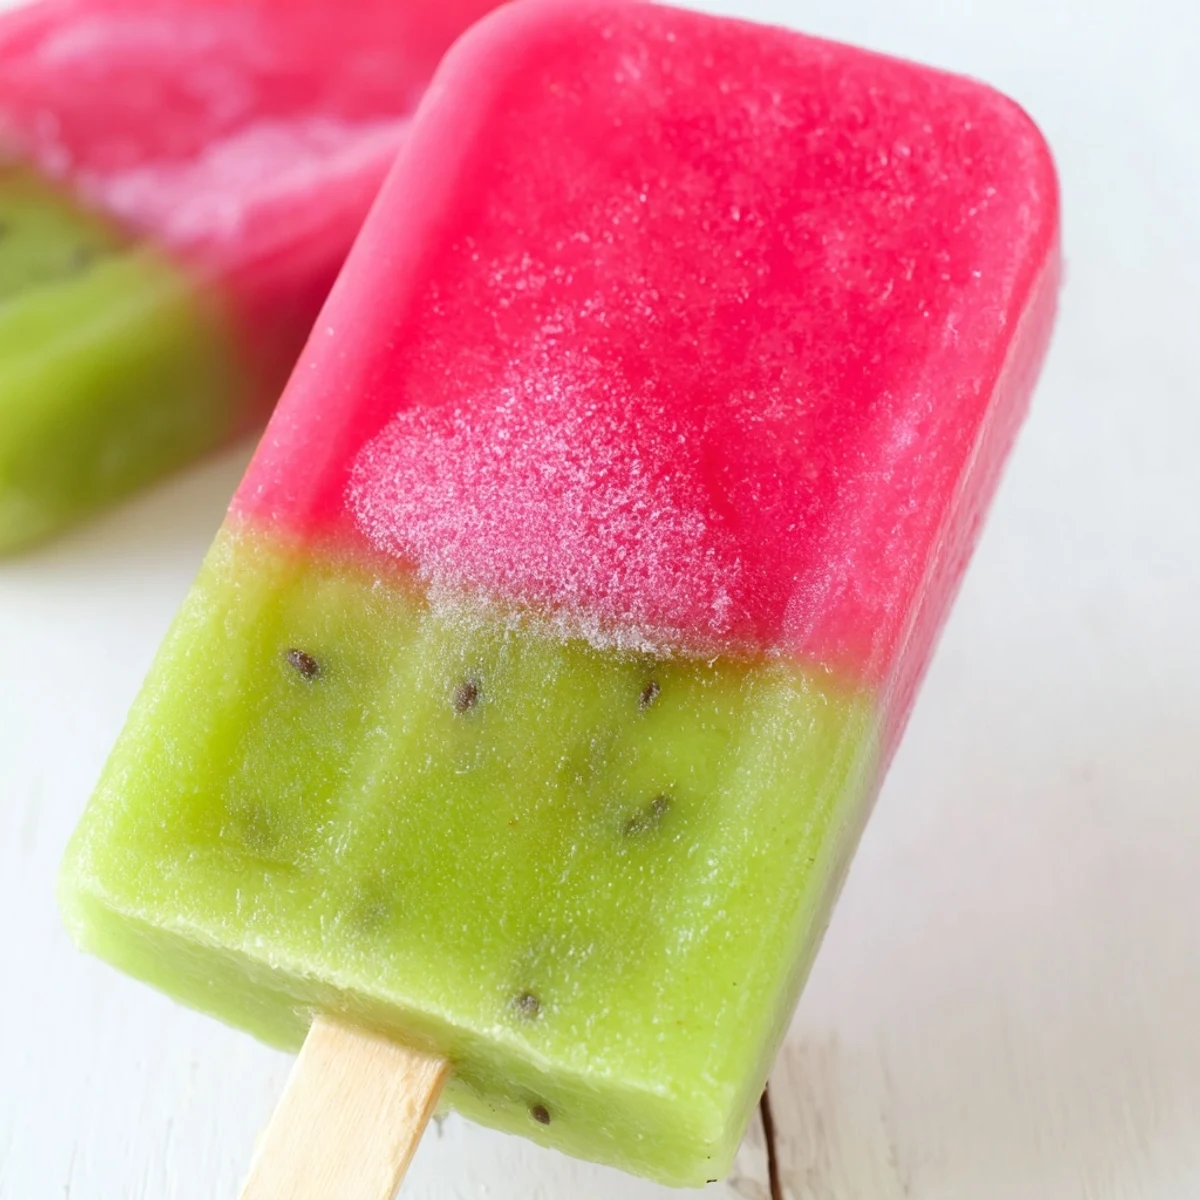
 These stunning frozen treats feature vibrant layers of sweet watermelon and zesty kiwi purée. The dual-tone effect creates visual appeal while delivering refreshing fruit flavors in every bite. Simply blend each fruit layer separately, freeze the watermelon base first, then add kiwi on top. The result is a gorgeous swirled presentation that tastes as delicious as it looks.
Perfect for sweltering summer afternoons, these dairy-free pops come together in just minutes of active prep time. Kids love the bright colors, and adults appreciate the naturally sweet flavors without added sugar. Customize with fresh mint or adjust sweetness to your preference.
The thermometer on my porch read 103 degrees, and my kids had already drained every popsicle from the grocery store freezer section twice that week. I stared at a watermelon sitting on the counter, slightly past its prime for eating sliced, and thought there had to be a better way. That afternoon I blended it straight into popsicle molds with zero plan, and the results were shockingly good. Kiwi joined the party a few days later, and now these two toned pops are the only frozen treat anyone in my house asks for.
My neighbor walked over while I was unmolding a batch last July, and she stood right in the yard eating one in under a minute before asking for the recipe.
Ingredients
- 3 cups seedless watermelon, cubed: The riper and redder the better because all your sweetness comes from the fruit itself.
- 2 tablespoons fresh lime juice: Bottled works, but fresh lime juice brightens the watermelon in a way nothing else can.
- 1 to 2 tablespoons agave syrup or honey (optional): Only needed if your watermelon is on the bland side, so taste before adding.
- 3 ripe kiwis, peeled and sliced: Slightly soft kiwis blend smoother and taste sweeter than firm ones.
- 1 tablespoon fresh lime juice (for kiwi layer): Keeps the kiwi looking bright green instead of turning brown.
- 1 tablespoon agave syrup or honey (optional, for kiwi layer): Kiwi is naturally tart, so this small amount rounds things out nicely.
Instructions
- Blend the Watermelon:
- Toss the watermelon cubes, lime juice, and sweetener into the blender and purée until completely smooth. Hold back a tiny taste on a spoon to check the sweetness level before you commit.
- Fill the Molds:
- Pour the watermelon purée evenly into your popsicle molds, stopping at about two thirds full. Tap the molds gently on the counter a few times to coax out any trapped air bubbles.
- Partially Freeze:
- Slide the molds into the freezer for roughly one hour until the surface feels firm but not rock solid. This partial set is what keeps the kiwi layer from bleeding into the watermelon.
- Blend the Kiwi:
- While you wait, blend the kiwi slices with lime juice and sweetener until silky smooth. The color should be a vivid, almost electric green.
- Add the Second Layer:
- Pour the kiwi purée on top of the firmed watermelon layer, filling each mold nearly to the brim. Insert the popsicle sticks straight down through the center and return the molds to the freezer.
- Freeze Until Solid:
- Let them freeze for at least three hours, though overnight is even better for a clean, firm pop.
- Unmold and Enjoy:
- Run warm water over the outside of each mold for a few seconds, then pull gently. If you feel resistance, run the water a second longer rather than tugging harder.
 Save to Pinterest
 There is something about handing a kid a popsicle you made yourself that feels entirely different from tearing open a plastic wrapper.
Getting Creative with Flavors
Once you master the two layer technique, you can swap in almost any fruit. Mango and strawberry, peach and blueberry, or even coconut milk and pineapple all work beautifully.
Texture Upgrades Worth Trying
Stirring finely diced fruit into each purée before freezing adds little bursts of texture that make each bite more interesting. Pressing thin kiwi slices flat against the inside walls of each mold before pouring creates a stunning fruit window effect when you unmold.
Serving and Storing Your Pops
These keep well in the freezer for up to two weeks if wrapped tightly, though they rarely last that long in my house. A handful of fresh mint leaves blended into the watermelon layer adds a cool finish that adults especially seem to love.
- Line a container with parchment paper between layers of unmolded pops to prevent sticking.
- Maple syrup works as a fine substitute for agave or honey if that is what you have on hand.
- Always let the pops sit at room temperature for one minute before serving for the best texture.
 Save to Pinterest
 Keep a batch tucked in the back of your freezer all summer long and you will never dread a hot afternoon again. That is really the whole point.
Recipe Questions & Answers
- → How long do these frozen treats keep?
-
Store in an airtight container or freezer bag for up to 3 months. For best texture and flavor, enjoy within 1 month.
- → Can I use other fruits?
-
Absolutely. Try strawberry-mango, peach-raspberry, or mixed berry combinations. The layering technique works beautifully with any frozen fruit purée.
- → Do I need special molds?
-
Popsicle molds work best, but small paper cups with wooden sticks also work. Silicone molds make removal easiest—just peel away the silicone.
- → How do I prevent ice crystals?
-
Adding a touch of sweetener helps. Also, ensure purées are smooth before freezing and store pops in an airtight container to prevent freezer burn.
- → Can I make these without sweetener?
-
Yes. Ripe watermelon and kiwi provide plenty of natural sweetness. Taste your purées before freezing and adjust as needed.
