 Save to Pinterest
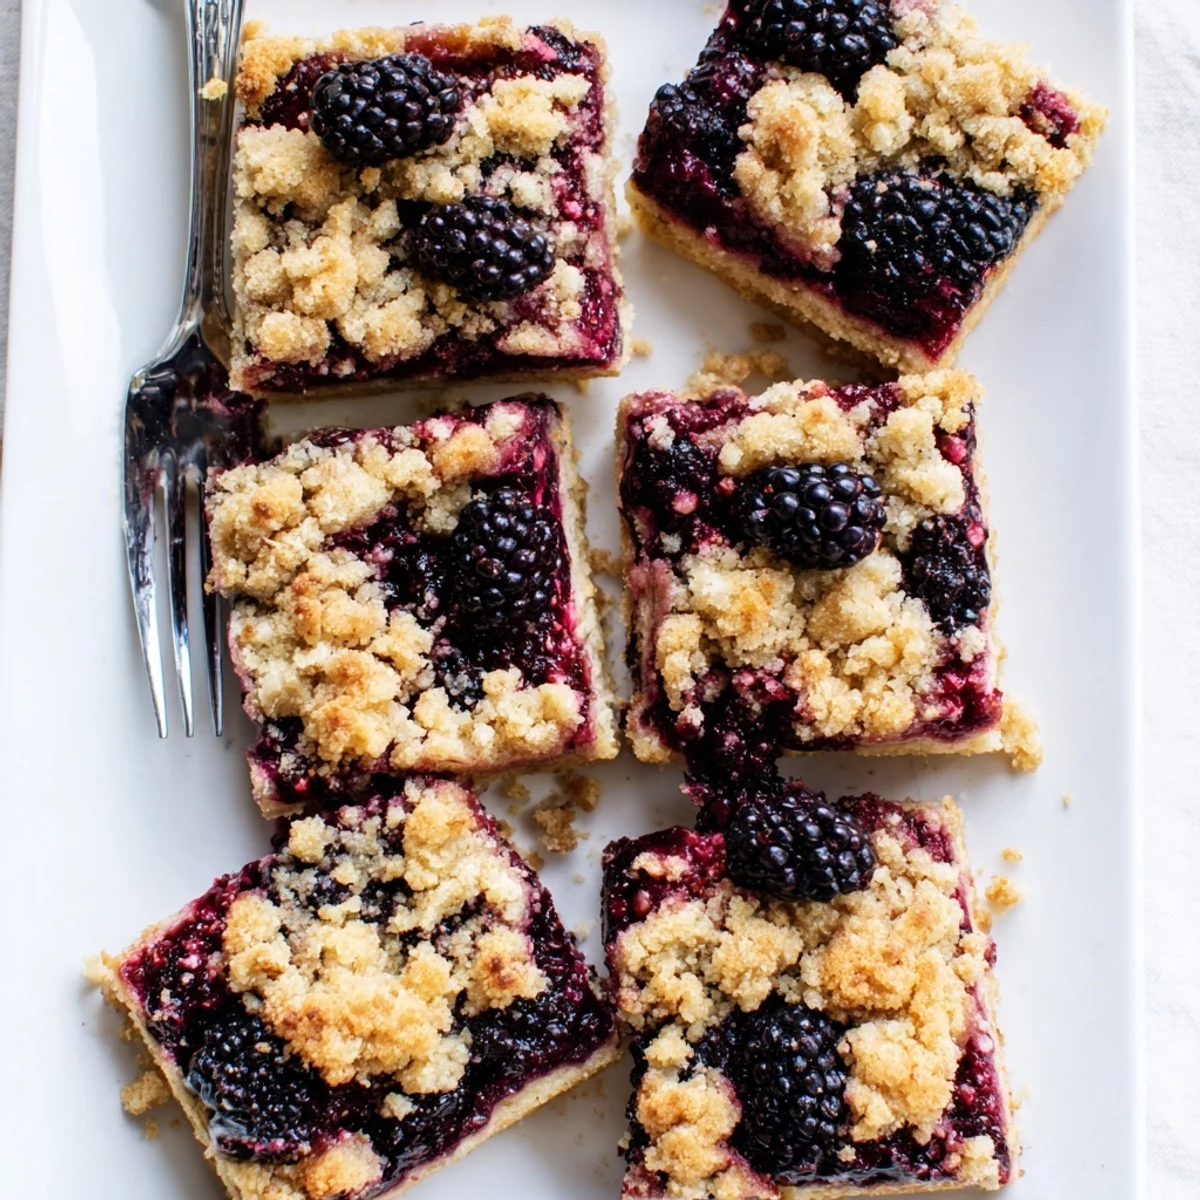
 These tender, buttery bars feature a luscious layer of juicy blackberries nestled between a buttery shortbread crust and crisp golden crumble topping. The natural tartness of fresh blackberries balances beautifully with the sweet, cinnamon-spiced dough, creating a satisfying handheld dessert that works equally well for afternoon snacks, picnic treats, or after-dinner sweets.
The simple press-in crust comes together quickly with pantry staples, while the bubbling fruit filling thickens perfectly during baking. Slice into squares once completely cooled for clean edges and the best texture. Store at room temperature for up to three days or refrigerate for longer keeping.
Last summer, my neighbor brought over a basket of blackberries from her garden, and I stood in my kitchen eating them by the handful until my fingers were stained purple. These bars were born from that happy excess, a way to capture that fleeting summer sweetness in something I could share. Now they've become my go-to when I need to bring something that looks impressive but secretly comes together in under an hour.
I brought these to a potluck last July and watched my friend's six-year-old carefully pick out all the blackberries first, then go back for the buttery crumbs. Something about that combination of tart fruit and tender, vanilla-scented pastry makes people slow down and savor each bite. They're the kind of dessert that disappears quickly but leaves people asking for the recipe.
Ingredients
- 2 cups all-purpose flour: The foundation that creates both structure and tenderness, so avoid the temptation to use whole wheat here
- 1 cup granulated sugar: Just enough sweetness to let the berries shine without becoming cloying
- 1/2 teaspoon baking powder: A subtle lift that keeps the crust from becoming too dense
- 1/4 teaspoon salt: Essential for balancing the sweetness and making all the flavors pop
- 1/2 teaspoon ground cinnamon: A warm background note that pairs beautifully with blackberries
- 1 cup cold unsalted butter, cubed: Cold butter is non-negotiable here; it creates those tender, flaky pockets in the crust
- 1 large egg: The binder that helps the crumb mixture hold together when pressed
- 3 cups fresh blackberries: Fresh berries give the best texture, but frozen work if thawed and drained well
- 1/2 cup granulated sugar: Coats the berries and helps them release their juices into a thick, jammy layer
- 2 tablespoons cornstarch: The secret to a filling that sets up beautifully instead of being soupy
- 1 tablespoon fresh lemon juice: Brightens the fruit and enhances the natural berry flavor
- 1 teaspoon lemon zest: Adds aromatic brightness that cuts through the buttery richness
Instructions
- Get your oven ready:
- Preheat to 350°F and line a 9x9-inch pan with parchment paper, letting the ends hang over like handles; this is your insurance policy for easy removal later.
- Mix the dry foundation:
- Whisk together the flour, sugar, baking powder, salt, and cinnamon until everything is evenly combined and no lumps remain.
- Work in the butter:
- Add the cold cubed butter and use a pastry cutter or your fingers to break it in until the mixture looks like coarse crumbs with some pea-sized pieces remaining.
- Bind the dough:
- Add the egg and mix until the dough starts to clump together; it will still look crumbly and that is exactly right.
- Build the base:
- Press about two-thirds of the dough firmly into the bottom of your prepared pan, creating an even layer that reaches the corners.
- Prepare the fruit:
- Gently toss the blackberries with sugar, cornstarch, lemon juice, and zest until the berries are evenly coated.
- Layer the filling:
- Spread the blackberry mixture over the crust, keeping it fairly even but some berry mounding is okay.
- Add the topping:
- Crumble the remaining dough over the berries with your fingers, leaving some larger pieces for that irresistible crumbly texture.
- Bake to golden perfection:
- Bake for 38 to 42 minutes until the top is golden brown and you see the fruit bubbling eagerly around the edges.
- Patience is essential:
- Cool completely in the pan on a wire rack before lifting out using the parchment handles and slicing into 16 bars.
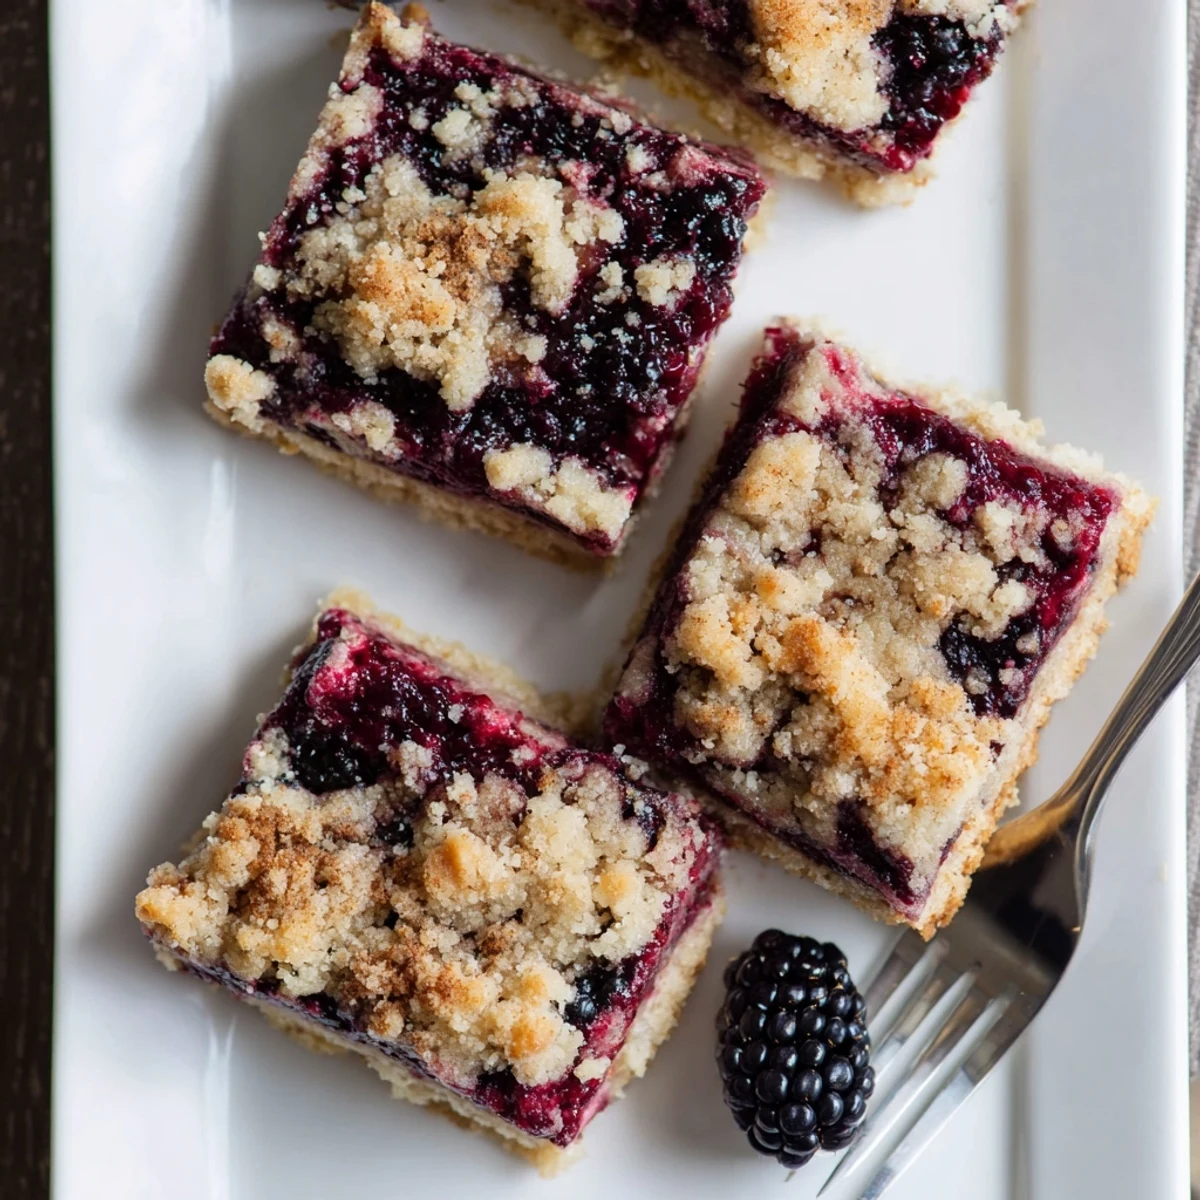 Save to Pinterest
 My mother called me the first time she made these, wondering if she had messed up because the dough seemed so dry and crumbly. When I told her that was exactly how it should look and she later texted me a photo of the golden, bubbling bars, she said she had never felt more accomplished in a kitchen. Sometimes the recipes that seem most uncertain in the middle turn out to be the ones we make over and over again.
Making Them Your Own
Raspberries work beautifully here and create an even more vibrant red filling that looks stunning against the golden crust. Blueberries hold their shape nicely and give you these little bursts of juice in every bite. I have even mixed all three berries together when my garden was overflowing and the result was messy but absolutely delicious.
Storage Secrets
These bars actually improve after a night in the refrigerator, as the flavors meld and the crust firms up into something wonderfully substantial. I keep them on the counter for the first day if I know they will be eaten quickly, then move them to the refrigerator. They have never lasted longer than a week in my house, but they theoretically could if hidden in the back of the fridge.
Serving Ideas
A warmed bar with vanilla ice cream is my idea of the perfect summer dessert, the cold cream melting into those tart, jammy pockets. For picnics, I wrap them individually in parchment paper so they are easy to grab and eat without utensils. They also make a surprisingly elegant brunch offering alongside coffee and fresh fruit.
- Dust them with powdered sugar right before serving for a bakery-style finish
- Try a scoop of lemon sorbet instead of ice cream for an extra bright finish
- These travel well if packed flat, making them perfect for bake sales or care packages
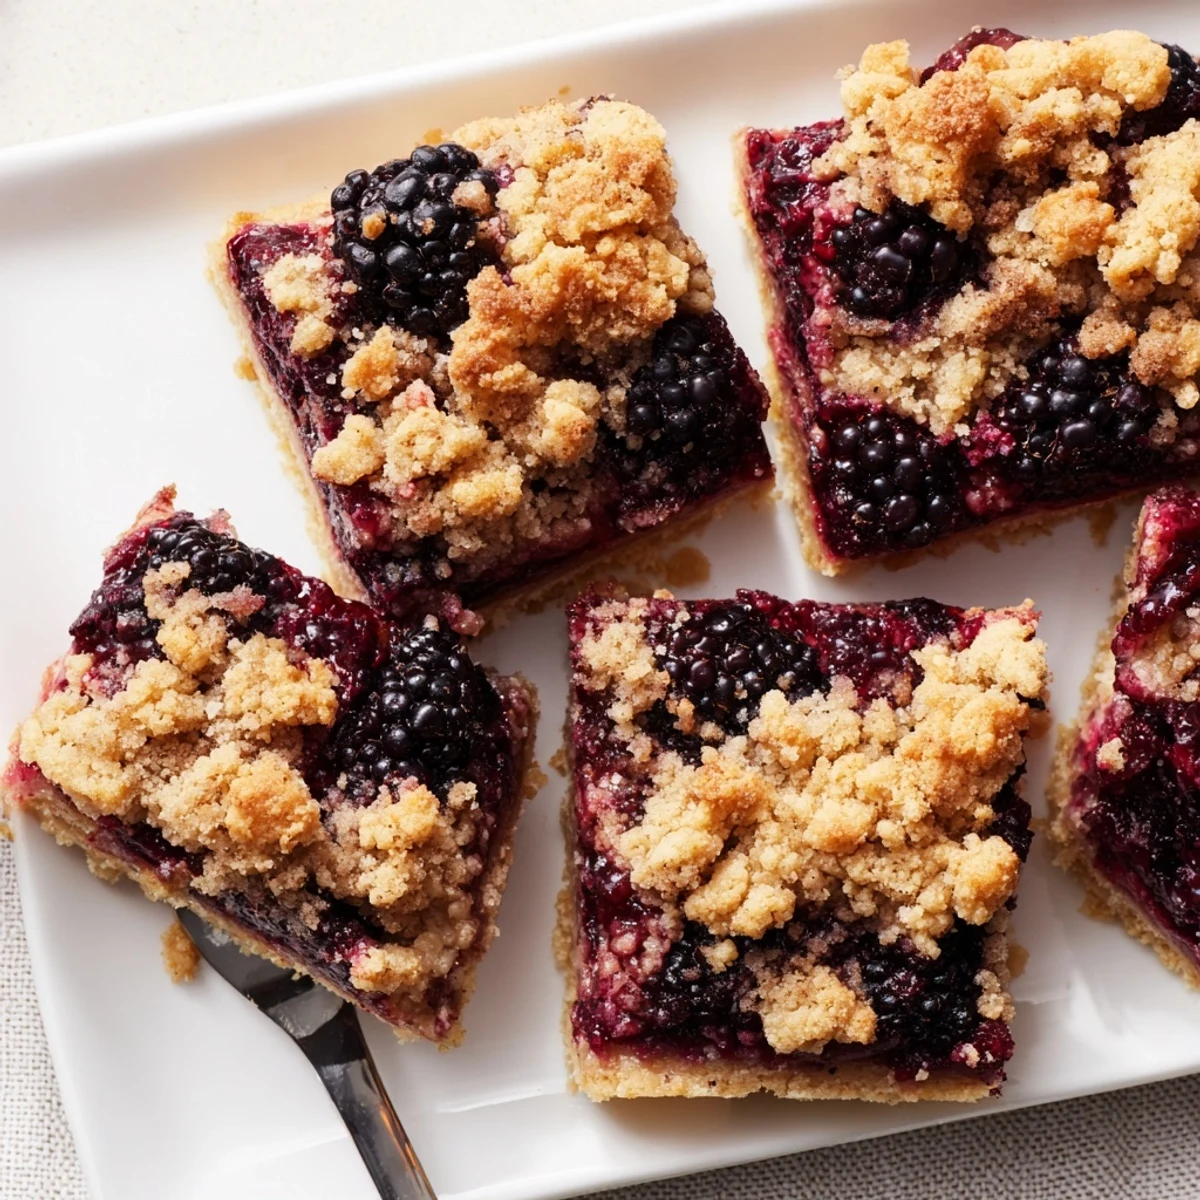 Save to Pinterest
 There is something deeply satisfying about a recipe that transforms a simple basket of berries into something that feels like a celebration. These bars have become my shorthand for summer, my go-to when I need to feed a crowd, and the recipe I am most likely to hand-write on an index card for someone who asks.
Recipe Questions & Answers
- → Can I use frozen blackberries instead of fresh?
-
Yes, frozen blackberries work perfectly in these bars. Thaw them completely and drain well before tossing with sugar and cornstarch to prevent excess moisture in the filling.
- → Why must the bars cool completely before slicing?
-
Allowing the bars to cool completely sets the fruit filling and firms up the buttery crust. Cutting while warm causes crumbling and messy slices, while cooled bars hold their shape beautifully.
- → Can I substitute other fruits for blackberries?
-
Absolutely. Raspberries, blueberries, or a mixed berry blend all work wonderfully. Adjust the sugar slightly based on the fruit's natural sweetness — reduce by 1-2 tablespoons for very sweet berries.
- → How do I know when the bars are done baking?
-
The bars are ready when the crumble topping turns golden brown and you see the fruit filling bubbling actively around the edges, typically 38–42 minutes at 350°F.
- → What's the best way to store these bars?
-
Keep in an airtight container at room temperature for up to 3 days, or refrigerate for up to a week. Room temperature preserves the buttery texture best, though refrigeration extends shelf life.
- → Can I make these bars gluten-free?
-
Yes, substitute the all-purpose flour with a reliable 1:1 gluten-free flour blend containing xanthan gum. The texture remains remarkably similar to the traditional version.
