 Save to Pinterest
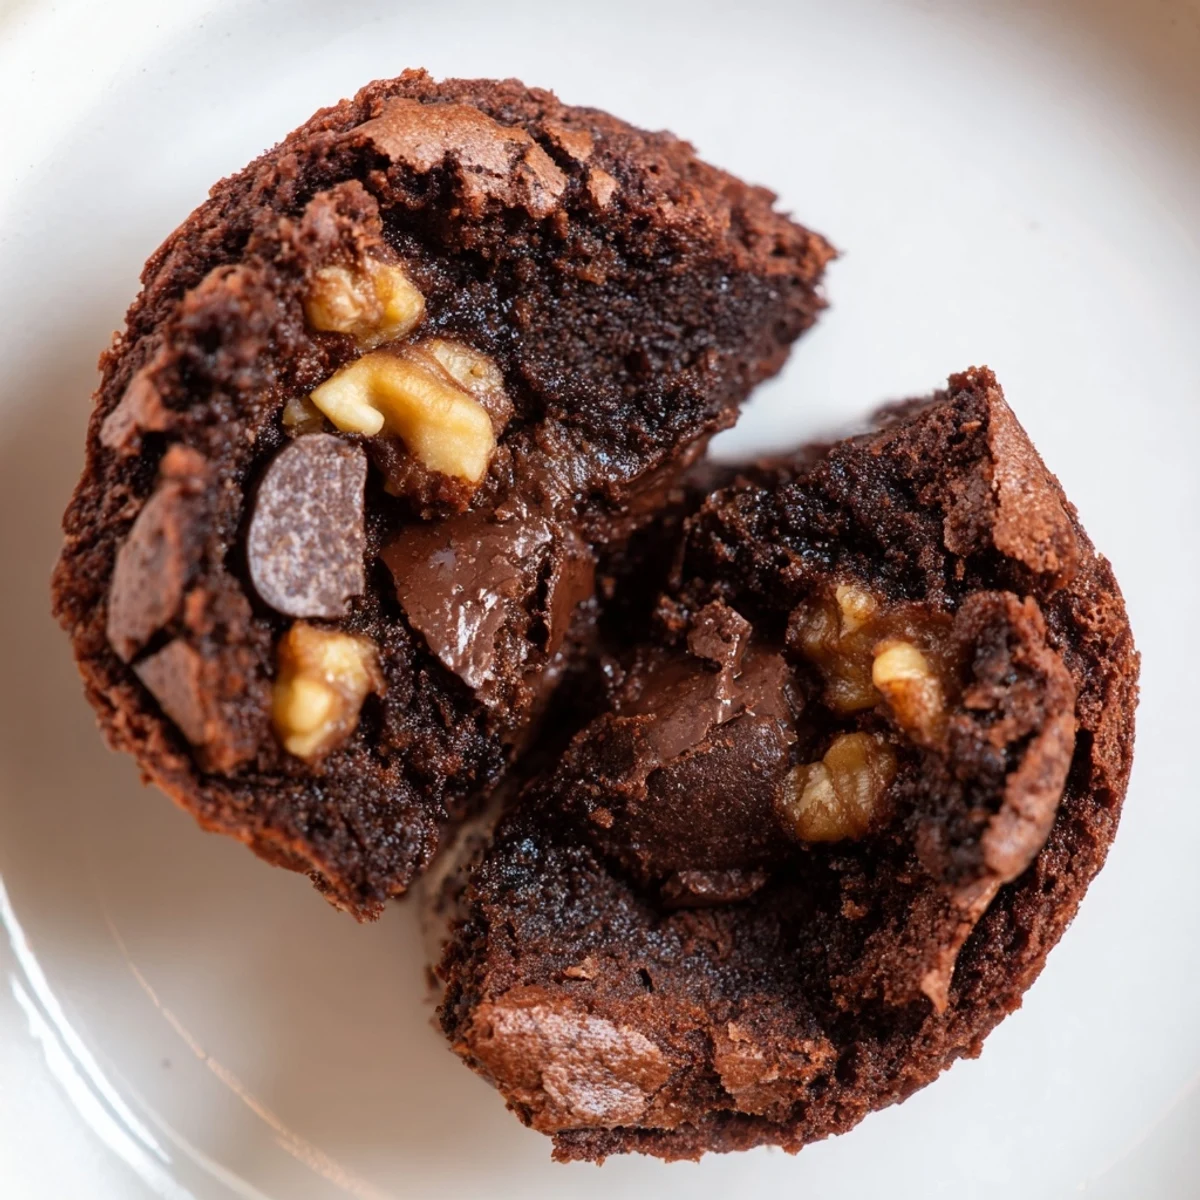
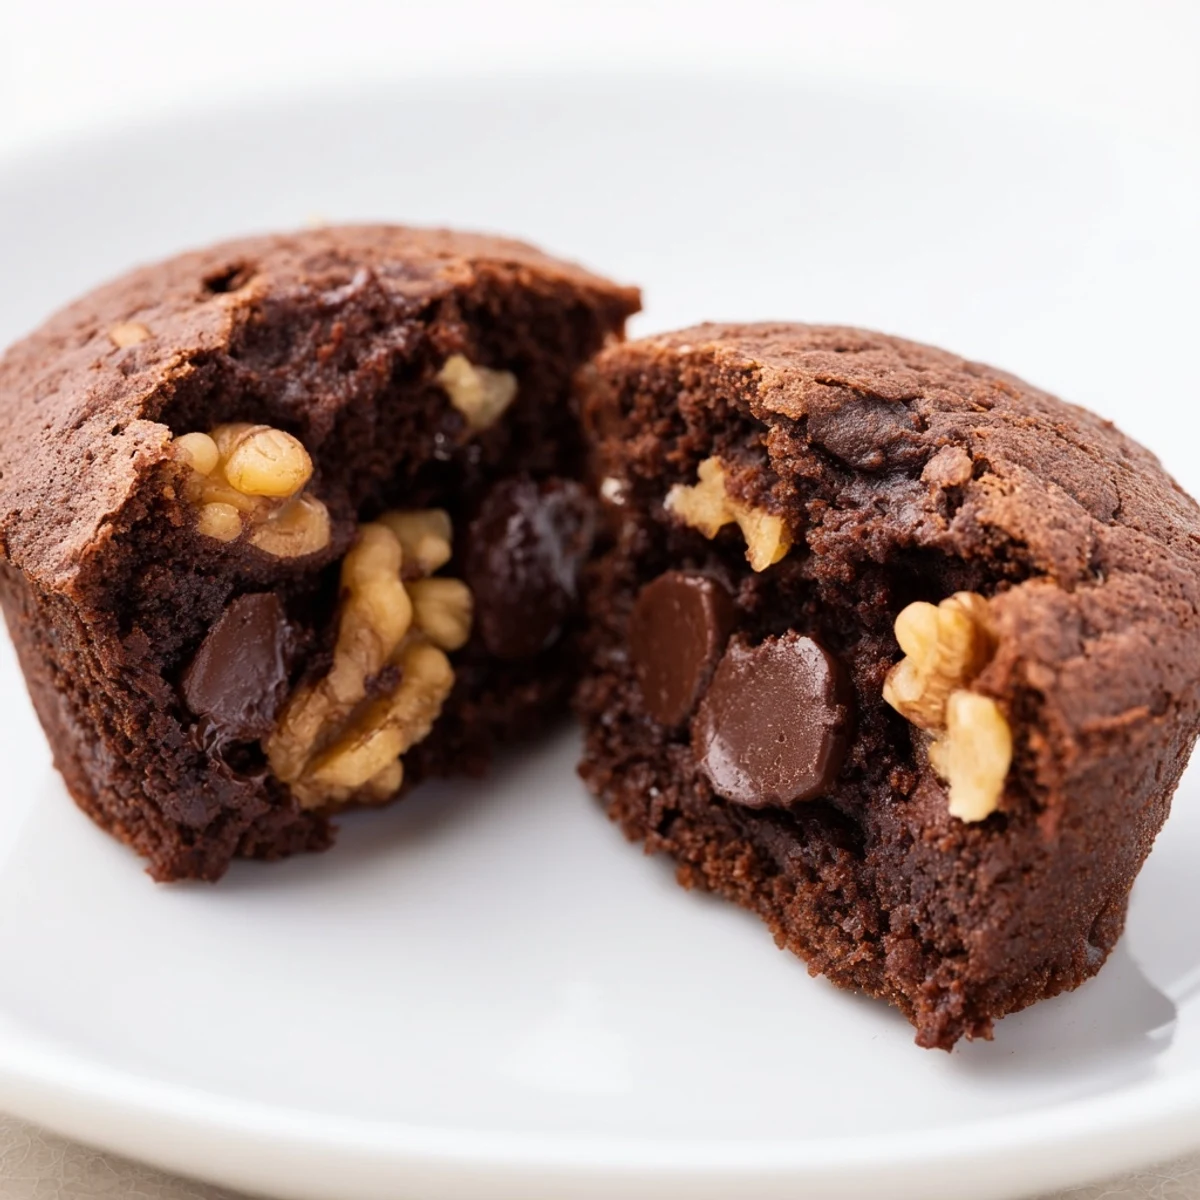
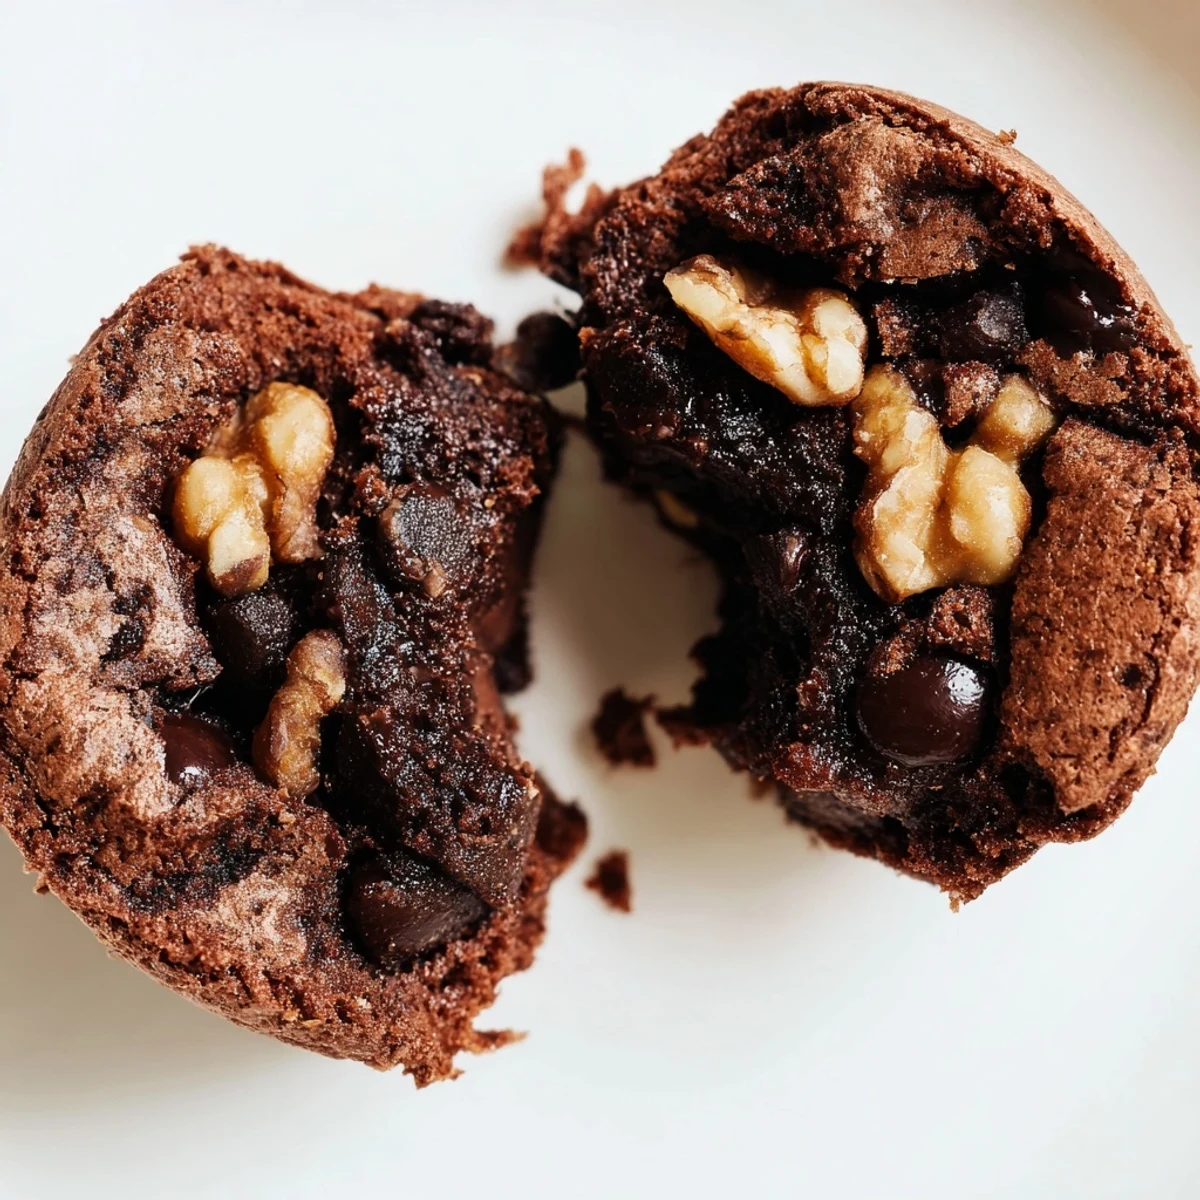
 These chocolate brownie bites offer a rich and fudgy texture with a crisp top and a moist, gooey center. Made with cocoa, melted butter, and chocolate chips, they bake quickly and can be customized with nuts or marshmallows. Perfect as a sweet snack for gatherings, they deliver a deep chocolate flavor enhanced by optional espresso powder. Cool on a wire rack before serving and enjoy warm with powdered sugar or melted chocolate drizzle.
My neighbor brought over a batch of these tiny brownies one Tuesday afternoon, and I watched them disappear faster than I could ask for the recipe. What struck me wasn't just how good they tasted—dense and fudgy in that perfect way—but how she made them look effortless, pulling golden little mounds from a mini muffin pan like she'd been doing it forever. That's when I realized the real magic: something small and shareable could be just as satisfying as a whole cake, and somehow more fun to eat.
I made these for a bake sale at my kid's school, and someone actually came back to ask if I was selling them separately. The best part? I'd made a double batch while half-watching a movie, proof that even when you're not paying close attention, these brownies know what they're doing.
Ingredients
- All-purpose flour: One cup gives structure without making these dense or cake-like; measure by weight if you can, since it's more forgiving than volume.
- Unsweetened cocoa powder: Half a cup is the backbone of flavor here, so don't skimp on quality if you want that deep, slightly bitter chocolate note.
- Baking powder: Just a touch helps the tops puff slightly before setting into that crispy dome.
- Salt: A quarter teaspoon might seem tiny, but it wakes up the chocolate and prevents these from tasting one-dimensional.
- Unsalted butter, melted: Use half a cup; melted butter creates that fudgy texture instead of a cakey crumb.
- Granulated sugar: One cup sweetens without overpowering, and the granules dissolve into the wet mixture beautifully.
- Large eggs: Two eggs bind everything together and add richness; room temperature works best, though cold eggs work too.
- Pure vanilla extract: One teaspoon rounds out the chocolate without announcing itself.
- Semi-sweet chocolate chips: Half a cup scattered throughout gives you little pockets of extra chocolate in every bite.
- Walnuts or pecans, optional: Chop them fine if you add them; they bring a subtle crunch that plays well against the fudgy center.
Instructions
- Get Your Pan Ready:
- Preheat your oven to 350°F and grease a 24-cup mini muffin pan thoroughly or line each cup with a tiny paper liner. Cold hands work better for this if you're using butter; the waxy coating prevents sticking better than cooking spray alone.
- Mix the Dry Team:
- In a medium bowl, whisk together the flour, cocoa powder, baking powder, and salt until there are no cocoa lumps hiding in the corners. This step takes maybe two minutes and makes all the difference in texture.
- Create the Wet Base:
- In a large bowl, whisk the melted butter and sugar together until they look combined, then add your eggs one at a time, whisking well after each addition. The mixture should look smooth and slightly pale, not grainy or separated.
- Bring It Together:
- Pour the dry ingredients into the wet mixture and fold gently with a spatula, stopping as soon as you don't see any flour streaks. Overmixing develops gluten and makes brownies tough instead of tender; restrain yourself even if small lumps remain.
- Add the Good Stuff:
- Fold in the chocolate chips and any nuts you're using, just a few gentle turns so they're distributed but not crushed.
- Fill and Level:
- Divide the batter among your mini muffin cups, filling each one about three-quarters full; this gives the tops room to puff slightly without overflowing. A small cookie scoop makes this quick and even.
- Bake Until Perfect:
- Pop them in the oven for twelve to fifteen minutes—start checking at twelve if your oven runs hot. A toothpick inserted into the center should come out with moist crumbs clinging to it, never completely clean and never with wet batter.
- Cool with Patience:
- Let them sit in the pan for five minutes so they set enough to move without falling apart, then transfer to a wire rack. They'll continue cooking slightly from carryover heat, which is exactly what you want.
 Save to Pinterest
 A friend of mine grabbed one of these still-warm from the rack, bit into it, and just closed her eyes for a moment. She didn't say anything, which somehow told me everything—this is the kind of dessert that makes people pause and appreciate small, sweet things.
Flavor Variations to Try
These brownies are the perfect canvas for experimenting without risk. A quarter teaspoon of espresso powder stirred into the dry ingredients deepens the chocolate so much that people can't quite identify what makes them taste so sophisticated. White chocolate chips, mini marshmallows, or even a swirl of peanut butter batter before baking all work beautifully because the base recipe is solid enough to handle extra flavors without collapsing.
Storage and Make-Ahead Strategy
These keep in an airtight container at room temperature for three or four days, and they actually taste better on day two when the flavors settle. If you want to make them ahead, you can freeze the baked brownies for up to a month; just let them thaw for a few minutes before eating, or warm them gently in a low oven. Unbaked batter also freezes well for up to two months, so you can fill your pan, freeze it, then pop it straight into the oven whenever a brownie emergency strikes.
Serving Ideas and Moments
Dust these with powdered sugar while they're still slightly warm, or drizzle melted chocolate over the tops once they've cooled. They're perfect alongside coffee in the morning, as an afternoon snack straight from the fridge, or as the grand finale to a dinner party when you want something that looks intentional but actually requires almost no last-minute effort.
- Serve them warm with a scoop of vanilla ice cream for that nostalgic brownie sundae feeling.
- Pack them into small boxes or bags with parchment between layers for thoughtful gifts that people actually appreciate.
- Keep a few in the freezer so you always have a quick, impressive dessert within reach.
 Save to Pinterest
 These tiny brownies have a way of turning an ordinary moment into something worth savoring. Once you make them, you'll understand why my neighbor seemed so smugly happy walking away from her raving fans.
Recipe Questions & Answers
- → What makes these brownie bites fudgy?
-
The combination of melted butter and eggs creates a moist, dense texture, while careful mixing preserves their fudginess without overworking the batter.
- → Can I add nuts to the batter?
-
Yes, chopped walnuts or pecans can be folded into the batter for added crunch and flavor variety.
- → How to achieve a crisp top on the bites?
-
Baking them for 12-15 minutes until the tops set ensures a delicate crispness while keeping the inside moist.
- → What is a good substitute for nuts if allergic?
-
Mini marshmallows or additional chocolate chips work well as alternatives, adding sweetness and texture.
- → How to store leftover bites?
-
Store cooled bites in an airtight container at room temperature for up to three days or refrigerate for longer freshness.
