 Save to Pinterest
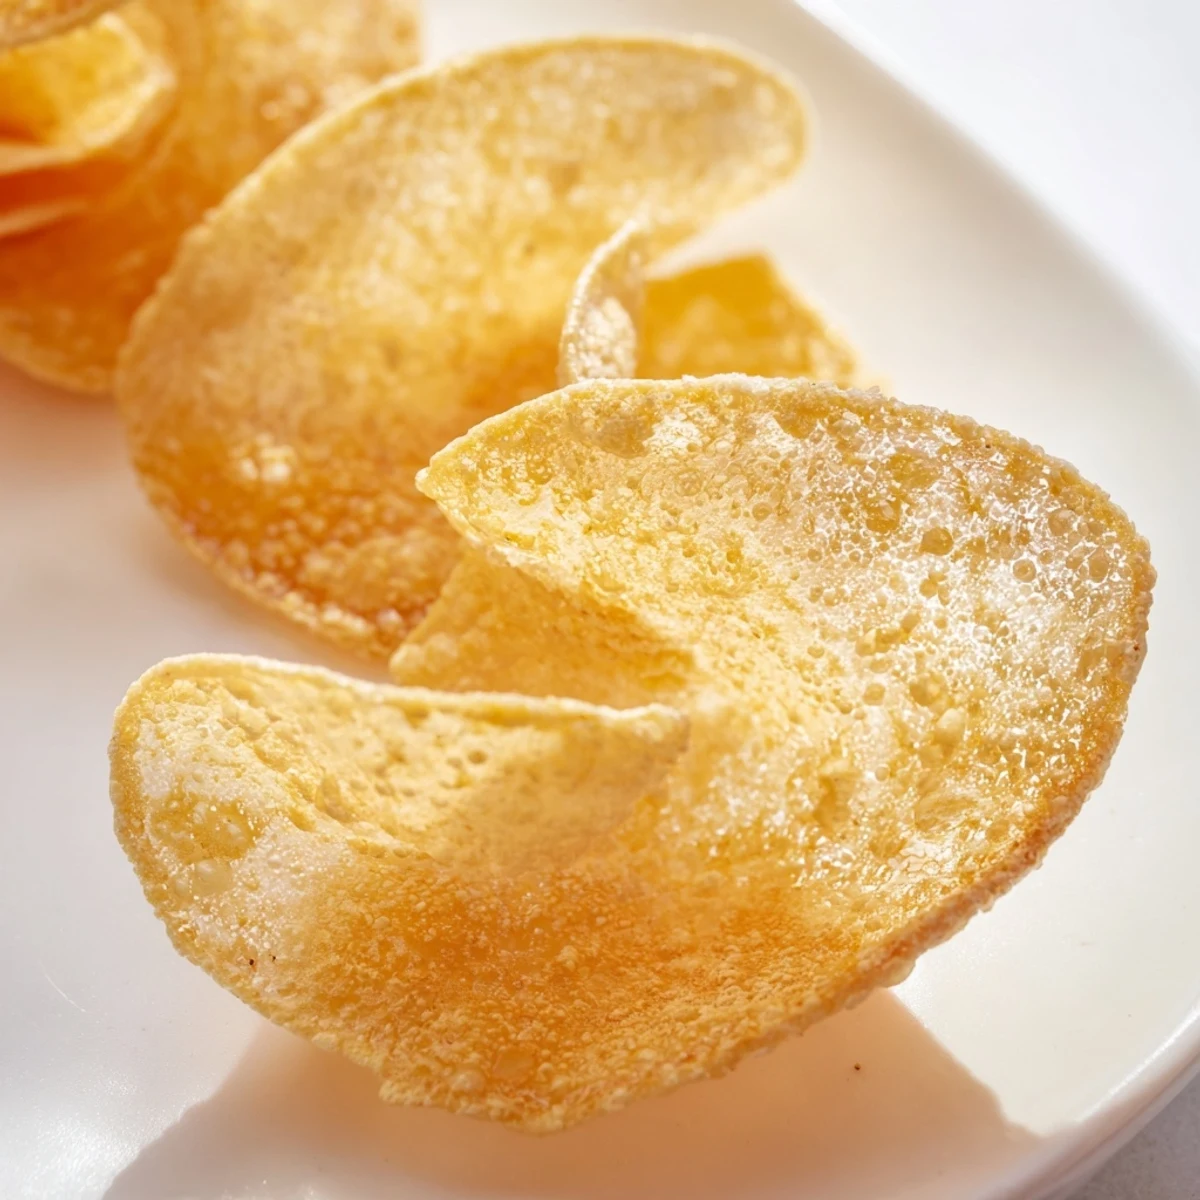
 These light and golden shells offer a crisp, delicate texture that pairs beautifully with both sweet and savory fillings. Made from a simple dough of flour, butter, and egg, they are rolled thin and fried quickly until crisp. Ideal as a base for tacos or cannoli, the shells can be flavored with vanilla for sweetness or spices for a savory edge. Prepare ahead and store them airtight to keep their crunch. Delicious and versatile, these crisp shells add texture and appeal to many dishes.
Discovering how to make the perfect crispy shell was like unlocking a secret treasure for my kitchen adventures, the kind that brings that satisfying crunch to every bite.
I remember the first time unexpected guests arrived and I whipped up these shells in no time, the crispy goodness turning a quick snack into a memorable moment.
Ingredients
- All-purpose flour: This staple gives your shells the perfect structure and lightness every time.
- Granulated sugar: Adds a hint of sweetness that balances the crunch; skip it for savory versions.
- Salt: Just a pinch to elevate all the flavors without overpowering.
- Unsalted butter: Melted for richness and to keep things tender yet crispy.
- Large egg: Binds everything together smoothly and adds a little lift.
- Water: Adjusts the dough's pliability so it rolls out thin and easy.
- Vanilla extract (optional): For sweet shells, a dash makes a subtle but delightful impact.
- Vegetable oil: The secret to that perfect deep-fry crisp - hot and steady heat is key.
Instructions
- Get Everything Ready:
- Gather your dry ingredients in one bowl, whisking to make sure everything is evenly combined - the smell of fresh flour is a subtle promise of the treat ahead.
- Mix the Wet Ingredients:
- Melt the butter gently until just liquid, then beat it with the egg, water, and vanilla if you’re going sweet - watch how the light yellow mixture glistens in your bowl.
- Make Your Dough:
- Slowly add wet to dry, stirring until a smooth, pliable dough forms - it should feel soft but not sticky, like the start of something wonderful.
- Rest and Relax:
- Cover your dough and let it sit for 10 minutes; it's like giving it time to think about all the flavors coming together.
- Roll Out Thinly:
- On a floured surface, roll your dough to a delicate 1/8 inch thickness - almost translucent, this thinness is your key to crispiness.
- Cut Into Circles:
- Use a round cutter or knife to shape your shells; each circle feels like a little promise of crunch.
- Heat the Oil:
- Bring your vegetable oil up to 350°F; the first crackle when you drop a dough circle in is music.
- Shape and Fry:
- Drape each circle over a mold or fold carefully, frying until golden and crisp - about 1-2 minutes per side. The aroma is irresistible and the sizzle sets the rhythm.
- Drain and Cool:
- Remove shells and drain on paper towels; letting them cool is crucial to lock in the crunch before you start filling.
 Save to Pinterest
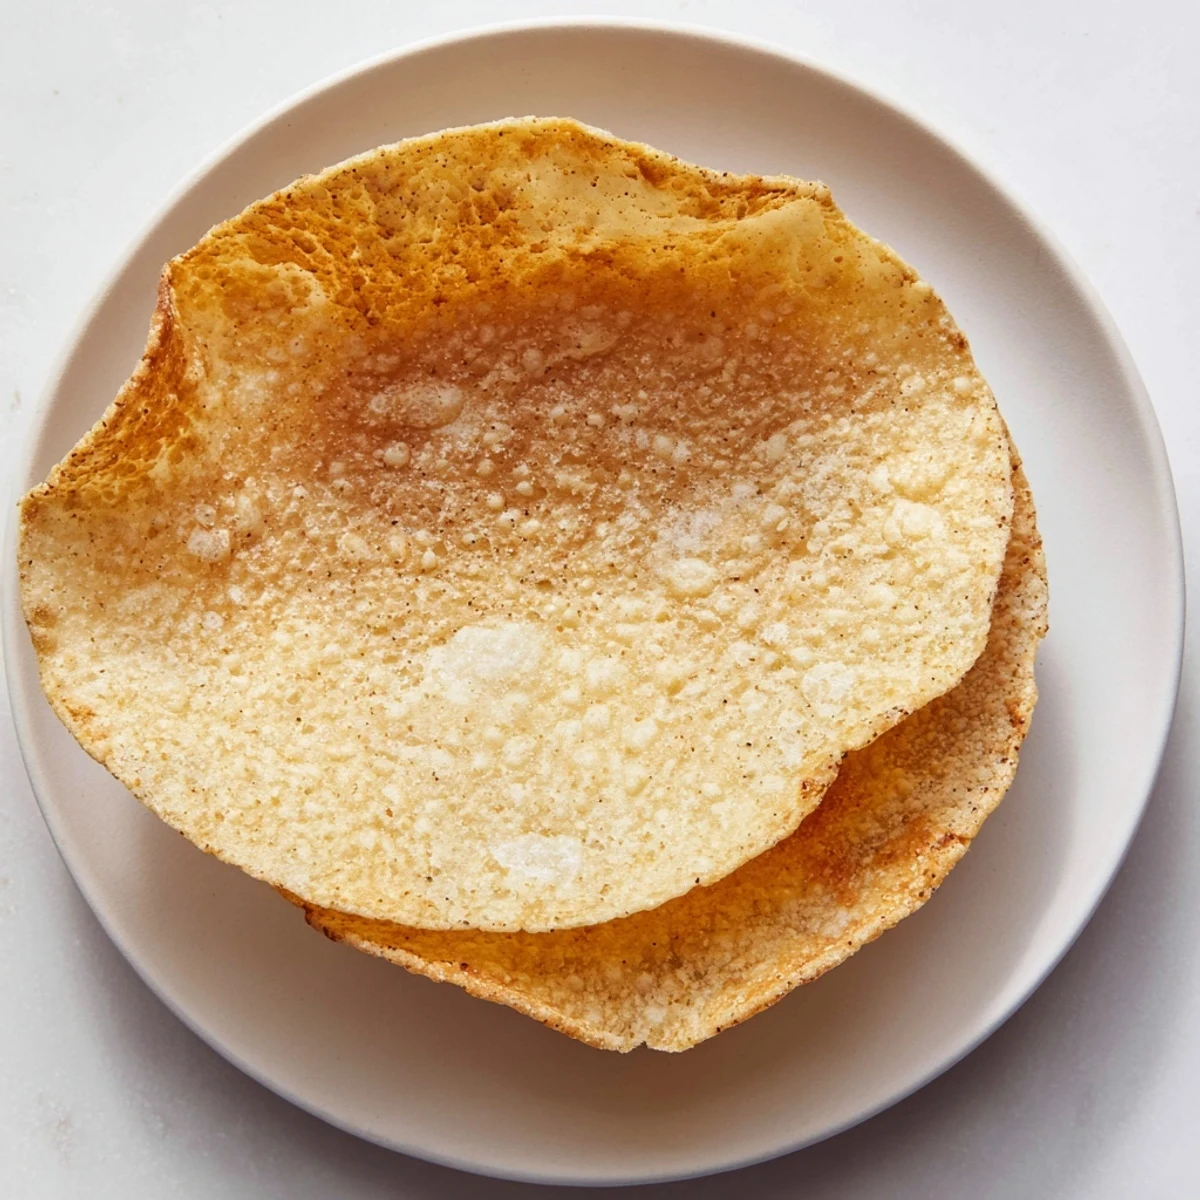
 This dish became more than just food when it turned an impromptu evening into a warm celebration; sharing those crackling shells brought everyone closer in laughter and conversation.
Keeping It Fresh
Once cooled, store your shells in an airtight container at room temperature and fill just before serving to keep that unbeatable crisp texture. If they soften, a quick pop in a warm oven revives the crunch beautifully.
Serving Ideas That Clicked
These shells are incredibly versatile; from savory tacos with fresh salsa to sweet cannoli filled with cream, they’re a perfect canvas for your creativity and always impress guests with their light texture and robust crunch.
A Time This Recipe Saved the Day
Once, with just minutes before guests arrived, I whipped these shells up as a snack turnup; their quick cooking time and reliable crispness turned a potential kitchen panic into a highlight of the evening.
- Remember to keep your oil temperature steady for the best results
- Oh wait, one more thing—rolling the dough evenly really ensures consistent cooking
- Don’t forget to try variations by adding spices or extracts to the dough
 Save to Pinterest
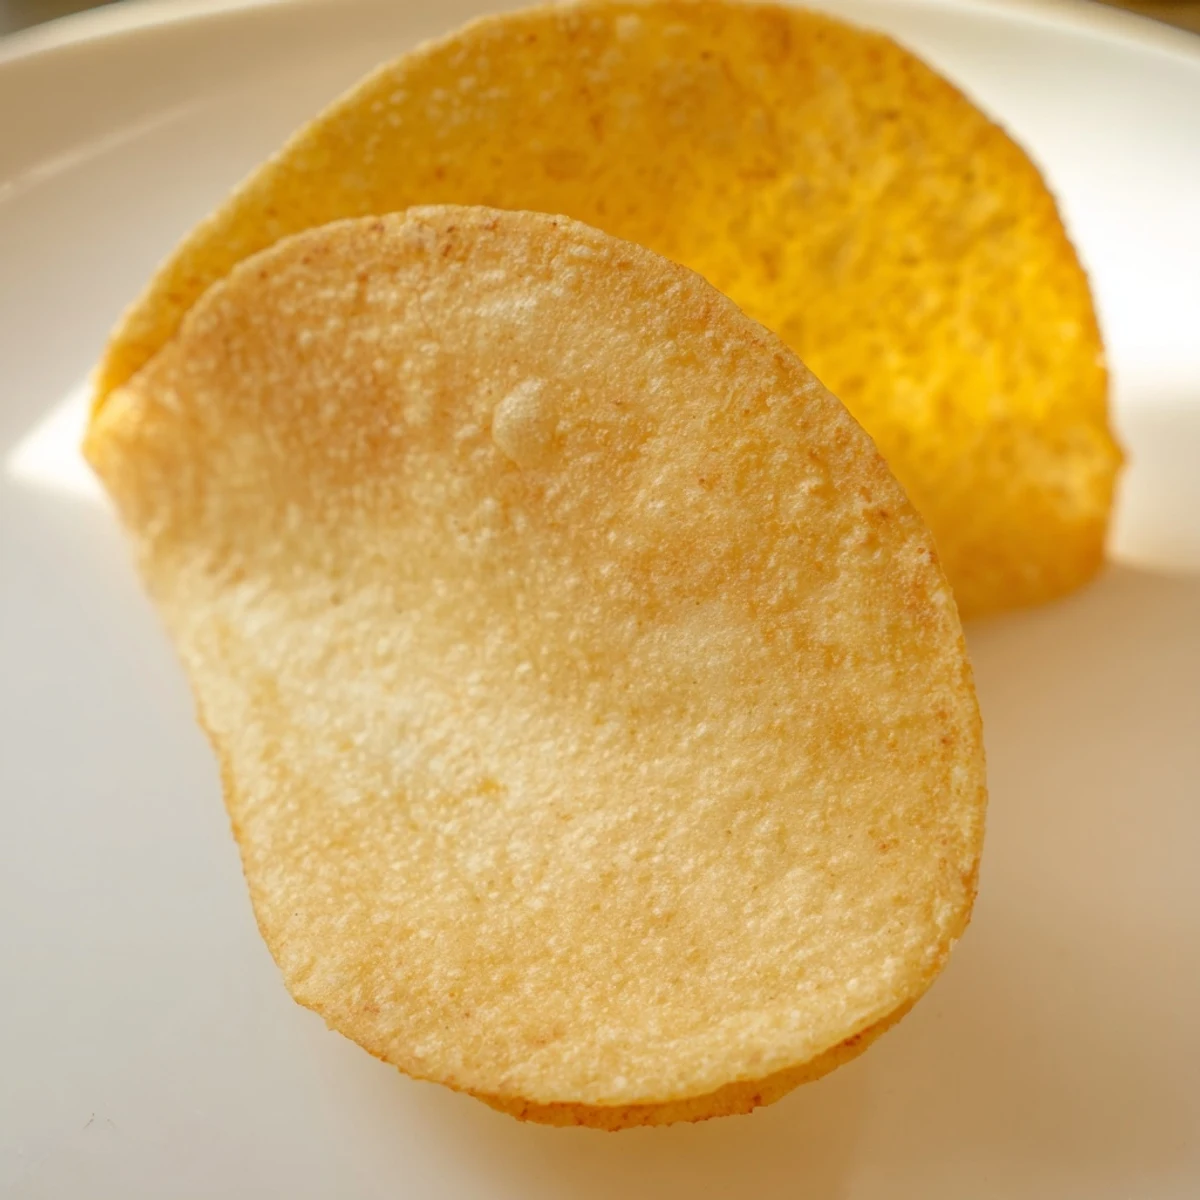
 Thanks for hanging out in the kitchen today; these crispy shells are sure to become your favorite little treat to share. Happy cooking and see you next time!
Recipe Questions & Answers
- → How do I achieve the perfect crispness?
-
Rolling the dough thin and frying at 350°F (175°C) ensures a golden, crunchy texture. Avoid overcrowding the oil for even cooking.
- → Can I make both sweet and savory versions?
-
Yes, omit sugar and vanilla for savory shells and add spices like paprika or black pepper. For sweetness, add vanilla extract.
- → What is the best way to store the shells?
-
Store cooled shells in an airtight container at room temperature for up to three days to maintain crispness.
- → What equipment is needed to shape the shells?
-
A round cutter or knife shapes the dough circles; metal molds help drape and form shells suitable for tacos or cannoli.
- → Can I prepare the dough ahead of time?
-
Yes, the dough can rest for about 10 minutes before rolling, but not longer to maintain pliability and texture.
