 Save to Pinterest
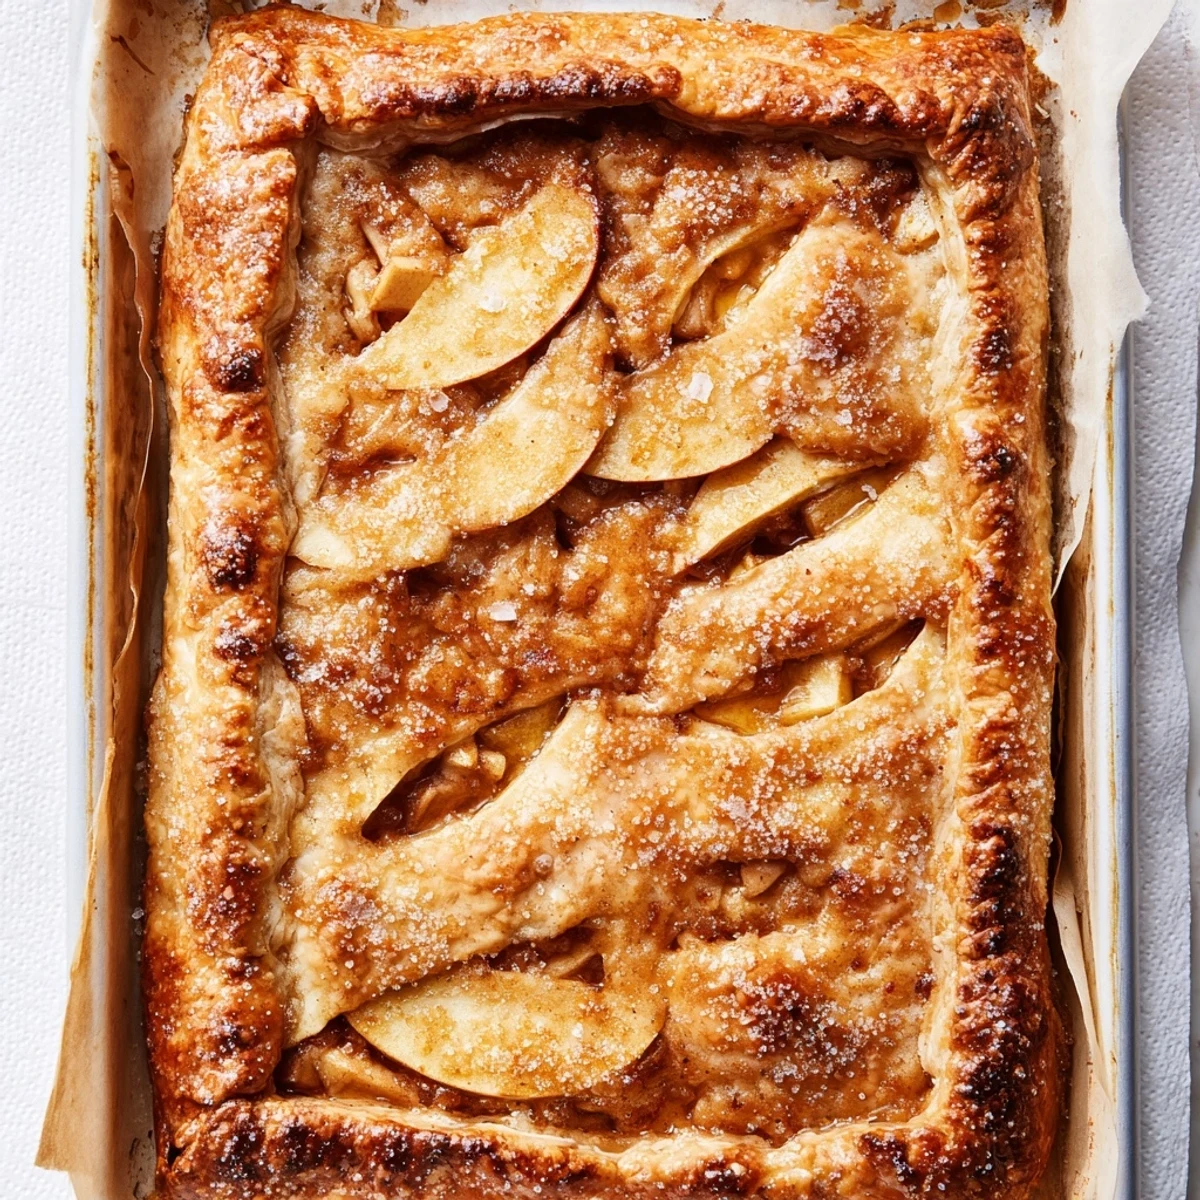
 This generous apple slab pie bakes in a large rectangular pan, making it ideal for feeding a crowd. The homemade crust features cold butter for maximum flakiness, while the filling combines tart and sweet apples with warm cinnamon and nutmeg. Ready in just over an hour, this dessert bakes until golden and bubbly.
The slab format means more servings and easier slicing than traditional round pies. The cornstarch ensures the filling sets perfectly while remaining juicy, and the egg wash creates that beautiful bakery-style golden finish.
The first time I made this slab pie, I was running late for a neighborhood potluck and didn't have time for my usual double-crust round pie. Something about baking it in a jelly roll pan felt almost rebellious, like I was breaking some unspoken dessert rule. But when I pulled that golden rectangular beauty from the oven and saw how everyone's eyes lit up at the sheer abundance of it, I realized sometimes breaking traditions leads to the best discoveries.
Last Thanksgiving, my aunt leaned over the counter watching me assemble this and said, 'I never thought about baking apple pie like this—it's so practical.' We stood there while the kitchen filled with cinnamon and butter, her sneaking apple slices from the filling bowl. That night, three generations reached for seconds from that humble aluminum pan, and I knew this unpretentious slab pie had earned its place at our table forever.
Ingredients
- All-purpose flour: The backbone of your crust, providing structure while still tenderizing through proper butter cutting
- Cold unsalted butter: Keep it ice-cold and cut into cubes before starting—those visible butter flakes create the flaky layers we all crave
- Ice water: Add gradually and trust your hands, you might need slightly more or less depending on humidity
- Granny Smith and Honeycrisp apples: The tartness of Granny Smith balances beautifully with Honeycrisps natural sweetness
- Cornstarch: The secret thickener that transforms those bubbling apple juices into a luscious, sliceable filling
- Egg wash: Creates that irresistible golden bakery-style finish that makes everyone think you bought it professionally
Instructions
- Prepare your crust foundation:
- Whisk flour, sugar, and salt in a large bowl, then work in cold butter using a pastry cutter or your fingers until you see pea-sized chunks throughout
- Bring the dough together:
- Drizzle ice water over the mixture while gently tossing with a fork, then press together into a ball and divide into two pieces with one slightly larger
- Roll out the bottom crust:
- On a floured surface, roll the larger dough piece until it overhangs your 10x15-inch pan, then carefully transfer and press into the corners
- Mix the spiced apple filling:
- Toss sliced apples with both sugars, cinnamon, nutmeg, salt, cornstarch, and lemon juice until every piece is coated
- Assemble the slab pie:
- Pour the apple mixture evenly over the bottom crust, then roll out the remaining dough and place it on top
- Seal and vent:
- Trim excess dough, pinch edges together to seal, then cut several slits in the top crust to let steam escape during baking
- Add the golden finish:
- Whisk egg with milk and brush generously over the entire top crust, then sprinkle with coarse sugar if you want that extra sparkle
- Bake until bubbly:
- Bake at 400°F for 35 to 40 minutes until deeply golden and the filling is bubbling visibly through the vents
- Patience pays off:
- Let the pie cool for at least 30 minutes before slicing so the filling sets properly
 Save to Pinterest
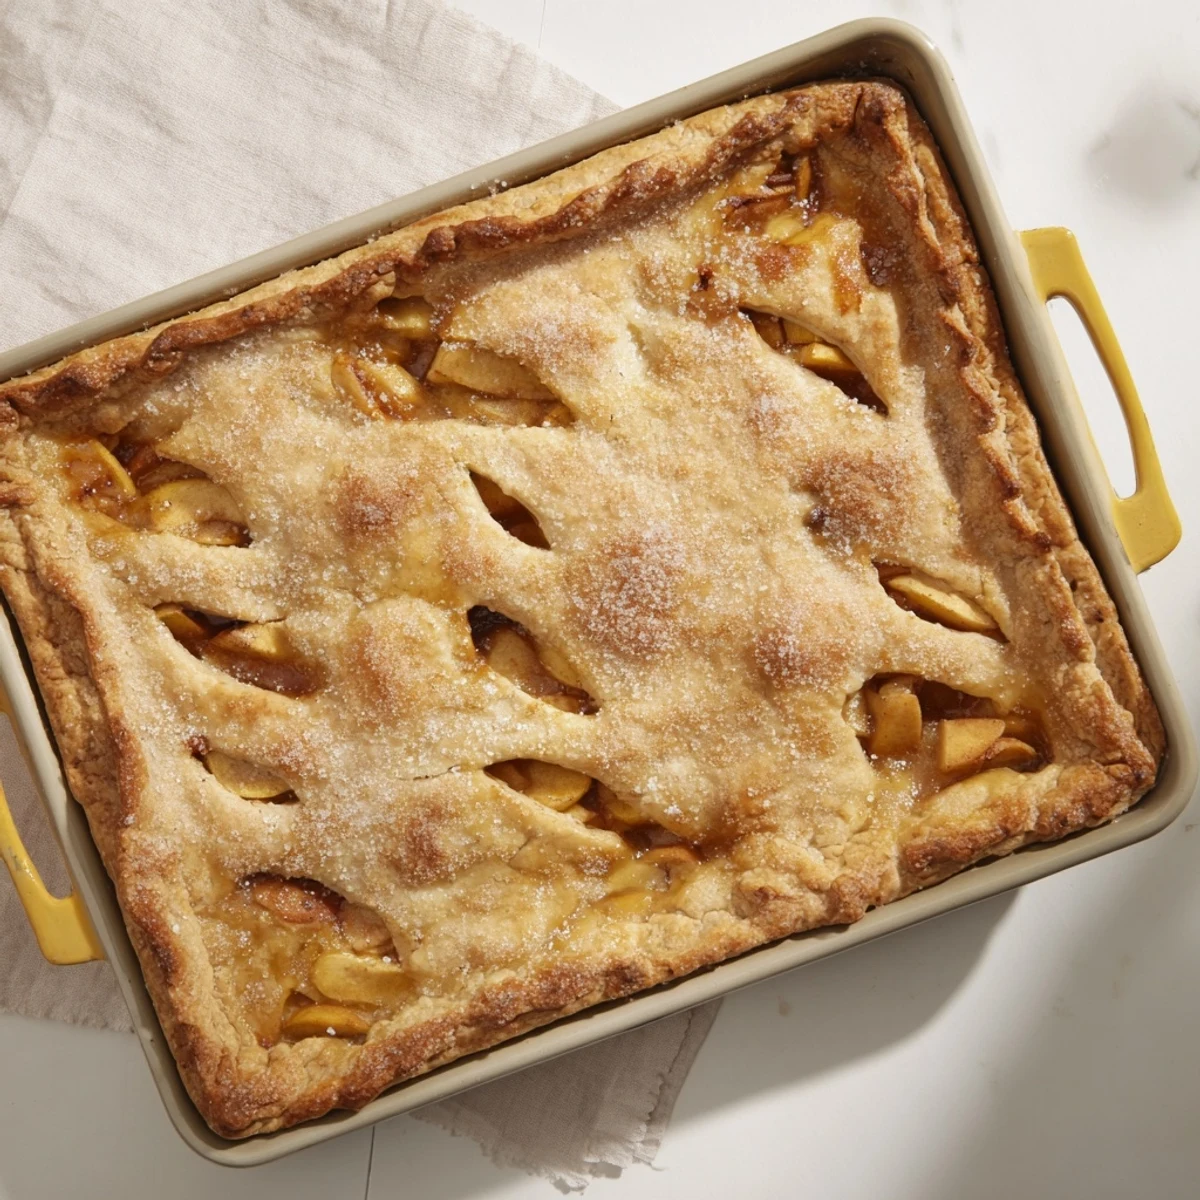
 There's something magical about sliding a warm slab of apple pie onto a platter and watching faces light up. My nephew once asked why we ever bake round pies when rectangles clearly give everyone an equal share of corner crust, and honestly, I couldn't argue with his logic.
Making It Ahead
You can assemble the entire slab pie up to 24 hours in advance and refrigerate it unbaked. Just add an extra 5 to 10 minutes to the baking time if baking straight from the refrigerator.
Storage Wisdom
Leftovers keep beautifully at room temperature for up to 2 days, loosely covered. For longer storage, wrap individual squares and freeze them—they reheat beautifully in a 350°F oven for about 15 minutes.
Serving Suggestions
While vanilla ice cream is the classic pairing, a dollop of crème fraîche or a scoop of cinnamon ice cream adds unexpected sophistication.
- Warm each slice for 20 seconds in the microwave before serving
- A pinch of flaky sea salt on top highlights the caramel notes
- Serve with sharp cheddar cheese for a traditional Yankee twist
 Save to Pinterest
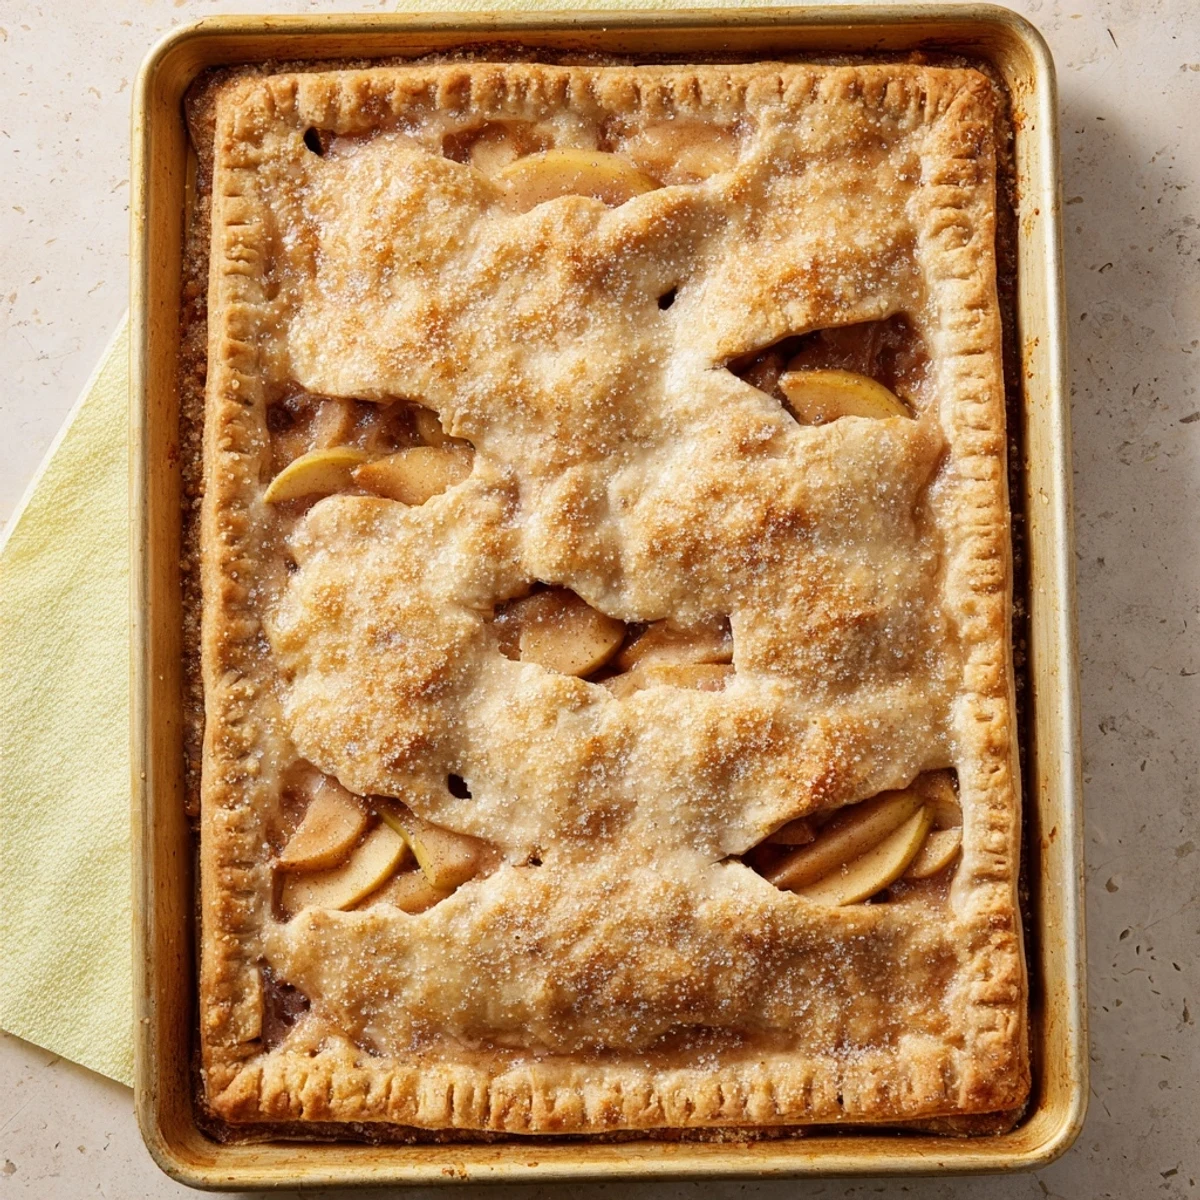
 Whether it's a Tuesday night dessert or a holiday celebration, this slab pie turns ordinary moments into something worth gathering around.
Recipe Questions & Answers
- → What makes slab pie different from regular pie?
-
Slab pie is baked in a rectangular pan instead of a round dish, yielding more servings with thinner layers. This format feeds larger crowds more easily and slices into neat squares that are perfect for potlucks and gatherings.
- → Can I use different apple varieties?
-
Absolutely. Mix Granny Smith for tartness with Honeycrisp or Gala for sweetness. Combining 2-3 varieties creates deeper, more complex flavor. Avoid Red Delicious as they become too soft when baked.
- → How do I know when the pie is done?
-
The crust should be deep golden brown and you should see the filling bubbling through the steam vents. The center needs to reach bubbling temperature to ensure the cornstarch has fully thickened the fruit juices.
- → Why must the pie cool before slicing?
-
Cooling for 30 minutes allows the cornstarch-thickened filling to set properly. Cutting too soon results in runny slices. The filling continues to thicken as it cools, making clean cuts and neat squares.
- → Can this be made ahead?
-
Bake up to one day in advance and store at room temperature covered loosely. Reheat individual squares if serving warm. The crust softens slightly overnight but flavors meld beautifully. For freshest crust, bake the day of serving.
- → What pan size works best?
-
A 10x15-inch rimmed baking sheet (jelly roll pan) is ideal. The rimmed edges prevent bubbling juices from overflowing. If using a slightly larger pan, the crust will be thinner—reduce baking time by 5 minutes.
