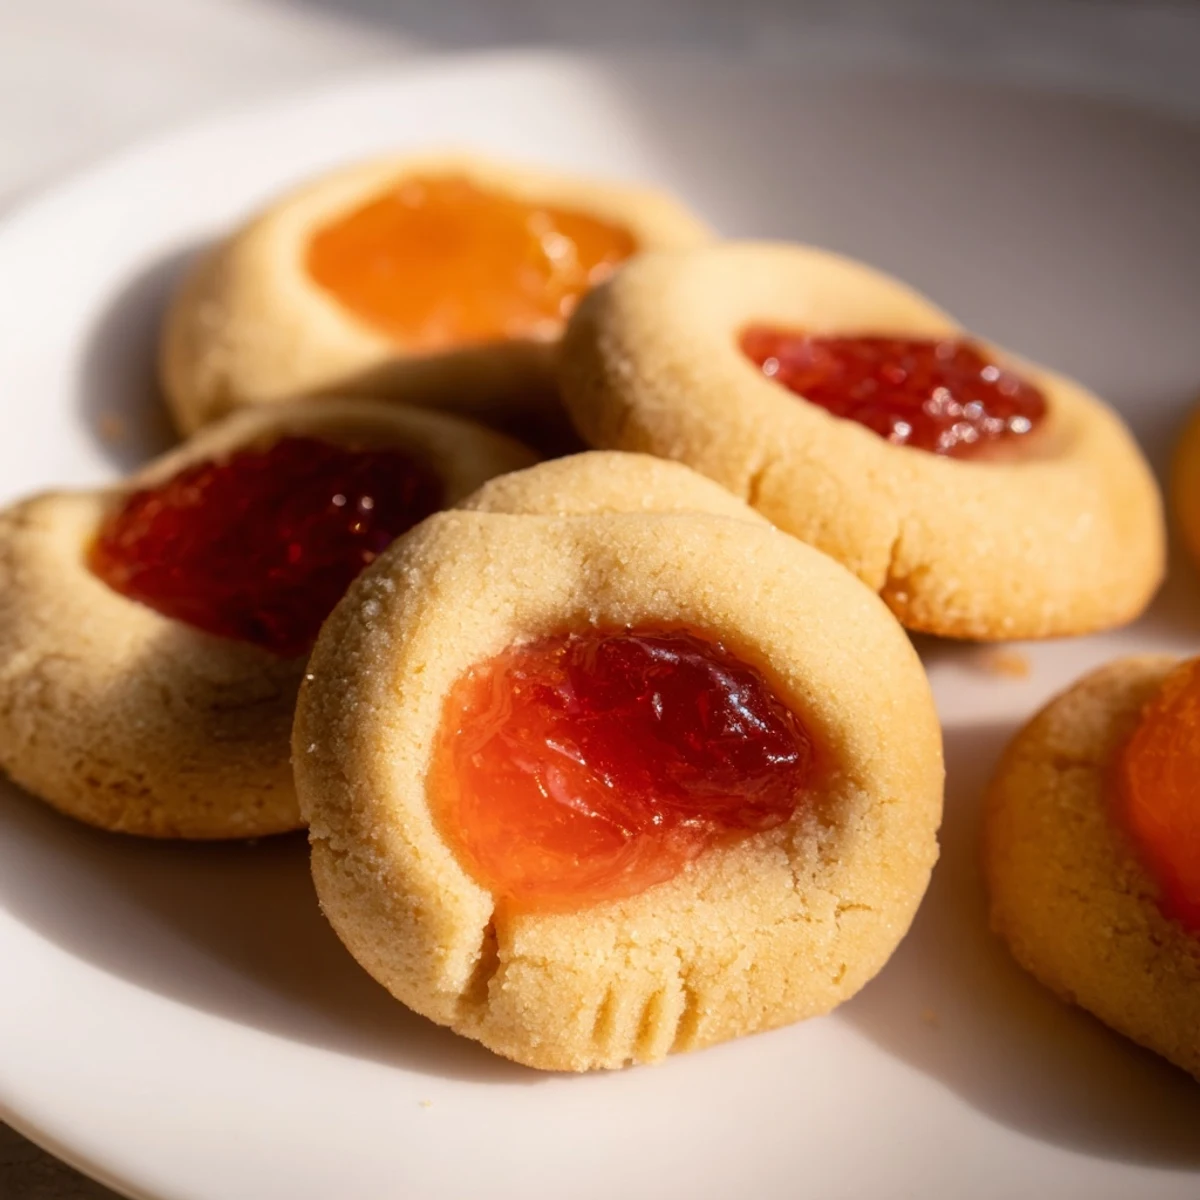
 Save to Pinterest
 These delightful cookies feature a rich, buttery dough that melts in your mouth, complemented by sweet fruit preserves nestled in the center. The thumbprint indentation creates the perfect vessel for your favorite jams, making each bite a perfect balance of buttery richness and fruity sweetness.
Ready in just 35 minutes, these treats are ideal for afternoon tea, holiday gatherings, or whenever you crave something special. The dough comes together quickly with basic ingredients, and you can customize the filling with whatever preserves you have on hand.
The first time I made thumbprint cookies, I pressed too hard and the jam overflowed everywhere in the oven, creating a smoky, sticky mess that my husband still teases me about. But the ones that survived were so incredibly tender and pretty that I've been perfecting them ever since. There's something so satisfying about that little well of fruit nestled in buttery dough, like finding treasure in each bite.
Last December my sister came over to bake holiday gifts, and we spent three hours listening to old records while making dozens of these. We made a game of seeing who could make the deepest thumbprints without cracking the dough. She still talks about how these cookies disappeared first at the office party.
Ingredients
- Unsalted butter: Room temperature butter creates the tenderest crumb, and using unsalted lets you control the seasoning
- Granulated sugar: Cream this thoroughly with the butter until it looks pale and fluffy for that classic melt-in texture
- Egg yolks: The yolks add richness and help bind the dough while keeping it tender
- Pure vanilla extract: Dont skimp here, good vanilla makes all the difference in simple butter cookies
- All-purpose flour: Measure by weight if possible for consistent results every time
- Salt: Just enough to wake up all the flavors and balance the sweetness
- Assorted fruit jams: Use whatever you love, but seedless jams work best for smooth filling
Instructions
- Preheat and prepare:
- Heat your oven to 350°F and line two baking sheets with parchment paper so nothing sticks.
- Cream the butter and sugar:
- Beat the softened butter and sugar together until the mixture looks pale and fluffy, about 3 minutes of serious mixing.
- Add yolks and vanilla:
- Pour in the egg yolks and vanilla, beating until everything is beautifully combined and smooth.
- Combine dry ingredients:
- Mix in the flour and salt just until a soft dough forms, being careful not to overwork it.
- Shape the cookies:
- Roll tablespoon portions into balls and place them 2 inches apart on your prepared baking sheets.
- Make the thumbprints:
- Press your thumb gently into the center of each ball, creating a nice well without cracking the edges.
- Fill with jam:
- Spoon about half a teaspoon of jam into each indentation, being careful not to overfill.
- Bake to perfection:
- Bake for 13 to 15 minutes until the edges are lightly golden and the bottoms are just barely browned.
- Cool completely:
- Let the cookies rest on the baking sheet for 5 minutes, then move them to a wire rack to finish cooling.
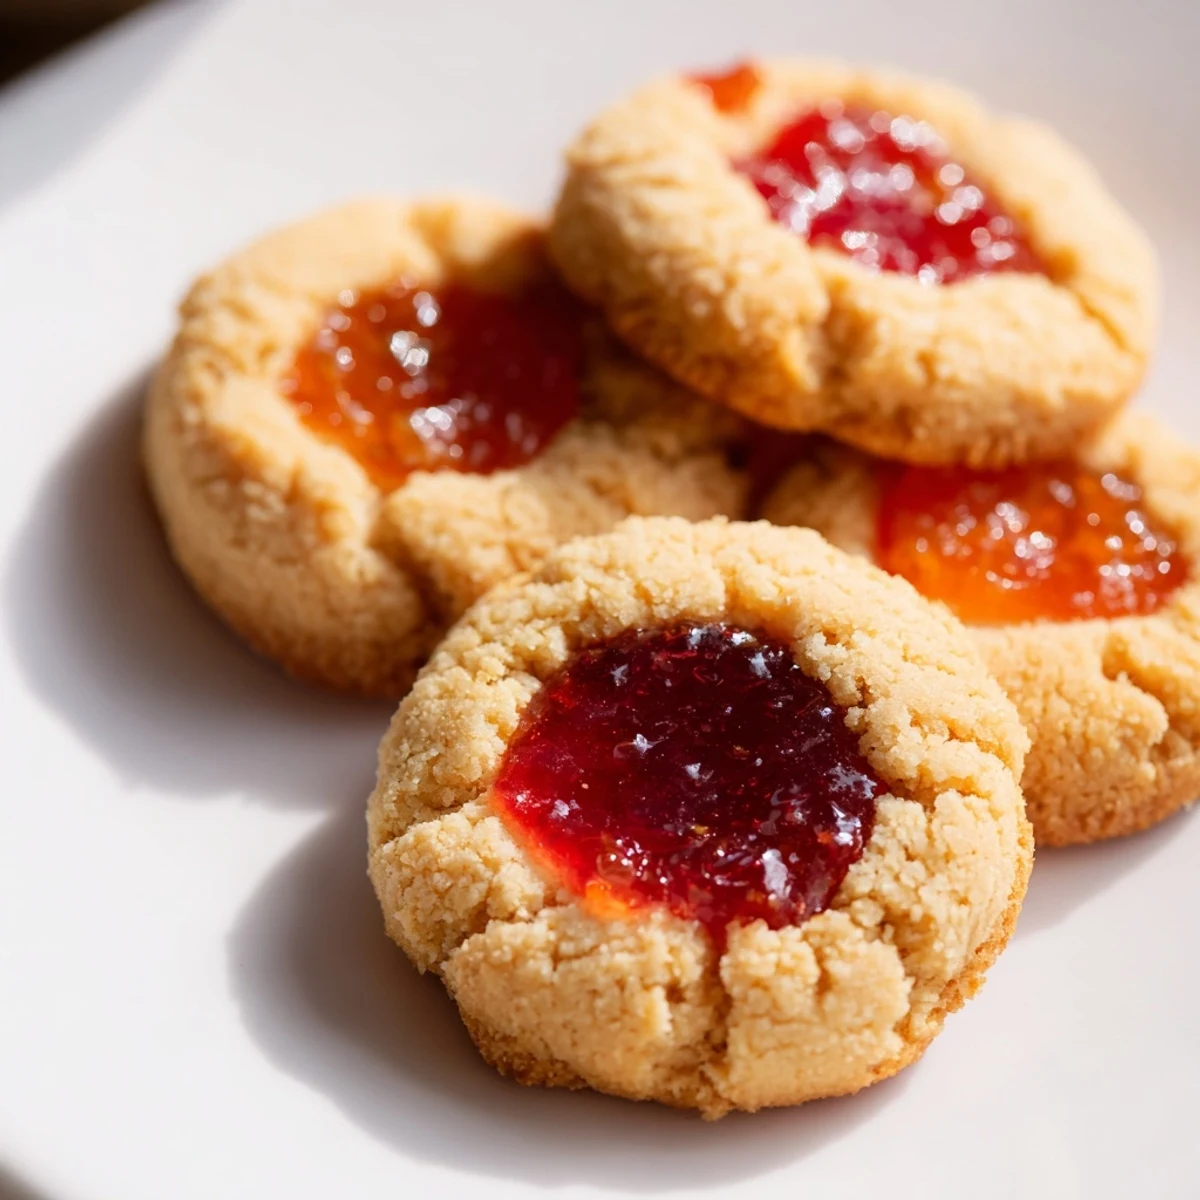 Save to Pinterest
 These became my go-to hostess gift after a neighbor told me they were the best cookies she'd ever tasted. Now I keep different jam flavors in the pantry so I can always whip up a batch when someone needs cheering up or when I want to bring something special.
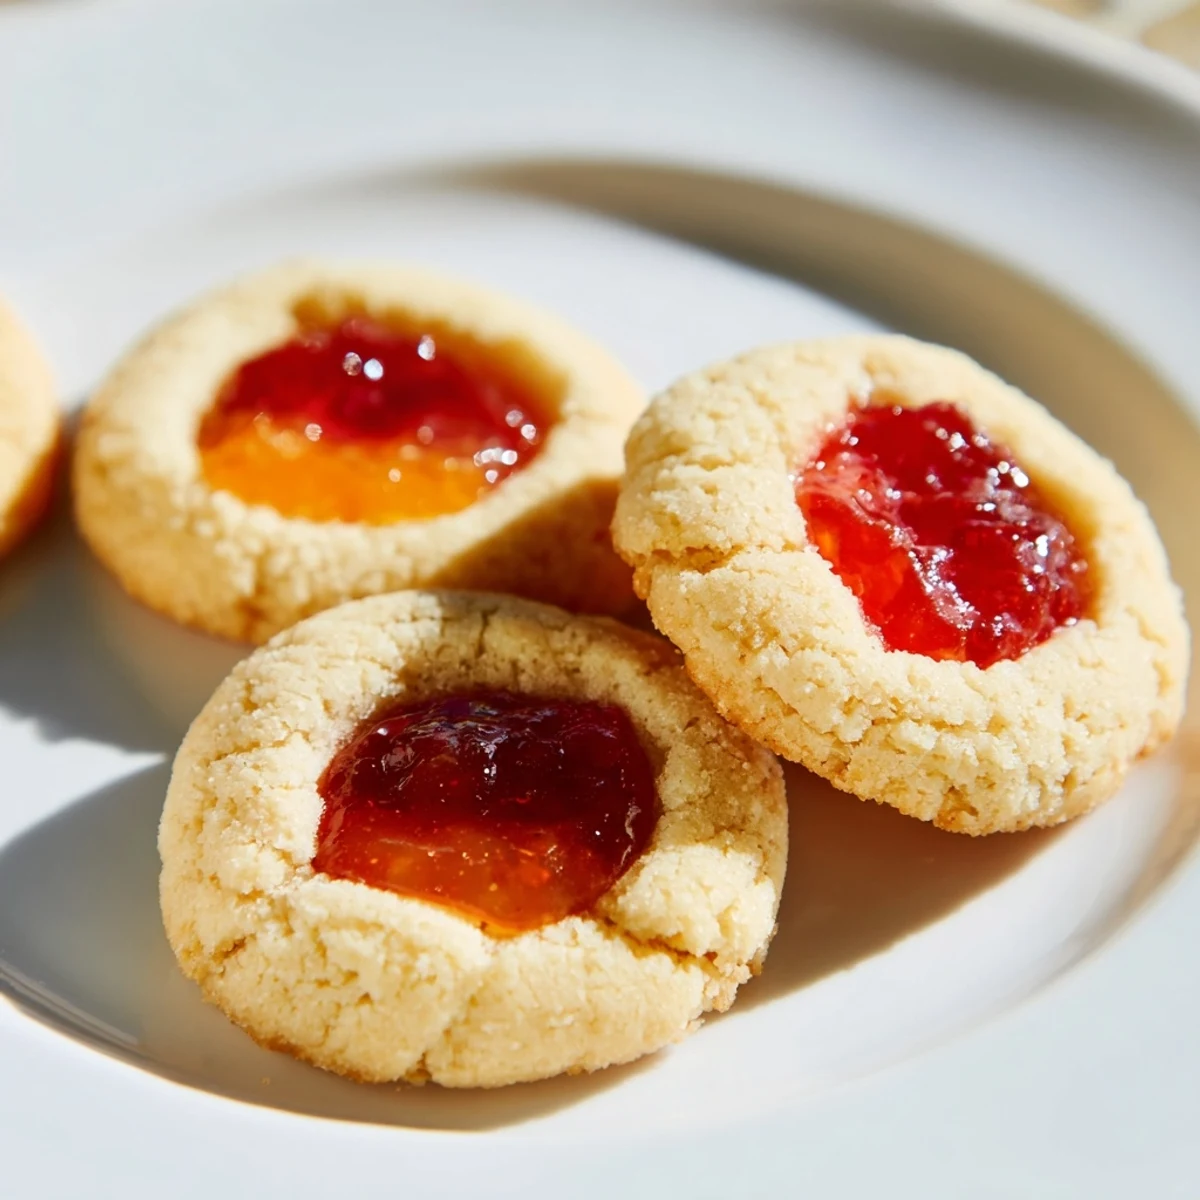
Choosing Your Jams
I love using three different flavors on one baking sheet because the variety looks gorgeous on a serving plate. Raspberry and apricot are classics, but fig jam or cherry preserves are unexpected surprises. Just make sure whatever you choose is thick enough to hold its shape during baking.
Making Them Ahead
You can roll the dough balls and freeze them raw on a baking sheet, then transfer to a bag for up to three months. Bake them straight from frozen, adding an extra minute or two to the time. The jam-filled baked cookies also freeze beautifully if you can resist eating them all first.
Serving Suggestions
These shine alongside a pot of Earl Grey or as part of a holiday cookie exchange. I've also crushed them over vanilla ice cream for an instant dessert that feels fancy but takes two minutes. They're delicate enough for afternoon tea but sturdy enough for lunchboxes.
- Sprinkle powdered sugar over the cooled cookies for a snow-dusted look
- Try lemon curd instead of jam for a bright, tangy twist
- Dip half the cooled cookie in melted chocolate for extra indulgence
 Save to Pinterest
 There's something so homey and welcoming about a plate of these thumbprint cookies, like a hug in cookie form. I hope they become part of your kitchen traditions too.
Recipe Questions & Answers
- → What type of jam works best for these cookies?
-
Any fruit preserves or jam will work beautifully. Raspberry, strawberry, and apricot are classic choices, but feel free to experiment with blueberry, blackcurrant, or even lemon curd for variety.
- → Can I make the dough ahead of time?
-
Yes, the dough can be prepared and refrigerated for up to 2 days before baking. Let it soften slightly at room temperature before rolling into balls for easier handling.
- → How do I prevent the jam from overflowing during baking?
-
Fill each indentation with only about 1/2 teaspoon of jam—don't overfill. The jam will bubble slightly as it bakes, but this amount stays neatly contained within the center.
- → Why did my cookies spread too much?
-
Ensure your butter is softened but not melted. Chilling the shaped dough for 15-20 minutes before baking can also help them maintain their shape and prevent excessive spreading.
- → Can I freeze these cookies?
-
Yes, baked cookies freeze well for up to 3 months in an airtight container. Alternatively, freeze the unbaked dough balls and fill with fresh jam just before baking.
- → How do I know when the cookies are done?
-
The edges should be lightly golden while the centers may still look slightly soft. They will firm up as they cool on the baking sheet for those essential 5 minutes.
