 Save to Pinterest
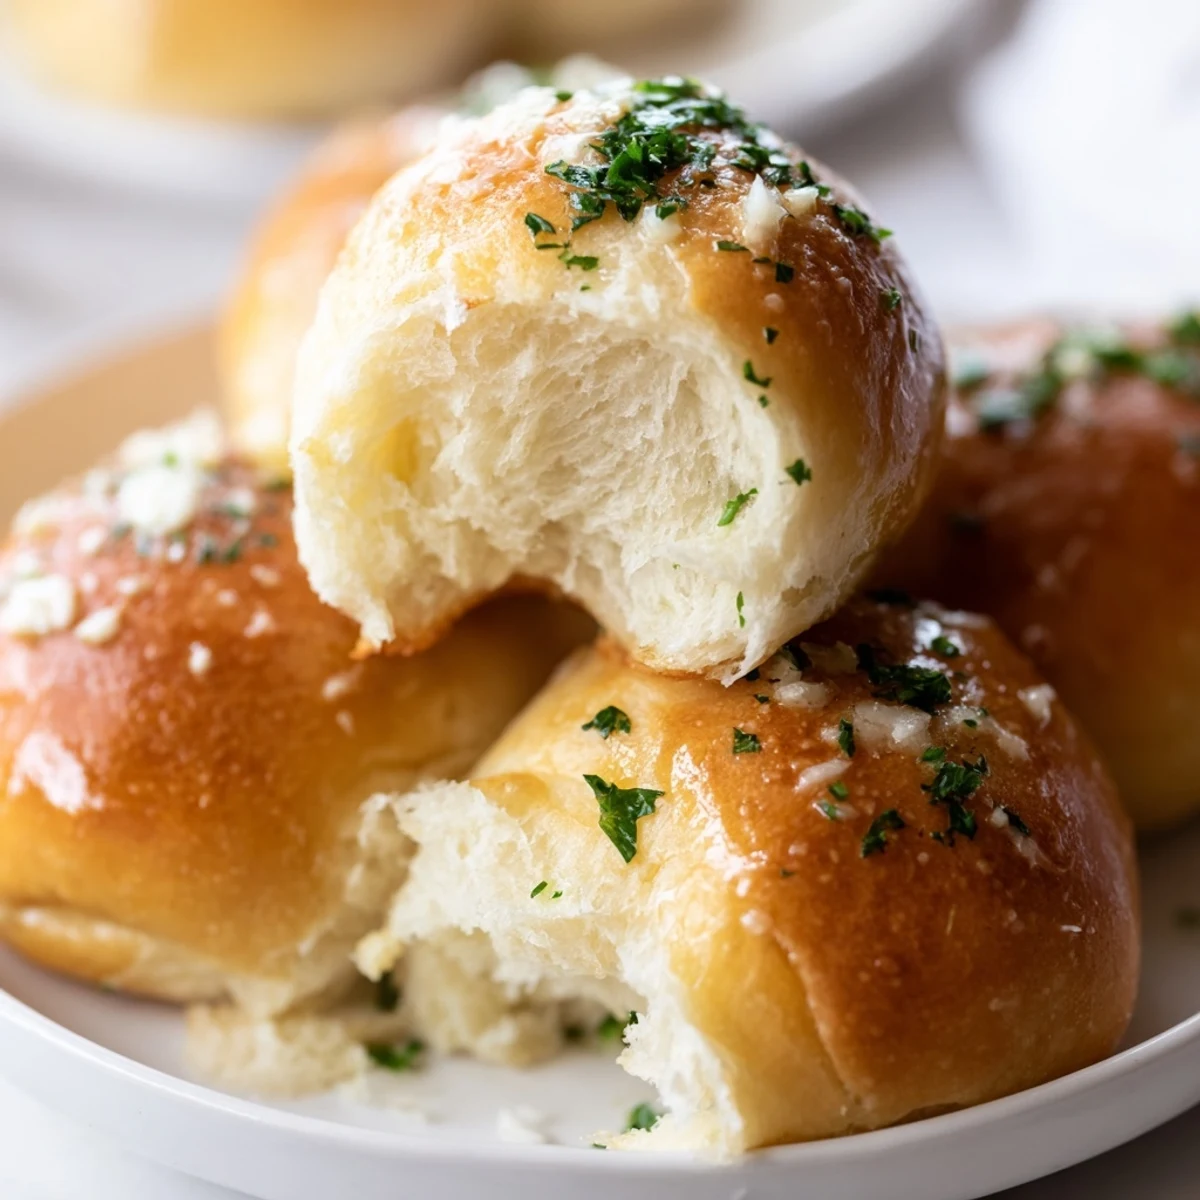
 These soft, pillowy rolls start with a simple yeast dough that rises to perfection. Each roll is generously brushed with homemade garlic butter featuring fresh parsley, salty Parmesan, and aromatic minced garlic. After a second rise, they bake into golden bundles perfect for soaking up sauces or enjoying on their own.
The dough comes together with basic pantry staples—flour, milk, butter, egg, and yeast. While the dough rises, whip up the flavorful garlic butter filling in minutes. The hands-on time is minimal, letting the yeast do most of the work.
These versatile rolls complement pasta dishes, soups, or stand alone as a satisfying snack. Serve them warm from the oven for maximum buttery aroma and fluffy texture.
The smell of garlic butter hitting warm dough still stops me in my tracks every single time. I started making these rolls during a particularly cold winter when my apartment became the unofficial gathering spot for friends seeking dinner and warmth. Something about tearing into a fresh, garlicky roll alongside pasta made even the most chaotic weeknight feel like a proper dinner party.
My roommate used to hover by the oven during the final bake, literally counting down the minutes. We once doubled the recipe because our friend group kept showing up with wine and empty plates, and honestly, that was the best mistake we ever made. The house smelled like an Italian bakery for days.
Ingredients
- All purpose flour: This creates the perfect tender crumb while still giving you that satisfying chewy bite
- Active dry yeast: Make sure your milk is warm but not hot, around 110°F, to wake up the yeast without killing it
- Unsalted butter: I use this for both the dough and the filling because it lets you control exactly how much salt goes into each component
- Fresh garlic: Do not use pre minced garlic here since fresh gives you that aromatic punch that makes these rolls special
- Parmesan cheese: The salty, nutty cheese adds depth to the garlic butter and creates these gorgeous crispy spots on top
Instructions
- Wake up the yeast:
- Dissolve the sugar in warm milk and sprinkle the yeast on top. Let it foam for about 10 minutes until it looks alive and bubbly.
- Mix the dough:
- Combine flour and salt in a large bowl, then add melted butter, egg, and the yeast mixture. Mix until everything comes together into a shaggy ball.
- Knead until smooth:
- Work the dough on a floured surface for 8 to 10 minutes until it feels smooth and elastic, like a stress ball that bounces back when you poke it.
- Let it rise:
- Place the dough in a greased bowl, cover it, and leave it in a warm spot for about an hour until it has doubled in size.
- Make the garlic butter:
- Mix softened butter with minced garlic, parsley, salt, and Parmesan until combined. This is what will make your kitchen smell incredible.
- Fill and shape:
- Punch down the dough, divide it into 12 pieces, flatten each into a rectangle, spread with garlic butter, and roll them up tight.
- Second rise:
- Arrange the rolls seam side down in your baking pan, cover, and let them puff up for another 20 to 30 minutes.
- Bake until golden:
- Brush with melted butter, sprinkle with extra parsley and Parmesan, then bake at 350°F for 20 to 25 minutes until deeply golden on top.
 Save to Pinterest
 These rolls have become my go to contribution for potlucks because they travel surprisingly well. Something about breaking bread together, even when its literal garlic butter bread, makes people linger at the table long after dinner is done.
Making Ahead
You can prepare the dough through the first rise, then refrigerate it overnight. Let it come to room temperature for about 30 minutes before shaping and filling. This actually develops more flavor in the dough.
Serving Suggestions
These are perfect alongside pasta dishes, but I also love them with a big bowl of soup or as the base for mini sliders. The garlic butter filling makes them substantial enough to stand on their own as a snack.
Storage and Reheating
Store cooled rolls in an airtight container for up to 2 days, or freeze them for up to a month. Reheat frozen rolls at 350°F for about 10 minutes to refresh that just baked texture.
- Wrap rolls in foil when reheating to prevent them from drying out
- Leftover garlic butter keeps in the fridge for a week and is amazing on roasted vegetables
- These rolls reheat surprisingly well in an air fryer for 3 to 4 minutes
 Save to Pinterest
 There is something deeply satisfying about pulling a tray of these from the oven, golden and bubbling, and watching everyone reach for one simultaneously. Homemade bread has a way of making any meal feel like a celebration.
Recipe Questions & Answers
- → Can I make the dough ahead of time?
-
Yes, prepare the dough through the first rise, then refrigerate overnight. Bring to room temperature before shaping and proceeding with the second rise.
- → What's the best way to store leftovers?
-
Store cooled rolls in an airtight container at room temperature for up to 2 days. For longer storage, freeze individually wrapped and reheat in a 350°F oven for 5-10 minutes.
- → Can I use dried herbs instead of fresh?
-
Use one-third the amount of dried herbs compared to fresh. For this recipe, substitute 2 teaspoons dried parsley for the fresh, though fresh provides superior flavor.
- → Why didn't my dough double in size?
-
This usually means the yeast wasn't active or the environment was too cold. Ensure your milk is warm (110°F) and find a warm, draft-free spot for rising. A slightly warm oven with just the light on works well.
- → Can I make these without Parmesan?
-
Absolutely. Omit the cheese entirely or substitute with grated Asiago, Pecorino Romano, or nutritional yeast for a dairy-free alternative with similar savory notes.
- → How do I know when the rolls are done baking?
-
Look for deep golden-brown tops and hollow sound when tapped gently. An instant thermometer inserted into the center should read 190-200°F. The internal temperature ensures fully cooked centers.
