 Save to Pinterest
 This gingerbread village kit offers a playful way to create spiced gingerbread houses perfect for holiday celebrations. Start by preparing a rich dough infused with cinnamon, ginger, cloves, and nutmeg, then roll and cut into various house parts. Bake until lightly golden, then assemble using smooth royal icing, and decorate with candies and edible glitter to bring the village to life. The assembly process provides a joyful way to share quality time with family and friends during the festive season. Additional tips for vegan alternatives and pairing suggestions enhance the experience.
I still remember the winter my grandmother pulled out a worn cardboard box labeled 'House Kit' from her attic. Inside were gingerbread pieces she'd baked decades earlier, waiting to be assembled into a village. We spent an entire snowy afternoon rebuilding her childhood tradition, and watching her eyes light up as the houses took shape reminded me that some recipes carry more than flavors, they carry memories. Now, every December, I bake this gingerbread village kit with my own family, and it's become our most cherished holiday ritual, one that transforms a simple dessert into architecture made of love.
I'll never forget the year my youngest daughter declared, 'I made this house stand up all by itself,' when her royal icing held strong enough to keep a delicate roof in place. That moment of pride on her face, covered in powdered sugar and candy crumbs, was worth every minute of prep work. Creating this village together transformed our kitchen into a creative studio where baking became storytelling, and the final village became a edible monument to our time together.
Ingredients
- Unsalted butter, softened (200 g): This is your foundation, so make sure it's genuinely soft before you start, not cold and chunky. Softened butter creams beautifully with sugar, creating that light, fluffy base that makes gingerbread tender rather than dense.
- Light brown sugar (150 g): The molasses in brown sugar deepens the spice notes and adds a subtle moisture that keeps your houses from becoming brittle over time.
- Golden syrup or molasses (200 ml): This is the soul of the dough, the ingredient that transforms basic spiced flour into something that tastes like the holidays. Golden syrup gives a subtle honey note, while molasses brings deeper richness, so choose based on what you're craving.
- Large eggs (2): These bind everything together while adding tenderness and richness to the final baked pieces.
- All-purpose flour (600 g): This provides structure and ensures your houses hold their shape when assembled and decorated.
- Ground ginger (2 tsp): Fresh ginger powder, if you can find it, makes a noticeable difference. Store it in a cool, dark place because ginger loses its potency quickly.
- Ground cinnamon (2 tsp): Use the best quality you can afford, as it's such a prominent flavor, and stale cinnamon will disappoint.
- Ground cloves (½ tsp): A little goes a long way here. Cloves are powerful, and too much can taste medicinal, so measure carefully.
- Ground nutmeg (½ tsp): Freshly grated nutmeg is extraordinary if you have a microplane, but ground nutmeg works beautifully too.
- Baking soda (1 tsp): This ensures your gingerbread bakes evenly and stays tender.
- Salt (½ tsp): Never skip salt in sweets. It amplifies every spice and makes the whole experience more complex and interesting.
- Egg whites (3 large): For royal icing, make absolutely sure your bowl and beaters are completely grease-free, or the whites won't whip properly.
- Powdered sugar, sifted (450 g): Sifting removes lumps and aerates the sugar, making your icing smoother and easier to work with.
- Lemon juice (½ tsp): This adds a tiny note of brightness that balances the sweetness of the icing.
- Assorted candies: Gumdrops, candy canes, chocolate buttons, and sprinkles are your paintbrush. Choose colors that make you happy.
- Shredded coconut: When tinted white with the icing, it becomes the most convincing snow you'll ever taste.
- Edible glitter or pearls (optional): These final touches catch the light and make your village shimmer like it's been dusted with magic.
Instructions
- Prepare Your Workspace:
- Preheat your oven to 180°C (350°F) and line your baking sheets with parchment paper. This prevents sticking and gives you even heat distribution. Have all your ingredients measured and ready, because once you start creaming the butter and sugar, you'll want to move with purpose and momentum.
- Cream the Butter and Sugar:
- In a large bowl, beat the softened butter and light brown sugar together until the mixture is pale, fluffy, and light in color. This should take about 3 to 5 minutes with an electric mixer. You're not just mixing, you're incorporating air, which makes your gingerbread tender. Stop occasionally to scrape down the sides of the bowl.
- Add the Wet Ingredients:
- Pour in the golden syrup or molasses and beat until combined. The mixture might look a bit grainy at first, which is perfectly normal. Then crack in your eggs one at a time, beating well after each addition. The batter should come together into something that looks almost creamy and pourable, like it's ready to be transformed.
- Combine the Dry Mix:
- In a separate bowl, sift together the flour, ginger, cinnamon, cloves, nutmeg, baking soda, and salt. Sifting isn't just for show here, it breaks up any clumps in the spices and distributes them evenly throughout the flour, which means every bite will taste consistently spiced.
- Bring It Together:
- Gradually add the dry ingredients to the wet mixture, stirring with a wooden spoon or using your mixer on low speed. Stop as soon as everything comes together into a smooth, slightly stiff dough. Don't overmix, or you'll develop gluten and your gingerbread will become tough instead of tender.
- Rest the Dough:
- Divide the dough into two disks, wrap each tightly in plastic wrap, and refrigerate for at least 30 minutes. This resting time allows the flour to fully hydrate and makes the dough much easier to roll out without sticking. If you have time, chilling for a full hour is even better.
- Roll and Cut:
- On a lightly floured surface, roll out one disk of dough to about 5 mm (¼ inch) thickness. Using cardboard templates or downloaded house patterns, carefully cut out walls, roofs, and any decorative shapes. Transfer each piece to your prepared baking sheets, leaving a little space between them. This is the moment your village starts to take shape, so take your time and enjoy the creative process.
- Bake with Intention:
- Bake for 10 to 15 minutes, watching for the edges to turn golden brown and firm. The centers should still be slightly soft, as they'll continue to firm up as they cool. The smell at this point is almost transcendent, like opening the door to the holidays themselves.
- Cool Completely:
- Transfer each piece to a wire rack and let them cool completely before handling. This prevents warping and ensures they have enough structural integrity to stand up when assembled.
- Make the Royal Icing:
- In a completely clean, grease-free bowl, beat the egg whites and lemon juice until they become frothy and light. Gradually add the sifted powdered sugar, beating continuously, until stiff peaks form. This takes patience and a bit of elbow grease, but your effort will be rewarded with icing that's smooth, spreadable, and perfect for piping.
- Assemble Your Houses:
- Using a piping bag fitted with a small round tip, pipe a generous line of royal icing along the edges where walls meet and where walls meet the roof. Gently press pieces together and hold them steady for a moment until the icing begins to set. If a piece starts to slip, your hands are the best support. Work slowly and patiently, treating each house like the small work of art it is.
- Let It Set:
- Allow the assembled houses to dry undisturbed for at least 30 minutes, ideally longer. The icing needs time to harden and create a strong structural bond. You can accelerate this with a hair dryer on cool setting if you're impatient, though patience is really the better teacher here.
- Decorate with Joy:
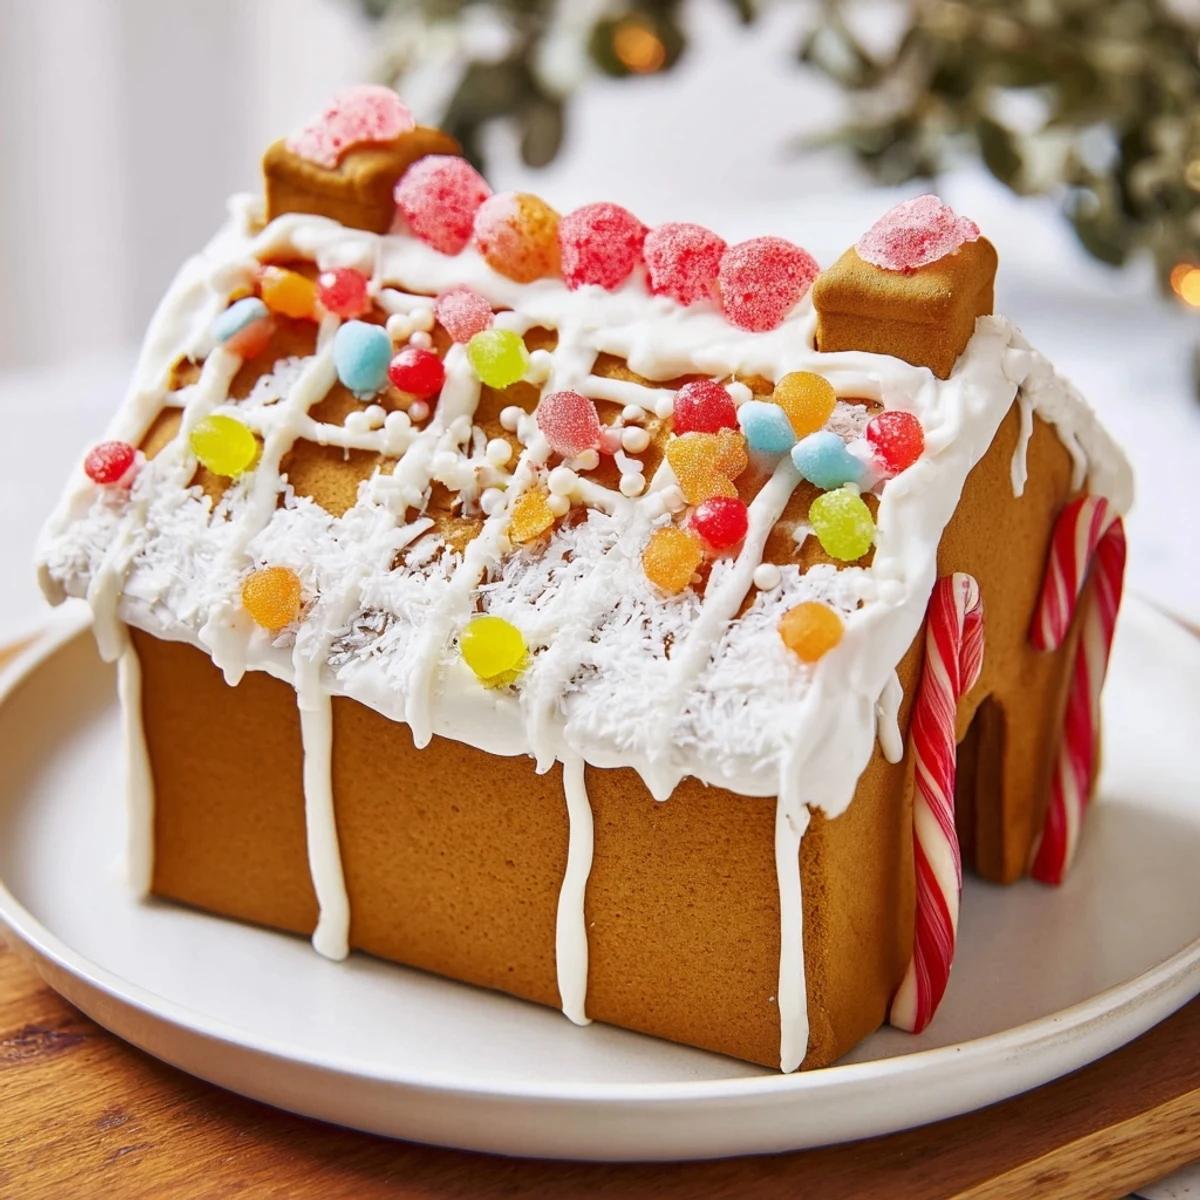
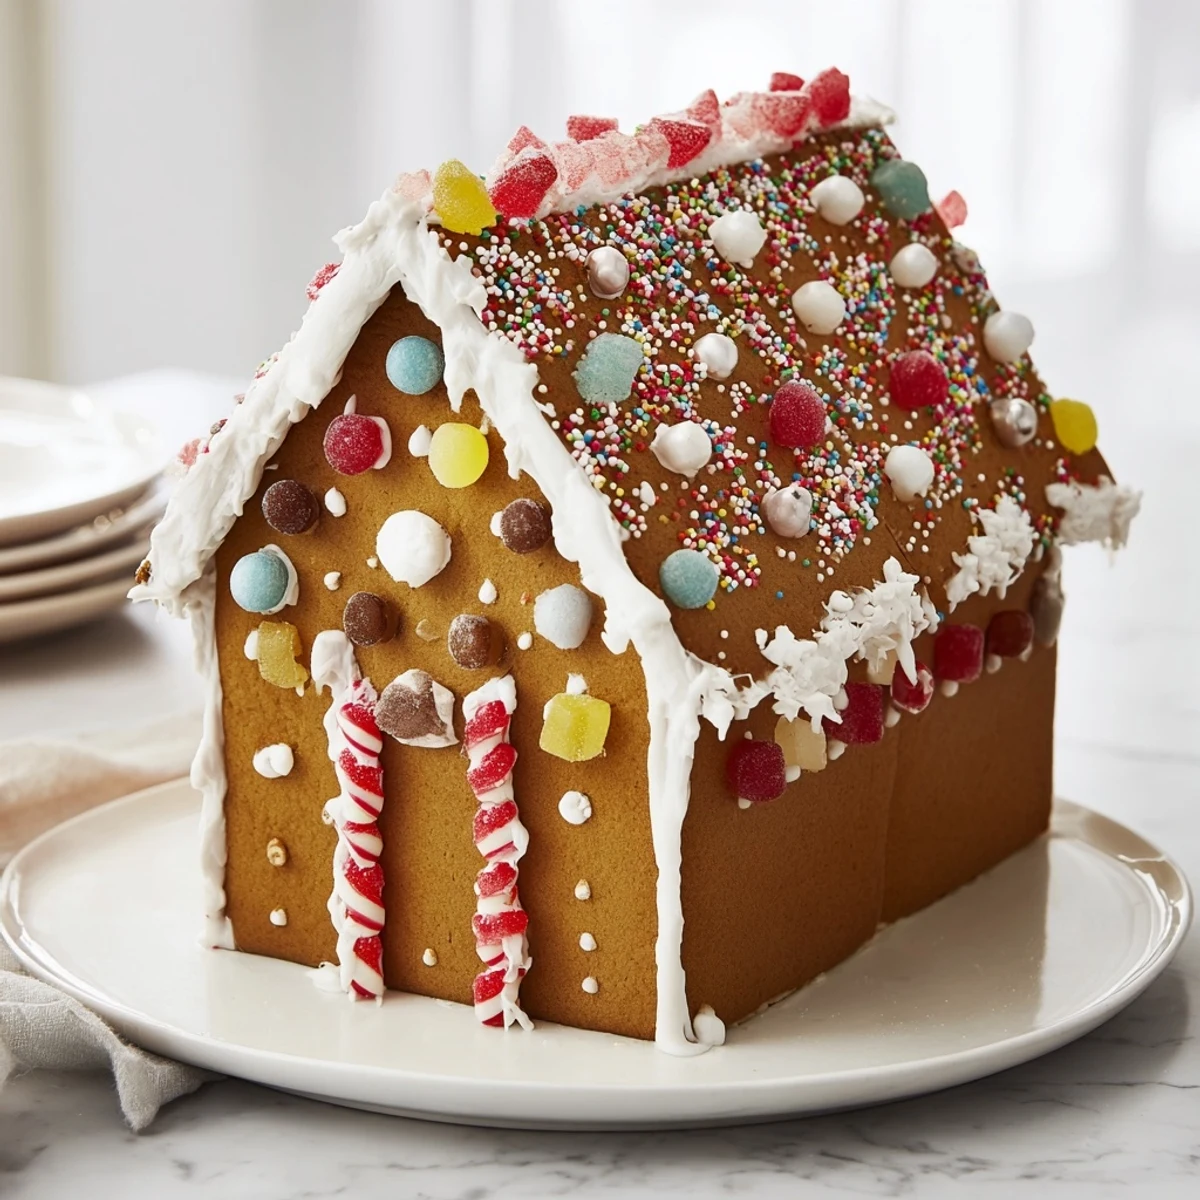
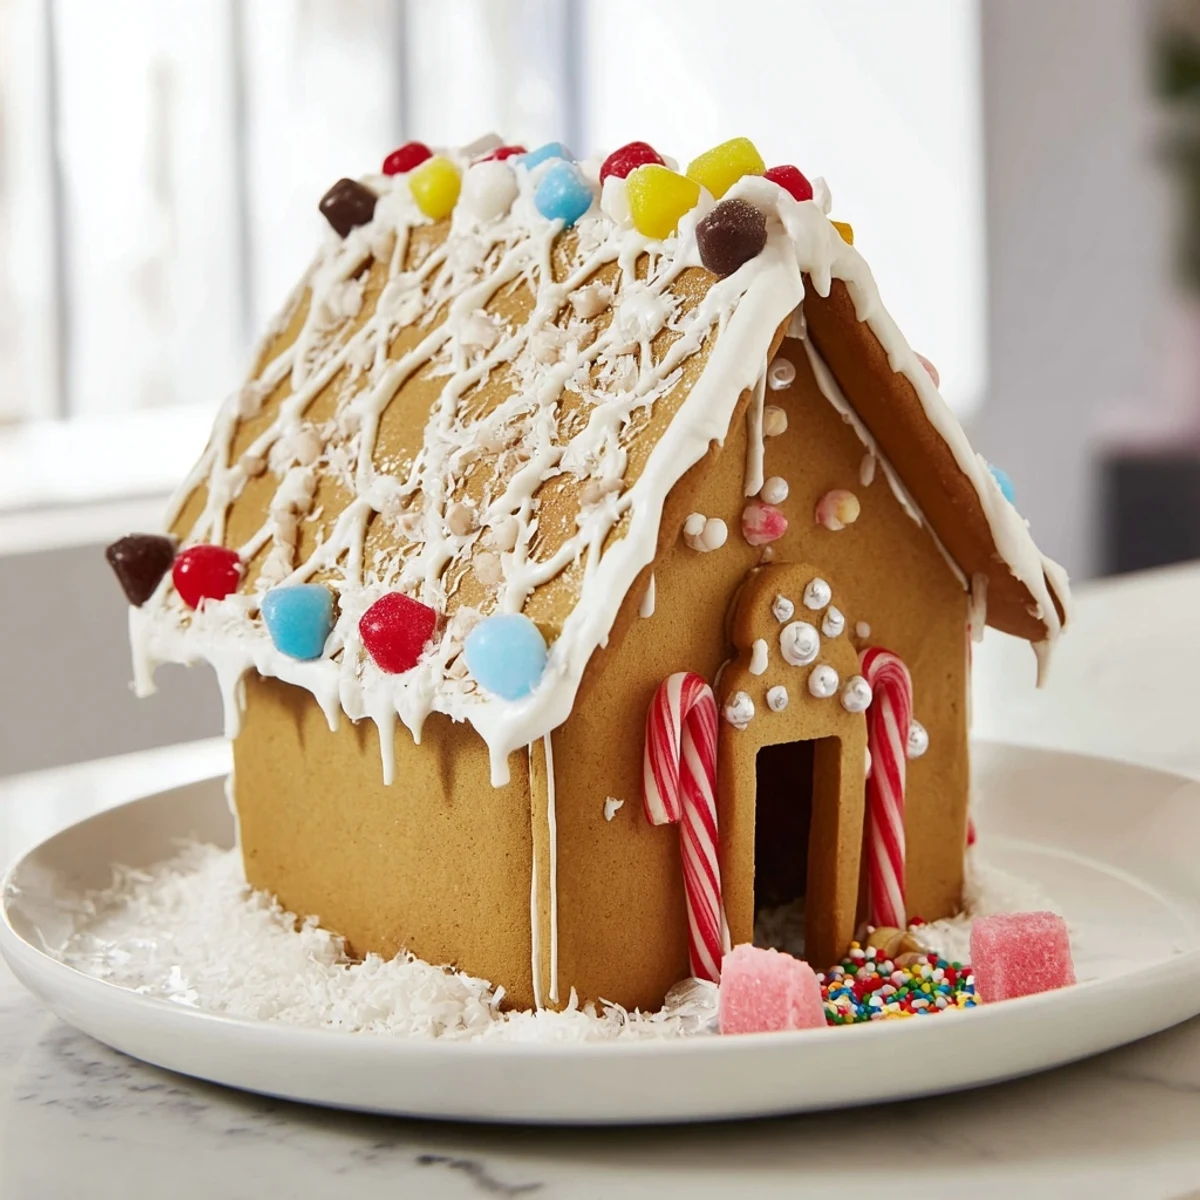
- Once the structure is solid, use more royal icing to attach your candies, creating windows, doors, borders, and whimsical details. Pipe icing along the edges of roofs and sprinkle shredded coconut for snow. Add edible glitter or pearls if you want them to catch the light. This is where your personal style shines through, so make each house uniquely yours.
- Final Hardening:
- Let your completed village stand at room temperature until the icing is completely hardened, usually a few hours. This final resting allows everything to set permanently, and your houses will become sturdy enough to last through the entire holiday season.
 Save to Pinterest
 I once made this village with my friends on a cold December evening, each of us claiming a house to decorate. We laughed as someone's roof collapsed mid-assembly, we cheered when another's candy door stuck perfectly, and we all stood back at the end to admire our collective creation. By the time we were done, our hands were sticky, we were covered in powdered sugar, and we'd created something that transcended simple food. That village became the centerpiece of our holiday gathering, and every time someone took a bite, they were tasting not just spiced gingerbread, but the memory of friendship and shared creativity.
Why Templates Matter
The first time I tried making gingerbread houses without templates, I ended up with crooked walls that leaned like the Tower of Pisa and roofs that didn't quite fit. Now I'm a firm believer in the power of a good template. Cardboard templates are invaluable because they give you crisp, clean edges that make assembly so much easier. You can draw your own on sturdy cardboard, or download printable templates online from baking blogs and Pinterest boards. The template becomes your blueprint, transforming what could be frustrating into a smooth, enjoyable process where you can focus on creativity rather than geometry.
Storage and Longevity
Once your gingerbread village is completely assembled and decorated, it can last for weeks if stored properly. Keep it in a cool, dry place away from humidity, which can soften the icing and encourage candies to stick together. If you want to preserve your village long-term, you can actually seal it with a clear acrylic spray coating, turning your edible creation into a decorative keepsake that lasts through multiple seasons. I've heard of families with gingerbread houses passed down for years, the spices long since faded but the structure eternally standing as proof of love and patience.
Variations and Creative Expressions
This recipe is a wonderful canvas for personal creativity and dietary needs. A vegan version works beautifully if you substitute the butter with plant-based margarine and use aquafaba (the liquid from a can of chickpeas) in place of eggs for the icing. You can also experiment with the spice blend, adding a pinch of cardamom for Scandinavian flair or increasing the cloves if you love deeper, more complex flavors. Some bakers add a teaspoon of vanilla extract or almond extract to add another layer of warmth. Your village doesn't have to look traditional either, you can create igloos, cottages with elaborate gardens, or abstract geometric structures that defy convention.
- Try using crushed candy canes mixed with the coconut for a pink-and-white snow effect that tastes like the season.
- White chocolate shavings look like icicles and add a subtle richness when combined with the spiced gingerbread.
- If you're short on time, you can skip the royal icing for assembly and use melted white chocolate instead, though it's less structurally sound.
 Save to Pinterest
 Making a gingerbread village is about so much more than the final product. It's about creating space in your December to slow down, to be creative with your hands, and to share something meaningful with the people you love. Every imperfect house, every wonky roof, and every candy placed with intention becomes a small monument to the time you spent together.
Recipe Questions & Answers
- → What spices are used in the dough?
-
The dough includes ground ginger, cinnamon, cloves, and nutmeg, offering a warm and aromatic flavor.
- → How do you assemble the gingerbread houses?
-
Use royal icing as edible glue by piping it along the edges of the house pieces and holding them until set before decorating.
- → Can I substitute the eggs and butter for vegan options?
-
Yes, eggs can be replaced with aquafaba and butter with plant-based margarine for a vegan-friendly approach.
- → How long should the icing dry before decorating?
-
Allow ample drying time for the icing to fully harden, usually about 1-2 hours, to ensure the structure stays stable.
- → What candies are recommended for decorating?
-
Assorted candies like gumdrops, candy canes, chocolate buttons, and sprinkles add color and texture to the gingerbread village.
- → What tools do I need to create the village?
-
A rolling pin, baking sheets with parchment paper, sharp knives or templates, mixing bowls, an electric mixer, piping bags, and a wire rack are essential tools.
