 Save to Pinterest
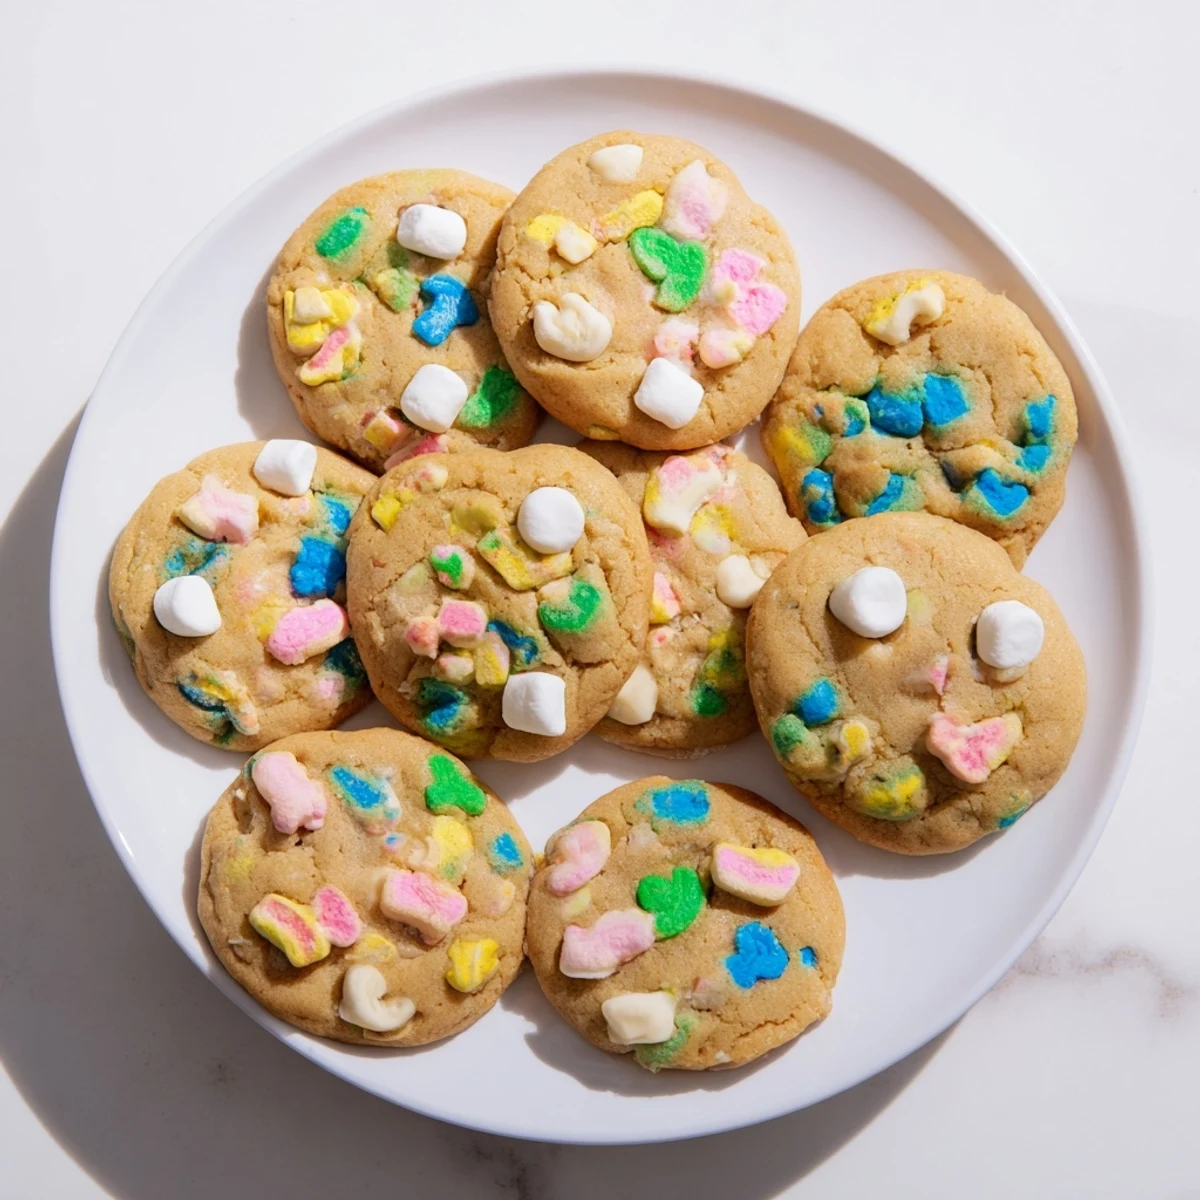
 These soft, chewy cookies combine the nostalgic crunch of Lucky Charms marshmallows with a buttery vanilla base. The dough comes together quickly in one bowl, requiring just 15 minutes of prep before baking.
Fold in separated marshmallows and optional white chocolate chips for extra sweetness. Press a few colorful marshmallows on top before baking for that signature festive appearance.
Bake until edges are set but centers remain slightly soft for the perfect chewy texture. Let them cool on the sheet for 5 minutes to set before transferring.
My college roommate used to pick out all the marshmallows from a box of Lucky Charms and leave the plain oat pieces for everyone else. One rainy Saturday, I watched her do this and had the most ridiculous thought—what if those lonely little marshmallows found their true calling in a cookie instead?
I first brought these to a friend's game night, and within twenty minutes, the entire plate had vanished. Someone actually asked if I'd consider selling them, which I took as the highest compliment possible.
Ingredients
- 2 1/4 cups all-purpose flour: The foundation that holds everything together without making the cookies tough or dense.
- 1/2 teaspoon baking soda: Just enough to give these cookies their perfect puff and spread in the oven.
- 1/2 teaspoon salt: Balances all that sugar and makes the marshmallow flavor really pop.
- 3/4 cup unsalted butter, melted and cooled: Using melted butter creates chewier cookies than the creamed method, and cooling it prevents the marshmallows from melting too soon.
- 3/4 cup packed light brown sugar: Adds moisture and that lovely caramel depth you cannot get from white sugar alone.
- 1/2 cup granulated sugar: Provides crispness on the edges while the brown sugar keeps centers soft.
- 1 large egg plus 1 egg yolk: The extra yolk adds richness and helps create that irresistible chewy texture.
- 2 teaspoons pure vanilla extract: Do not skimp here—vanilla is the background singer that makes everything harmonize.
- 1 1/4 cups Lucky Charms marshmallows: The star of the show, carefully sorted from the cereal with love and patience.
- 3/4 cup white chocolate chips: Completely optional but adds creamy sweetness that pairs beautifully with the colorful marshmallows.
Instructions
- Get your oven ready:
- Preheat to 350°F and line two baking sheets with parchment paper so nothing sticks and cleanup is a breeze.
- Whisk the dry ingredients:
- In a medium bowl, combine the flour, baking soda, and salt until everything is evenly distributed.
- Mix the wet ingredients:
- Combine melted butter with both sugars in a large bowl, stirring until smooth, then beat in the egg, egg yolk, and vanilla.
- Combine everything:
- Gradually add the dry ingredients to the wet, stirring just until you no longer see streaks of flour.
- Add the magic:
- Gently fold in the white chocolate chips and all but 1/4 cup of the marshmallows, being careful not to overmix.
- Shape and top:
- Scoop dough onto prepared sheets about two inches apart, then press a few reserved marshmallows onto each dough ball.
- Bake to perfection:
- Bake for 9 to 11 minutes until edges are set but centers still look slightly underdone.
- Cool patiently:
- Let cookies rest on the baking sheet for five minutes before moving them to a wire rack to finish cooling.
 Save to Pinterest
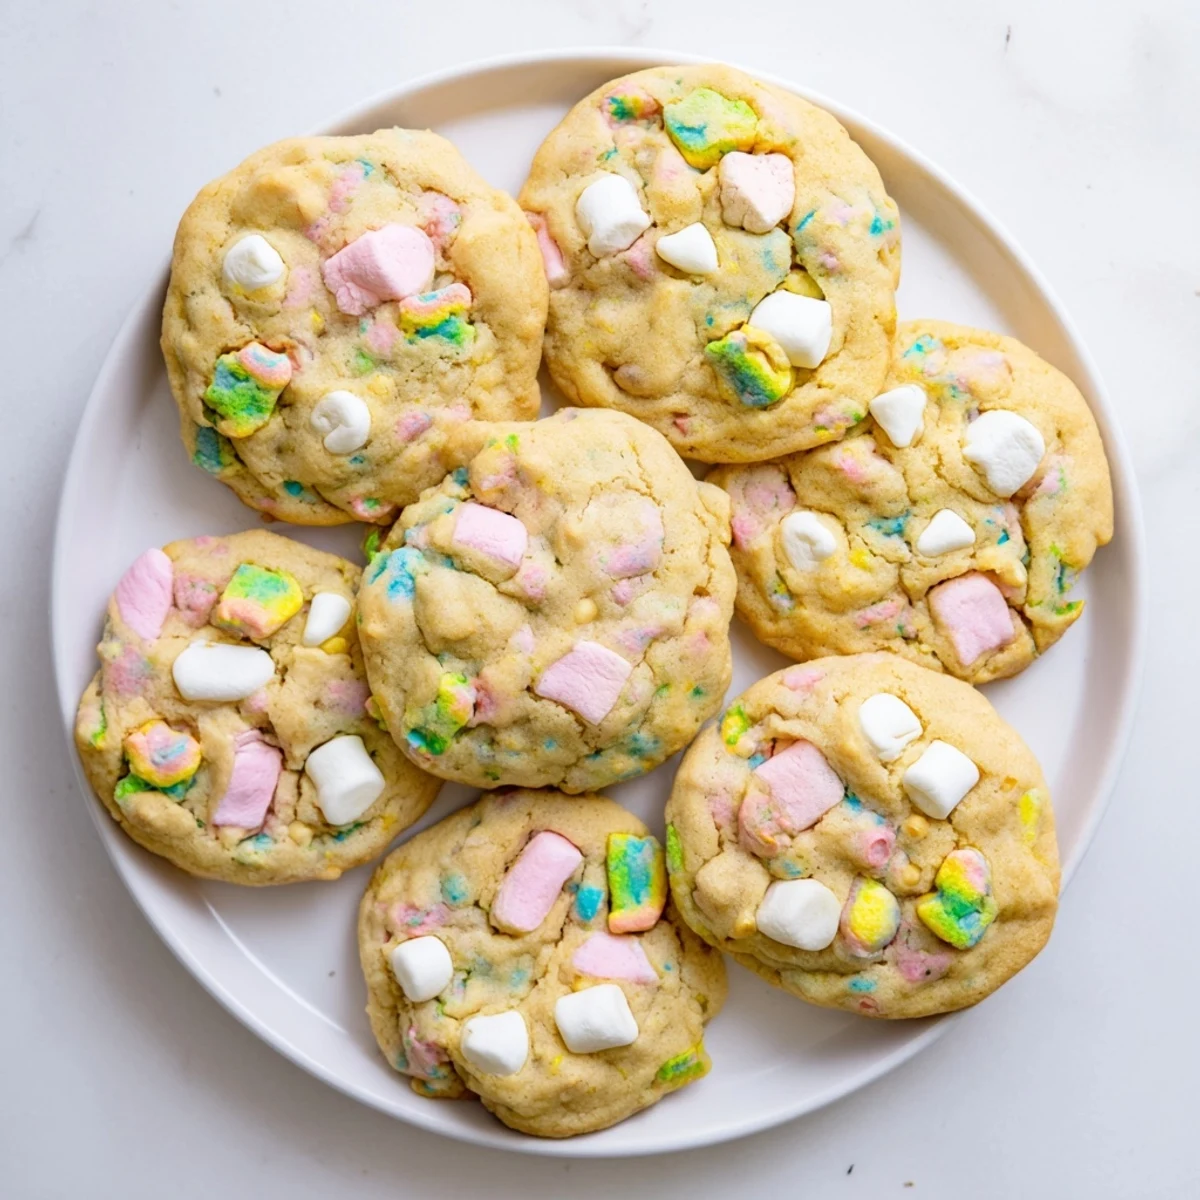
 My nephew now requests these for every family gathering, and watching his face light up when he sees that colorful tray has become one of my favorite things about making them.
Making Them Your Own
Sometimes I swap the white chocolate for dark chocolate chunks when I want something more sophisticated, or add rainbow sprinkles for an even more over-the-top birthday vibe.
Storage and Sharing
These stay soft for four days in an airtight container, though honestly they have never lasted longer than two days in my house.
Baking Success Secrets
The key is pulling them from the oven when centers still look slightly underdone since they continue cooking on the hot baking sheet.
- Use a cookie scoop for uniform sizing so everything bakes evenly.
- Rotate the baking sheets halfway through if your oven has hot spots.
- Let the melted butter cool for at least ten minutes before mixing.
 Save to Pinterest
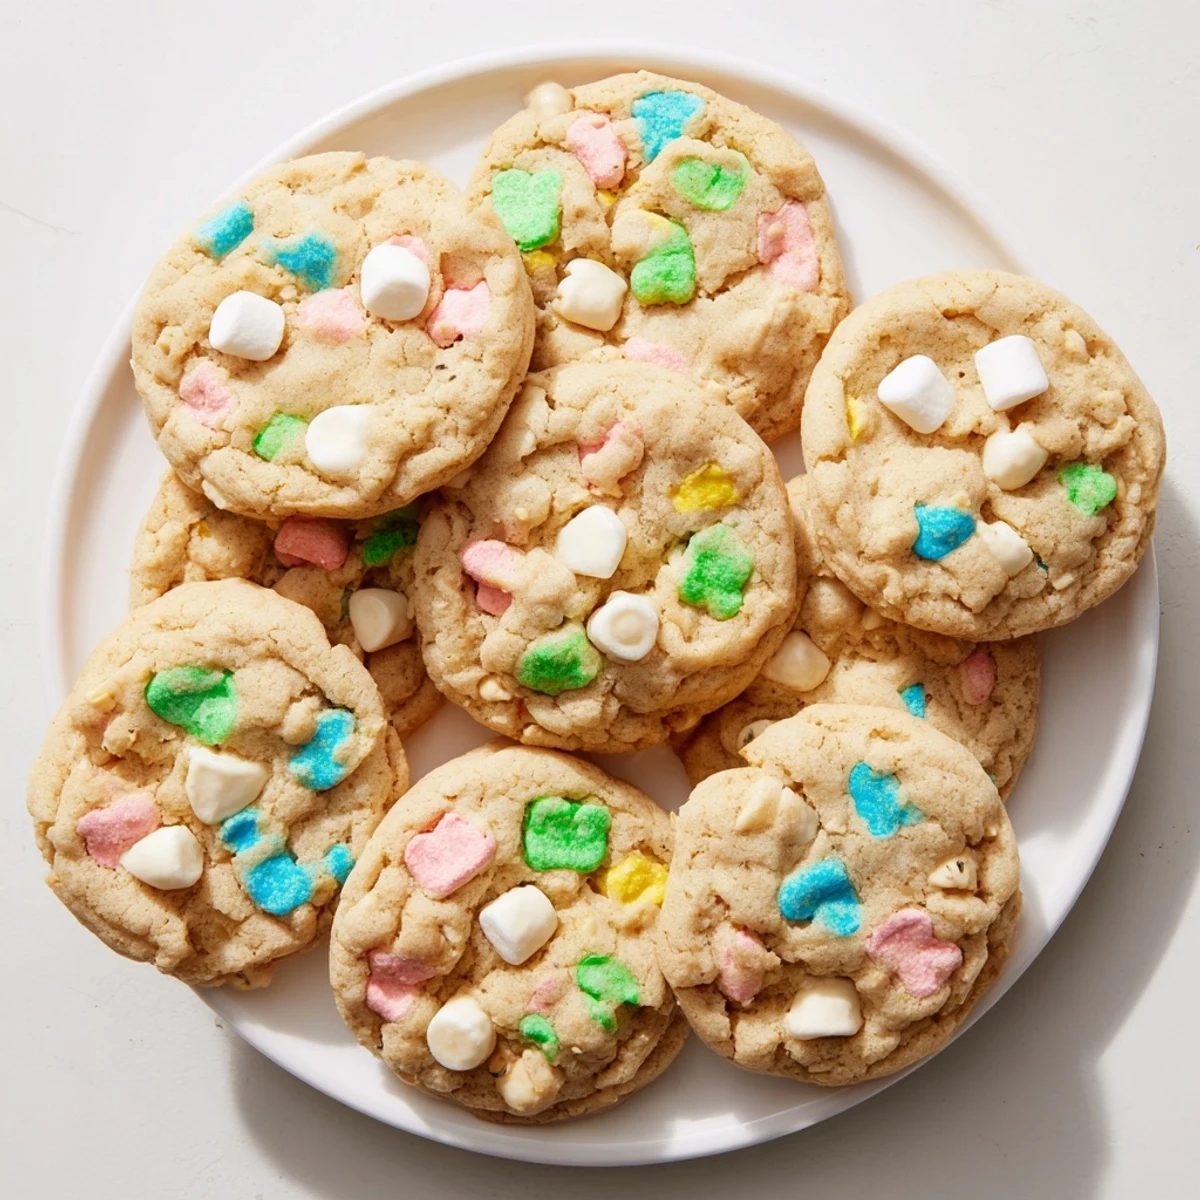
 Hope these bring as much colorful joy to your kitchen as they have to mine.
Recipe Questions & Answers
- → Can I use regular cereal instead of just marshmallows?
-
The cereal pieces would become too hard and crunchy during baking. Stick with just the colorful marshmallows for the best texture and taste.
- → Why do I need to reserve some marshmallows for topping?
-
Pressing fresh marshmallows on top before baking keeps them soft and colorful. Those baked into the dough melt slightly, creating a nice chewy texture throughout.
- → How should I store these to keep them soft?
-
Keep in an airtight container at room temperature for up to 4 days. Add a slice of white bread to the container to help maintain moisture and softness.
- → Can I freeze the dough or baked cookies?
-
Yes! Scoop dough balls and freeze on a tray, then transfer to a freezer bag. Bake from frozen, adding 1-2 minutes. Baked cookies also freeze well for up to 3 months.
- → What's the best way to separate marshmallows from cereal?
-
Pour the box into a large shallow bowl and gently shake. The light marshmallows float to the top while heavier cereal pieces settle. Pick them out with clean fingers or a slotted spoon.
- → Why does the dough need melted butter instead of softened?
-
Melted butter creates a denser, chewier texture while creaming softened butter produces fluffier, cake-like results. The melted version pairs perfectly with the marshmallow mix-ins.
