 Save to Pinterest
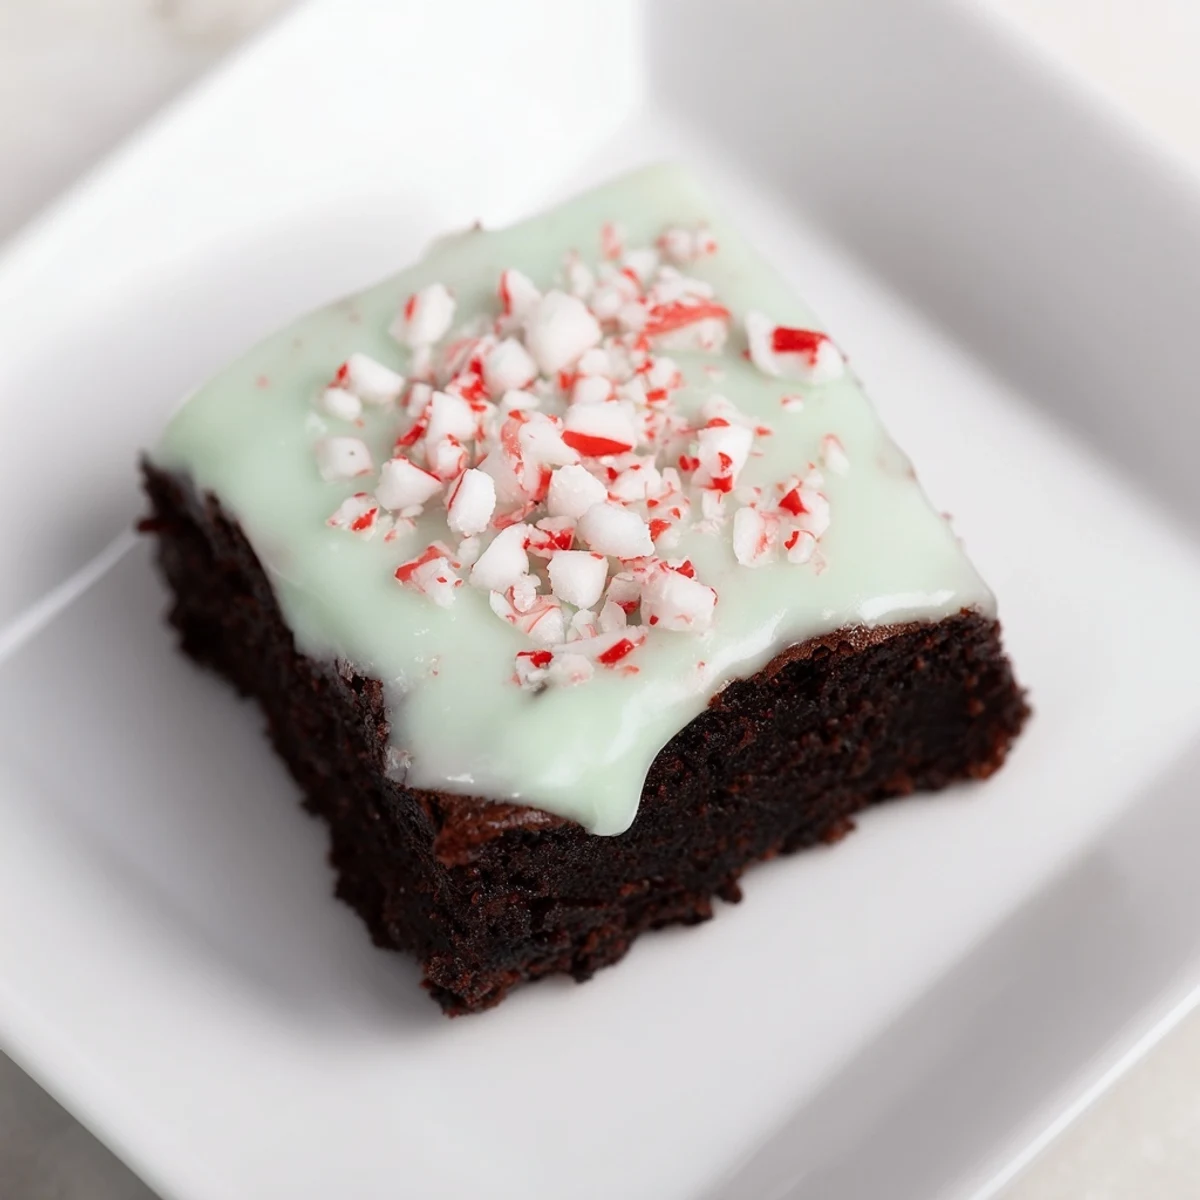
 These rich, fudgy brownies are infused with cool peppermint extract and topped with a smooth peppermint glaze enriched by crushed candies. The combination creates a perfect balance of chocolate and mint flavors, ideal for holiday gatherings or any time you crave a refreshing minty dessert. Preparation involves melting butter and chocolate, blending with sugar, eggs, and extracts, then folding in dry ingredients before baking to a tender texture. Once cooled, the glaze is spread evenly, allowing the flavors to meld beautifully.
Simple ingredients and easy steps make this chocolate-mint delight accessible while delivering a festive, fresh flavor. Optional food coloring adds a vibrant touch, and crushed peppermint candies enhance the refreshing finish. These brownies store well and can be enjoyed days after baking.
I still remember the first time I made peppermint brownies during a particularly hectic holiday season. I was searching for something that felt festive but wouldn't require hours in the kitchen, and when I found that magical combination of rich chocolate and cool peppermint, I knew I'd stumbled onto something special. Now, every December, the aroma of these fudgy squares baking in my oven signals that the holidays have truly arrived.
I'll never forget bringing a batch of these to my sister's holiday party last year. She took one bite and immediately asked for the recipe, but what really got me was watching my nephew, who usually pushes desserts aside, asking for seconds. That's when I realized these weren't just brownies—they were conversation starters.
Ingredients
- Unsalted butter and semisweet chocolate: These two create the fudgy foundation—the butter adds richness while the chocolate provides that deep, complex flavor. I learned the hard way that melting them together gently keeps the chocolate from becoming grainy.
- Granulated sugar: This sweetens the batter and helps create that slightly crispy edge while keeping the interior fudgy.
- Large eggs: They bind everything together and add moisture. Room temperature eggs mix more smoothly, which I discovered after my first batch came out dense.
- Pure vanilla and peppermint extracts: These two work as a team—the vanilla rounds out the chocolate while the peppermint brings that refreshing kick. Don't skip either one.
- All-purpose flour and unsweetened cocoa powder: The flour gives structure while the cocoa deepens the chocolate flavor. Sifting them together prevents lumps and keeps the brownies tender.
- Salt: This tiny amount amplifies all the other flavors and balances the sweetness perfectly.
- Powdered sugar, milk, and peppermint extract for the glaze: This simple trio becomes silky and spreadable. The milk lets you control the consistency as you go.
- Crushed peppermint candies: These add sparkle and texture—save some of the largest pieces for sprinkling on top.
Instructions
- Prepare your workspace:
- Preheat your oven to 350°F and line an 8-inch square pan with parchment paper, letting the edges hang over the sides. This gives you something to grip when lifting the brownies out later—trust me, it's a game changer.
- Melt the chocolate base:
- In a microwave-safe bowl, combine the butter and chopped chocolate. Melt in 30-second bursts, stirring between each interval. This gentle approach keeps everything smooth and glossy instead of hot and seizing. When it's melted and the mixture is just barely warm to the touch, you're ready for the next step.
- Combine your wet ingredients:
- Whisk the sugar into the cooled chocolate mixture until it becomes grainy and thick. Then add your eggs one at a time, whisking well after each addition. Finally, stir in the vanilla and peppermint extracts. The mixture should look thick, glossy, and ready to become something delicious.
- Fold in the dry ingredients:
- Sift the flour, cocoa powder, and salt over the wet mixture. Using a gentle folding motion with a spatula, combine everything just until you don't see any white streaks of flour. Overmixing develops gluten and makes brownies cake-like, which is the opposite of what we want here.
- Bake the brownies:
- Pour the batter into your prepared pan and smooth the top with an offset spatula. Slide it into the oven and bake for 28 to 32 minutes. You're looking for that perfect moment when a toothpick inserted into the center comes out with just a few moist crumbs clinging to it. The brownies will continue cooking slightly as they cool, so don't wait until they're completely set in the pan.
- Cool completely:
- Let the brownies rest in the pan on a wire rack until they're completely cool to the touch. This is crucial for getting clean cuts and for the glaze to set properly.
- Make the glaze:
- Whisk together the powdered sugar, milk, and peppermint extract until you have a smooth, spreadable consistency. If you want festive color, add a drop or two of green or red food coloring and stir until it's evenly distributed.
- Finish with flair:
- Spread the glaze evenly over your cooled brownies with an offset spatula or the back of a spoon. Immediately sprinkle the crushed peppermint candies over the top, pressing them gently so they stick to the glaze. Let everything set for about 20 minutes before lifting the brownies out of the pan using that parchment overhang and cutting them into squares.
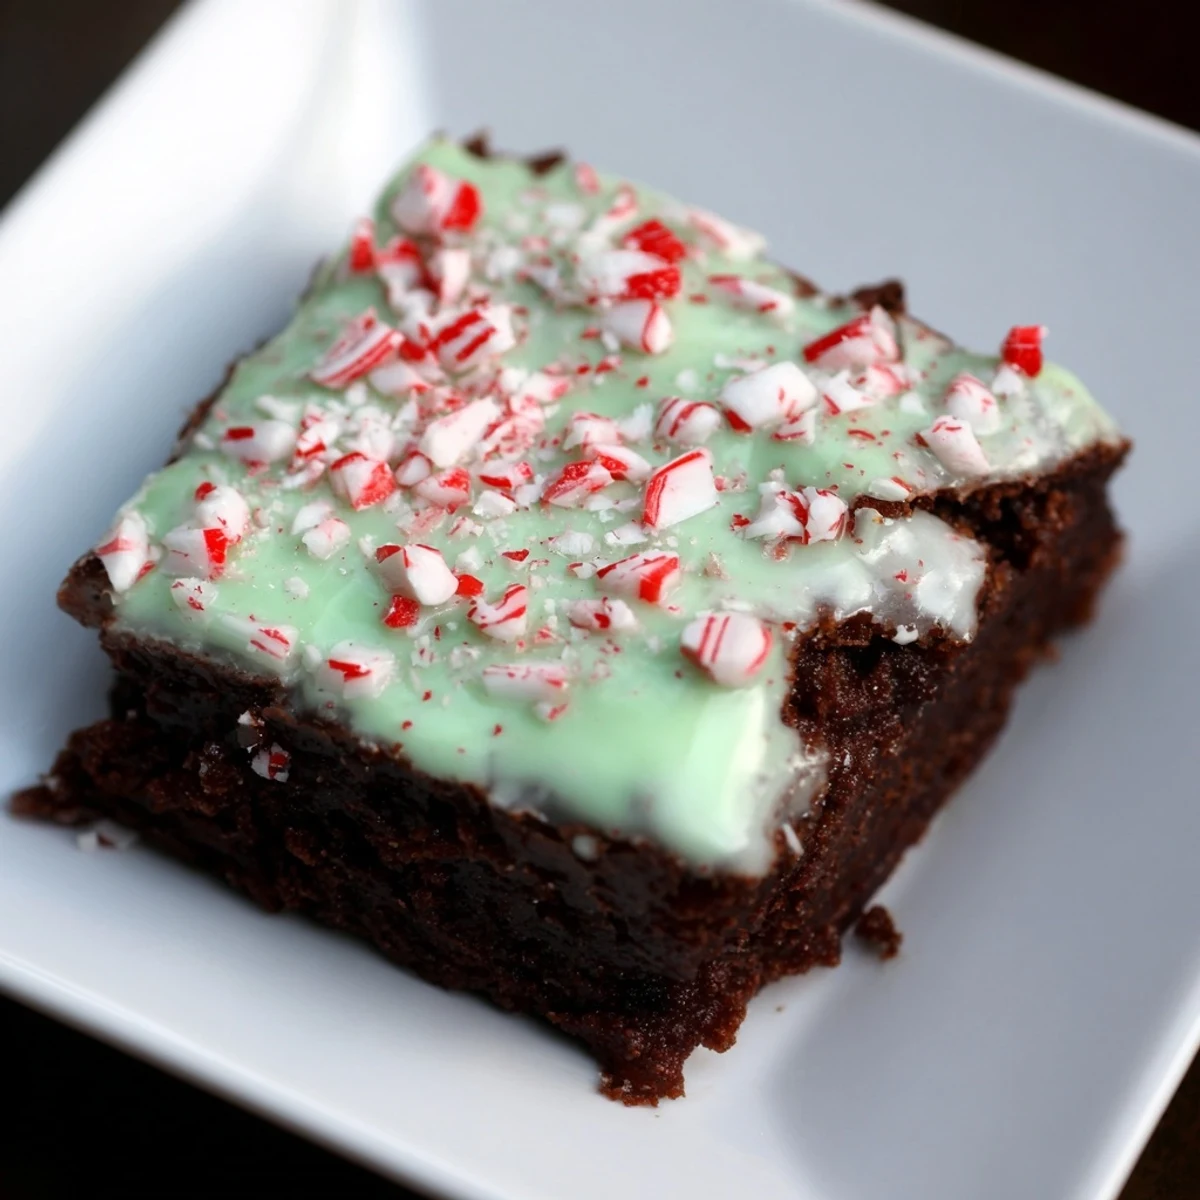 Save to Pinterest
 There's something almost meditative about cutting these brownies into perfect squares and seeing that glossy peppermint glaze catch the light. It's in those quiet moments before you share them with someone that you realize you've created something that's more than the sum of its ingredients.
The Magic of the Peppermint-Chocolate Pairing
The reason peppermint and chocolate work so beautifully together is actually scientific. The menthol in peppermint tricks your mouth into feeling cool while the chocolate provides warmth and richness. It's a balance that feels indulgent and refreshing at the same time. I've found that using both vanilla and peppermint extracts creates depth—the vanilla keeps the peppermint from being too aggressive while the peppermint prevents the chocolate from feeling one-dimensional.
Storing and Sharing These Brownies
These brownies keep beautifully in an airtight container at room temperature for up to four days, though I've rarely had them last that long. They're perfect for holiday gift boxes, office gatherings, or that moment when you need to bring something to someone's house and you want it to feel special but still feel homemade. I like to wrap them in parchment paper and tie them with ribbon—it elevates them without making it seem like you spent all day in the kitchen.
Creative Variations to Try
While this recipe is perfect as written, I've experimented with ways to make it your own. Folding in chocolate chips creates extra richness and texture. For a gluten-free version, swap the all-purpose flour for a quality gluten-free blend, measuring by weight if you can. Some friends have added a tiny pinch of cayenne pepper to their batter for a subtle heat that makes the peppermint pop even more. The foundation here is so solid that it welcomes these little variations beautifully.
- Add half a cup of chocolate chips to the batter for those extra pockets of fudgy richness
- Try a gluten-free flour blend measured by weight for the most reliable results
- A whisper of cayenne pepper in the batter creates an intriguing depth that most people can't quite identify
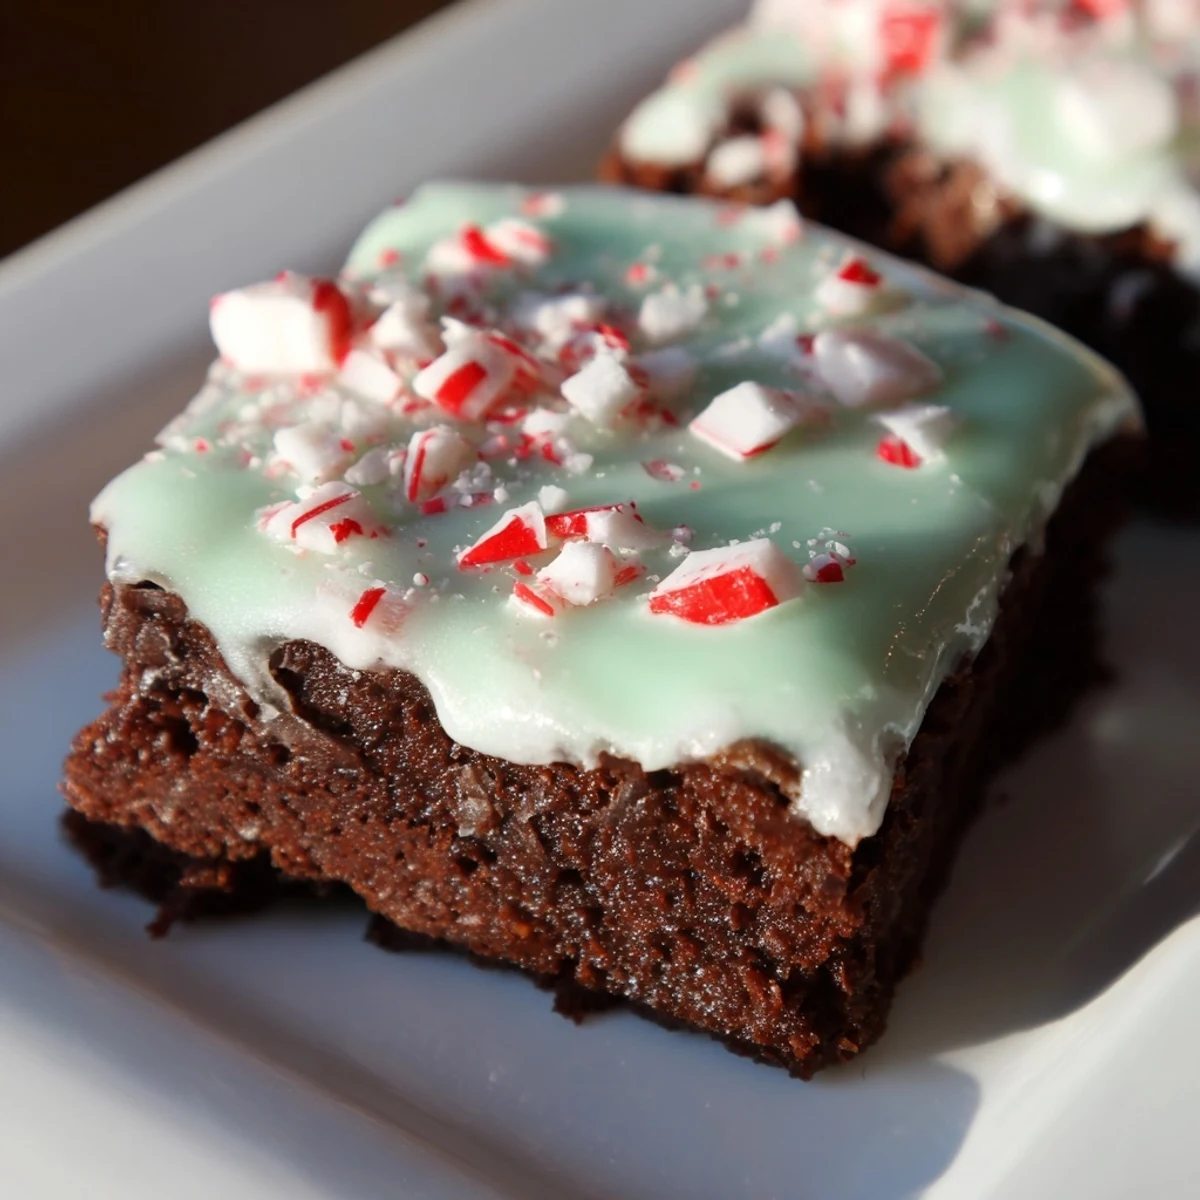 Save to Pinterest
 These peppermint brownies have become my signature dessert, the one people expect when I say I'm bringing something to celebrate. There's comfort in that tradition.
Recipe Questions & Answers
- → How can I make the brownies extra rich?
-
For added richness, fold in 1/2 cup of chocolate chips into the batter before baking to increase the chocolate intensity.
- → Can I substitute the all-purpose flour for a gluten-free option?
-
Yes, use a gluten-free flour blend in equal amounts to make the brownies gluten-free without affecting texture significantly.
- → What is the best way to melt the chocolate and butter?
-
Melting chocolate and butter in short 30-second intervals in the microwave, stirring in between, prevents overheating and ensures a smooth mixture.
- → How do I know when the brownies are perfectly baked?
-
Insert a toothpick in the center; it should come out with a few moist crumbs but not wet batter, indicating a fudgy texture.
- → Can I skip the food coloring in the glaze?
-
Yes, the food coloring is optional and only adds visual appeal without affecting the flavor of the glaze.
