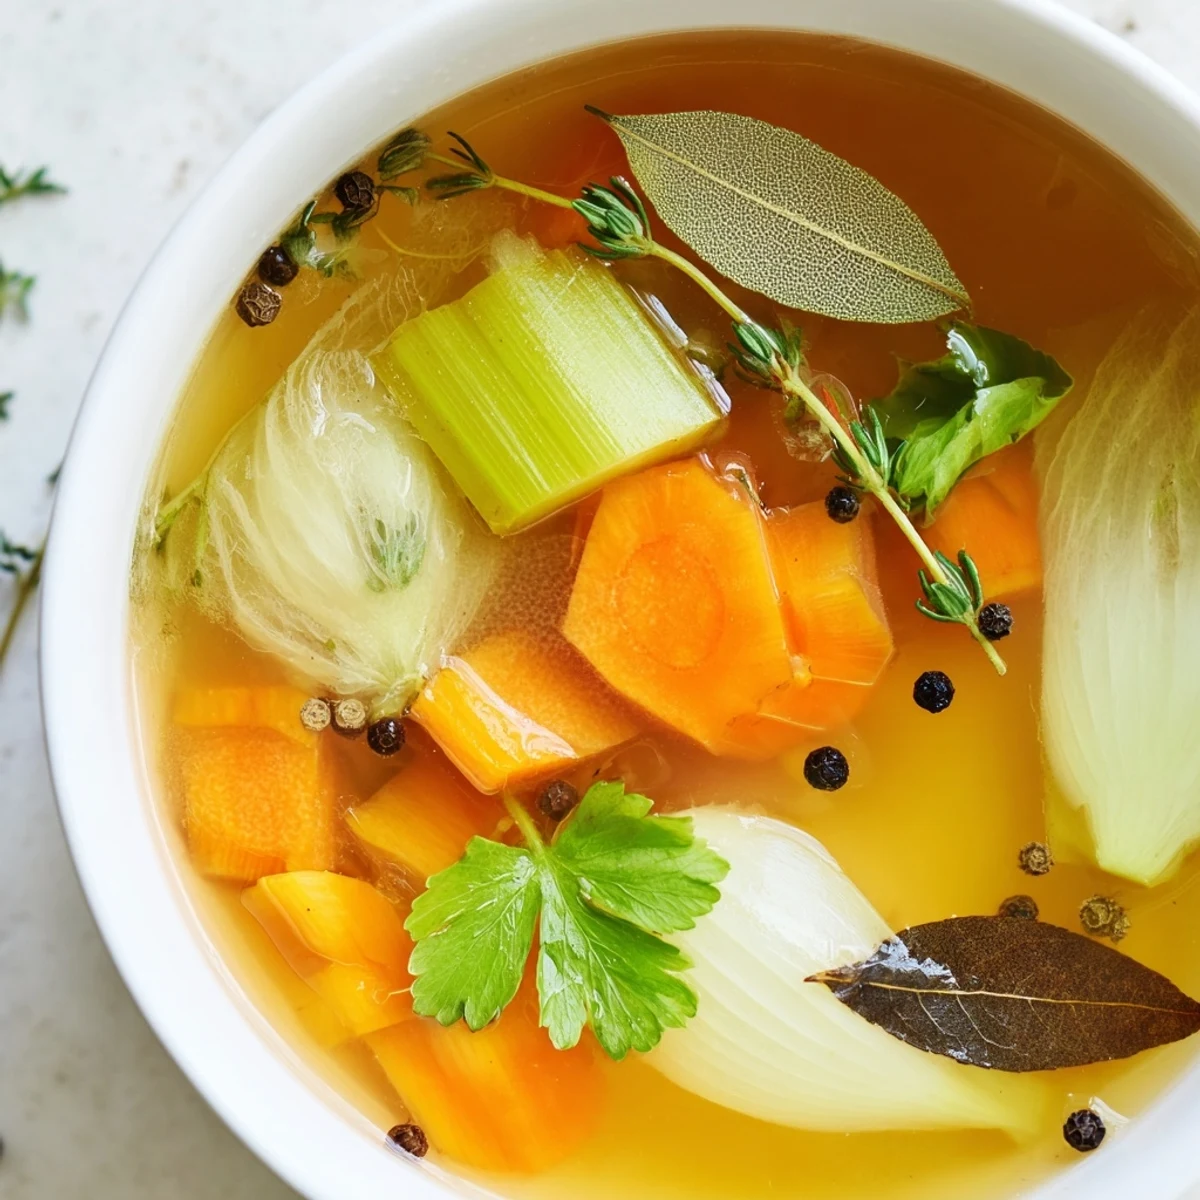
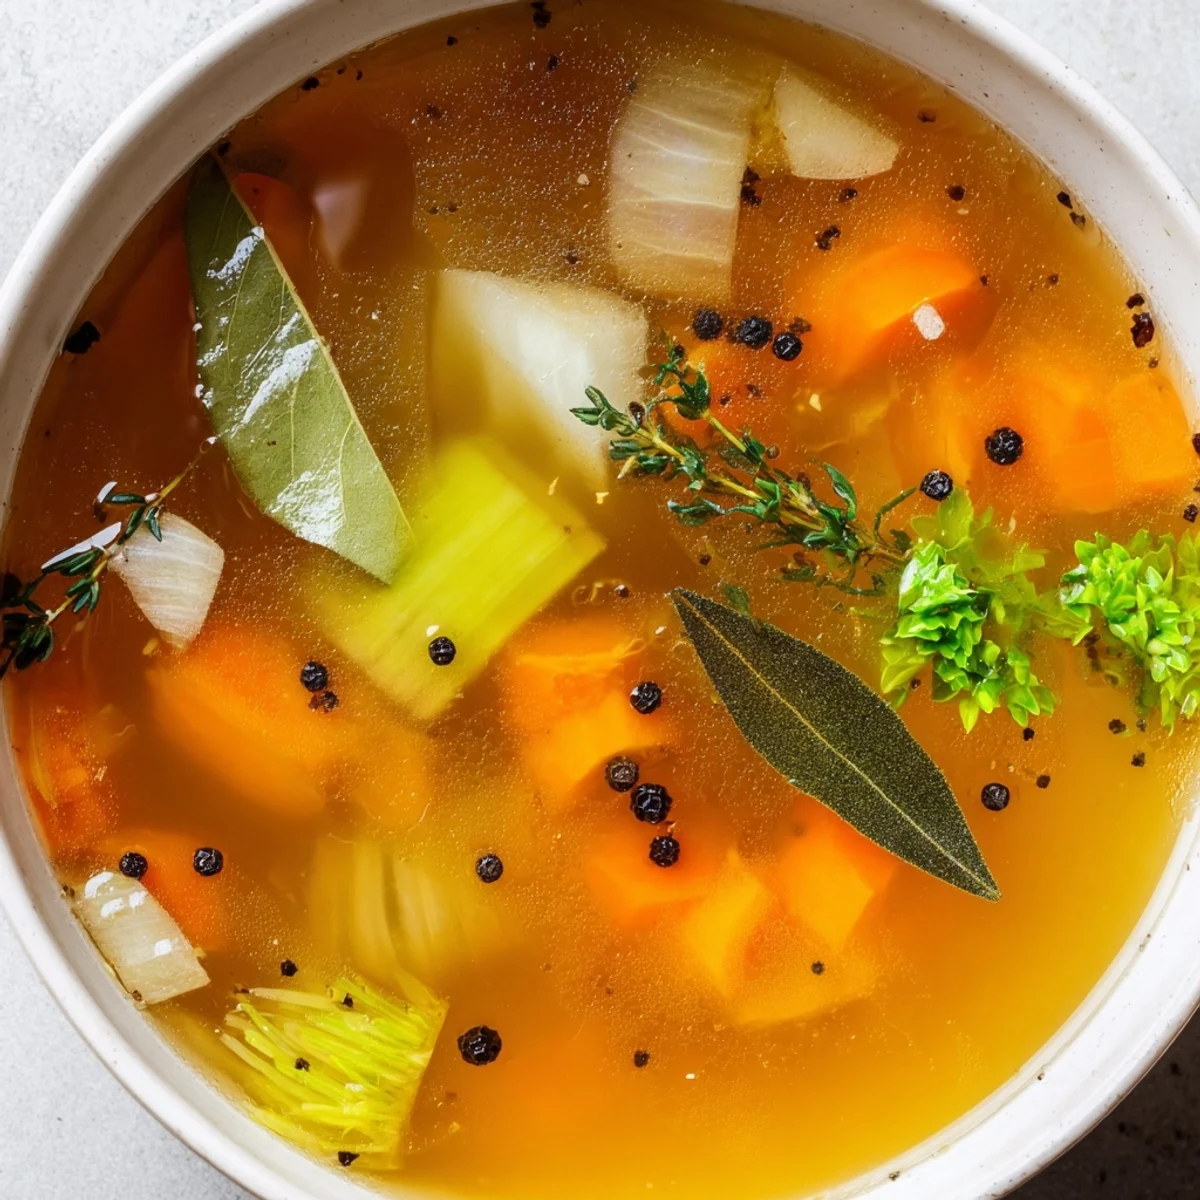
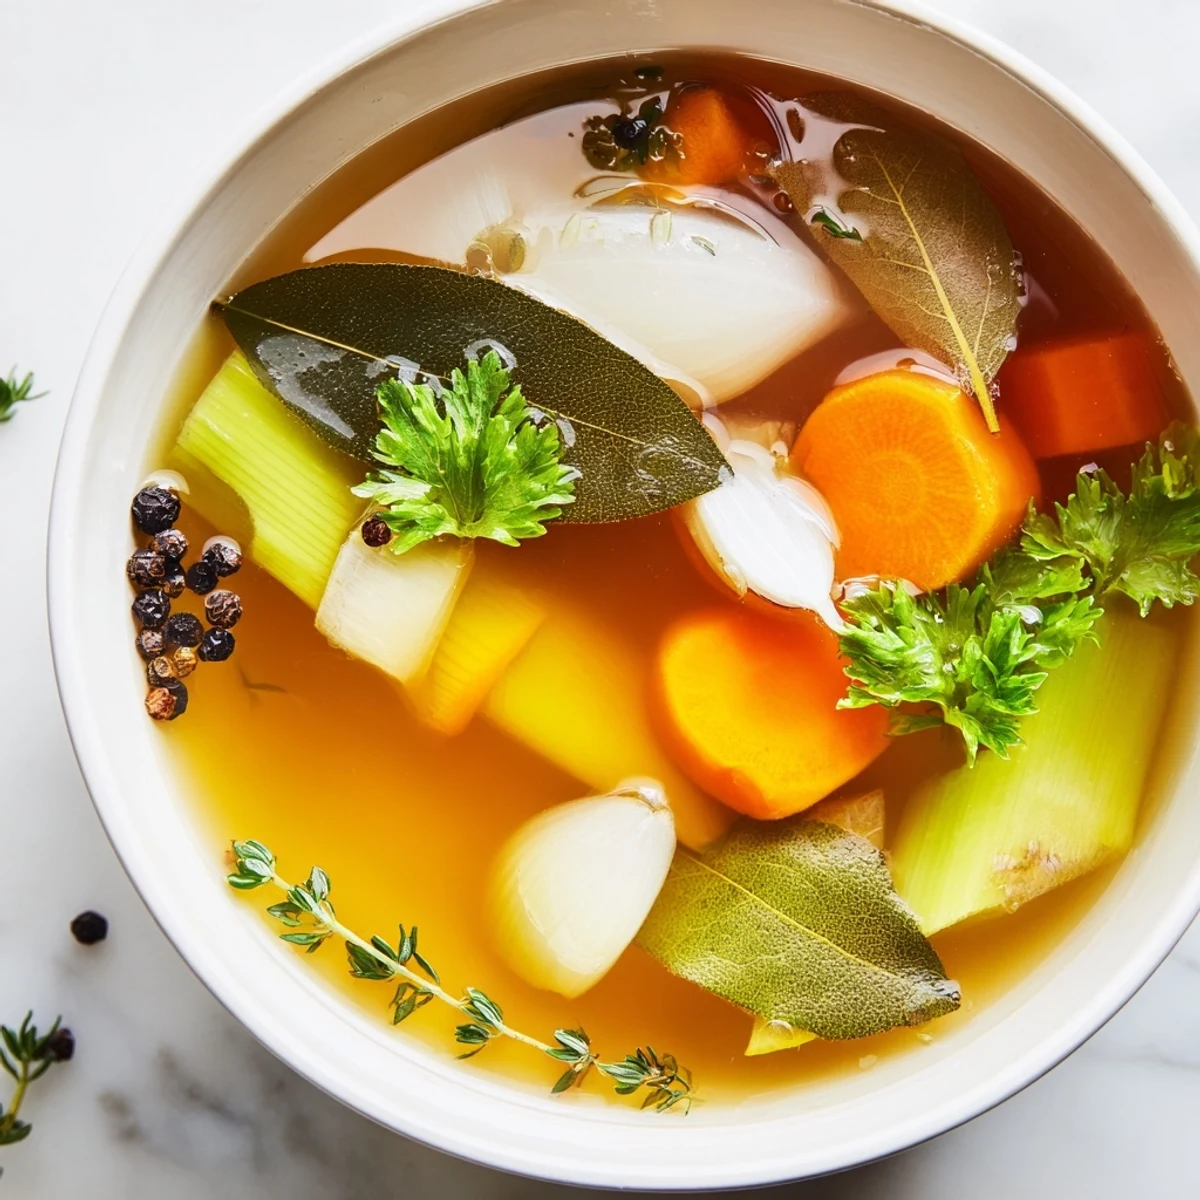
 Save to Pinterest
 This broth features a blend of assorted vegetable scraps and fresh herbs simmered gently to extract rich and fragrant flavors. Combining onion peels, carrot ends, celery leaves, and herbs like parsley and thyme, it creates a versatile liquid base. The slow simmering for an hour allows the subtle aromatics to develop fully, ideal for soups, risottos, or sauces. Simple seasoning with peppercorns, garlic, salt, and optional vinegar adds brightness and complexity. Straining removes solids, leaving a clear, flavorful broth ready to use or store.
My grandmother kept a container on her kitchen counter labeled 'the good stuff'—it held onion skins, carrot nubs, celery leaves, and herb stems she'd save throughout the week. She never bought broth in a box; she made it from what would have been garbage. That container taught me that the best flavors often hide in the scraps we discard, waiting for someone patient enough to coax them out with time and warmth.
I made this broth one winter afternoon when a friend called asking what to bring to a potluck dinner—I had no time, no fancy ingredients. I threw together whatever vegetable scraps I'd been saving, simmered them while I straightened the house, and strained the golden liquid into mason jars. She showed up with my broth-based soup, and three people asked for the recipe. It was never about cooking skill; it was about not wasting and about paying attention.
Ingredients
- Vegetable scraps (4 cups): This is where the magic lives—onion peels, carrot ends, celery leaves, leek greens, mushroom stems, and parsley stems are all flavor factories that most people throw away. Save them in a container in your freezer and raid it when you're ready to make broth.
- Optional potato (1 small): Adds subtle body and helps the broth feel less thin, but skip it if you prefer a cleaner taste.
- Fresh vegetables (onion, carrots, celery): Only add these if your scraps are sparse; they're your backup plan for flavor.
- Bay leaves (2): These are the quiet backbone of good broth—don't skip them, and don't forget to fish them out before serving.
- Fresh herbs (parsley, thyme): Fresh is always better than dried for parsley, but thyme works fine either way; use what you have on hand.
- Peppercorns (1 tsp whole): Whole peppercorns scatter flavor throughout without making the broth murky like ground pepper would.
- Garlic (2 cloves, smashed): Smashing releases the aroma and helps the garlic give its all to the liquid without overpowering it.
- Salt (1 tsp): Taste as you go—you can always add more, but you can't take it back.
- Apple cider vinegar or lemon juice (optional, 1 tsp): A small splash brightens everything and helps your body absorb minerals from the broth.
- Cold water (2.5 liters): Cold water draws flavors out slowly and gently, which is why you don't start with hot water.
Instructions
- Gather your scraps:
- Throw all your vegetable scraps into a large stockpot, along with the optional potato and any fresh vegetables. There's no wrong combination here—just aim for variety, and avoid anything that tastes aggressively strong like raw cabbage or beet peels unless you love those flavors.
- Build the flavor base:
- Add the bay leaves, herb sprigs, peppercorns, smashed garlic, and salt. If you're using vinegar or lemon juice, add it now; it'll help brighten and balance the broth as it develops.
- Add water and stir:
- Pour in the cold water and give everything a gentle stir to distribute the seasonings. The broth should look like a pot of vegetable scraps swimming in water—this is exactly right.
- Bring to a boil, then settle into a simmer:
- Crank the heat to high and let it come to a rolling boil, then immediately reduce the heat so the liquid barely bubbles—just gentle, quiet movement. Hard boiling will make the broth cloudy and bitter.
- Skim the foam:
- In the first 10 minutes, watch for grayish foam that rises to the surface and skim it off with a spoon. This foam is impurities and will make the broth less clear if you leave it, though it won't hurt the flavor.
- Let it simmer and steep:
- Once skimmed, let the broth bubble gently for a full hour without a lid, stirring once or twice if you remember to. The liquid will deepen in color and richness as the vegetables surrender everything they have.
- Cool and strain:
- Remove from heat and let it cool for a few minutes, then slowly pour the broth through a fine-mesh sieve lined with cheesecloth into a large bowl or container. Don't press or squeeze the solids—just let gravity do the work for the clearest broth.
- Taste and adjust:
- Once the broth is strained, taste it and add more salt if needed. This is your moment to make it taste like home.
 Save to Pinterest
 The first time I served this broth to someone who'd only ever known store-bought, they took a spoonful and paused—they could taste the difference immediately, the way it coated their mouth instead of sliding through like flavored water. That's when I understood that broth isn't just a cooking ingredient; it's a small act of care that shows up in everything it touches.
The Secret to Golden, Fragrant Broth
The color and depth of your broth depends almost entirely on what you save. A broth made from just onion and carrot scraps will taste clean and mild, but add mushroom stems and parsley, and suddenly it has backbone. The longer you simmer without rushing, the more those vegetables give, and the more the broth rewards your patience. I learned this by accident one day when I forgot about a pot of broth for an extra 15 minutes and discovered it had transformed into something richer and more complex than my usual batch.
Storage and Uses Beyond the Obvious
Homemade broth keeps in the refrigerator for up to five days in a covered container, and it freezes beautifully for three months—I freeze mine in ice cube trays so I can grab exactly what I need for a quick sauce or a handful of grains. Beyond soups and risottos, use it to cook quinoa or rice instead of water, simmer beans in it for deeper flavor, or whisk it into a pan after searing vegetables for an instant pan sauce. Once you have it on hand, you'll find yourself reaching for it constantly, and your kitchen will taste noticeably better for it.
Elevating Your Broth with Optional Additions
The basic recipe is perfect as is, but once you've made it a few times and understand the foundation, you can play. Roasting your scraps and vegetables in the oven at 400°F for 20 minutes before simmering gives a deeper, almost caramelized flavor—this is the trick chefs use when they want broth that tastes like it's been cooking all day. Dried mushrooms add an earthy umami that makes the broth taste more complex and savory, and a small piece of kombu (dried seaweed) adds minerals and depth without any fishy taste.
- Roasted scraps turn the broth golden-brown and rich, making it feel restaurant-worthy.
- Dried mushrooms and kombu are your secret weapons for making broth taste like it took hours instead of one.
- Trust your instincts—if you love a flavor, add it in small amounts and taste as you go.
 Save to Pinterest
 This broth is proof that the best things in cooking don't require perfection or expensive ingredients—just patience, scraps, and the willingness to let time do the work. Once you taste it, you'll understand why my grandmother kept that container on her counter.
Recipe Questions & Answers
- → What vegetables are best for this broth?
-
Use a mix of onion peels, carrot ends, celery leaves, garlic skins, and parsley stems for optimal flavor.
- → Can I add herbs to intensify the flavor?
-
Yes, fresh parsley, thyme, and bay leaves add herbal notes that deepen the broth's aroma.
- → How long should the broth simmer?
-
Simmer uncovered for about one hour to extract maximum flavor without bitterness.
- → Is it necessary to strain the liquid?
-
Straining through a fine-mesh sieve or cheesecloth removes solids for a smooth, clear broth.
- → Can I store the broth for later use?
-
Yes, refrigerate up to 5 days or freeze for up to 3 months to retain freshness.
- → What can boost the broth’s richness?
-
Roasting the scraps and vegetables before simmering adds depth and a toasted flavor.
